PRO OX

®

-100

MONITOR DE OXÍGENO DIGITAL PROGRAMABLE

PATENTES CONCEDIDAS EN EE. UU. Y EN EL EXTRANJERO |

FABRICADO EN EE. UU.

Monitoreo de oxígeno de precisión con funciones programables avanzadas, capacidad de registro de datos y lecturas ultraprecisas incluso en niveles tan bajos como 0,01 % (100 ppm) para aplicaciones críticas de soldadura y purga.

Descripción

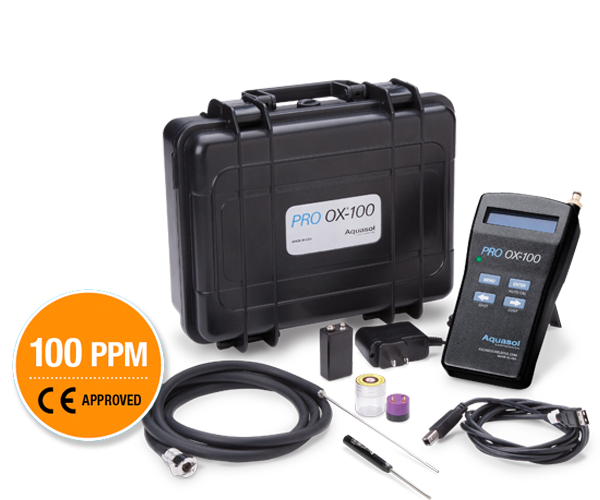
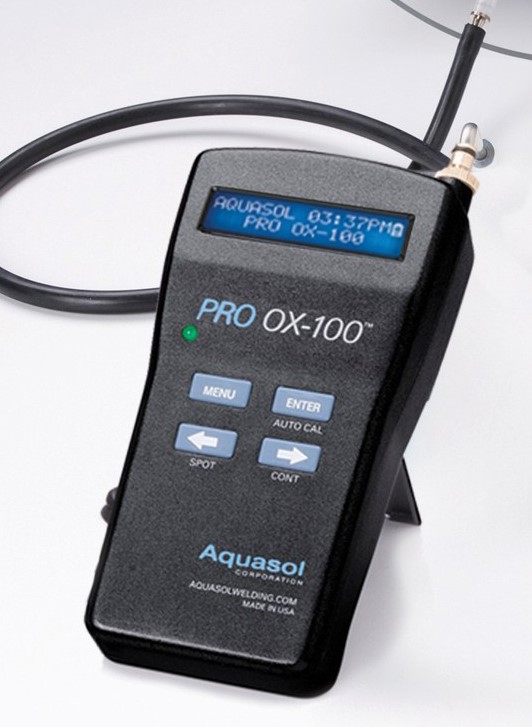
El monitor de oxígeno digital portátil programable Pro OX-100 de Aquasol está diseñado para dar a los operadores las lecturas de niveles de oxígeno más precisas posible.

Internacionalmente reconocido por sus prestaciones de avanzada y bajo costo, este monitor de soldadura autógena autocalibrante con una bomba interna mide con exactitud una resolución de hasta 0,01% (100 ppm) y es ideal para aplicaciones de purgado y otras aplicaciones de soldadura.

El Pro OX-100 viene equipado con muchas prestaciones de avanzada como sus recursos de registro de datos que permiten a los operadores crear registros permanentes de datos en tiempo real (a intervalos de 15 segundos) y exportar hasta 50 puntos de datos a formato Microsoft® Excel y formato simple de texto.

El Pro OX-100 también ofrece una función multilingüe programable e incorporada con instrucciones en pantalla que están disponibles en inglés, español, alemán y portugués. Con diferentes especificaciones y compatibilidades de voltaje y frecuencia, el Pro OX-100 es el monitor de soldaduras autógenas más universal que existe en el mercado global hoy.

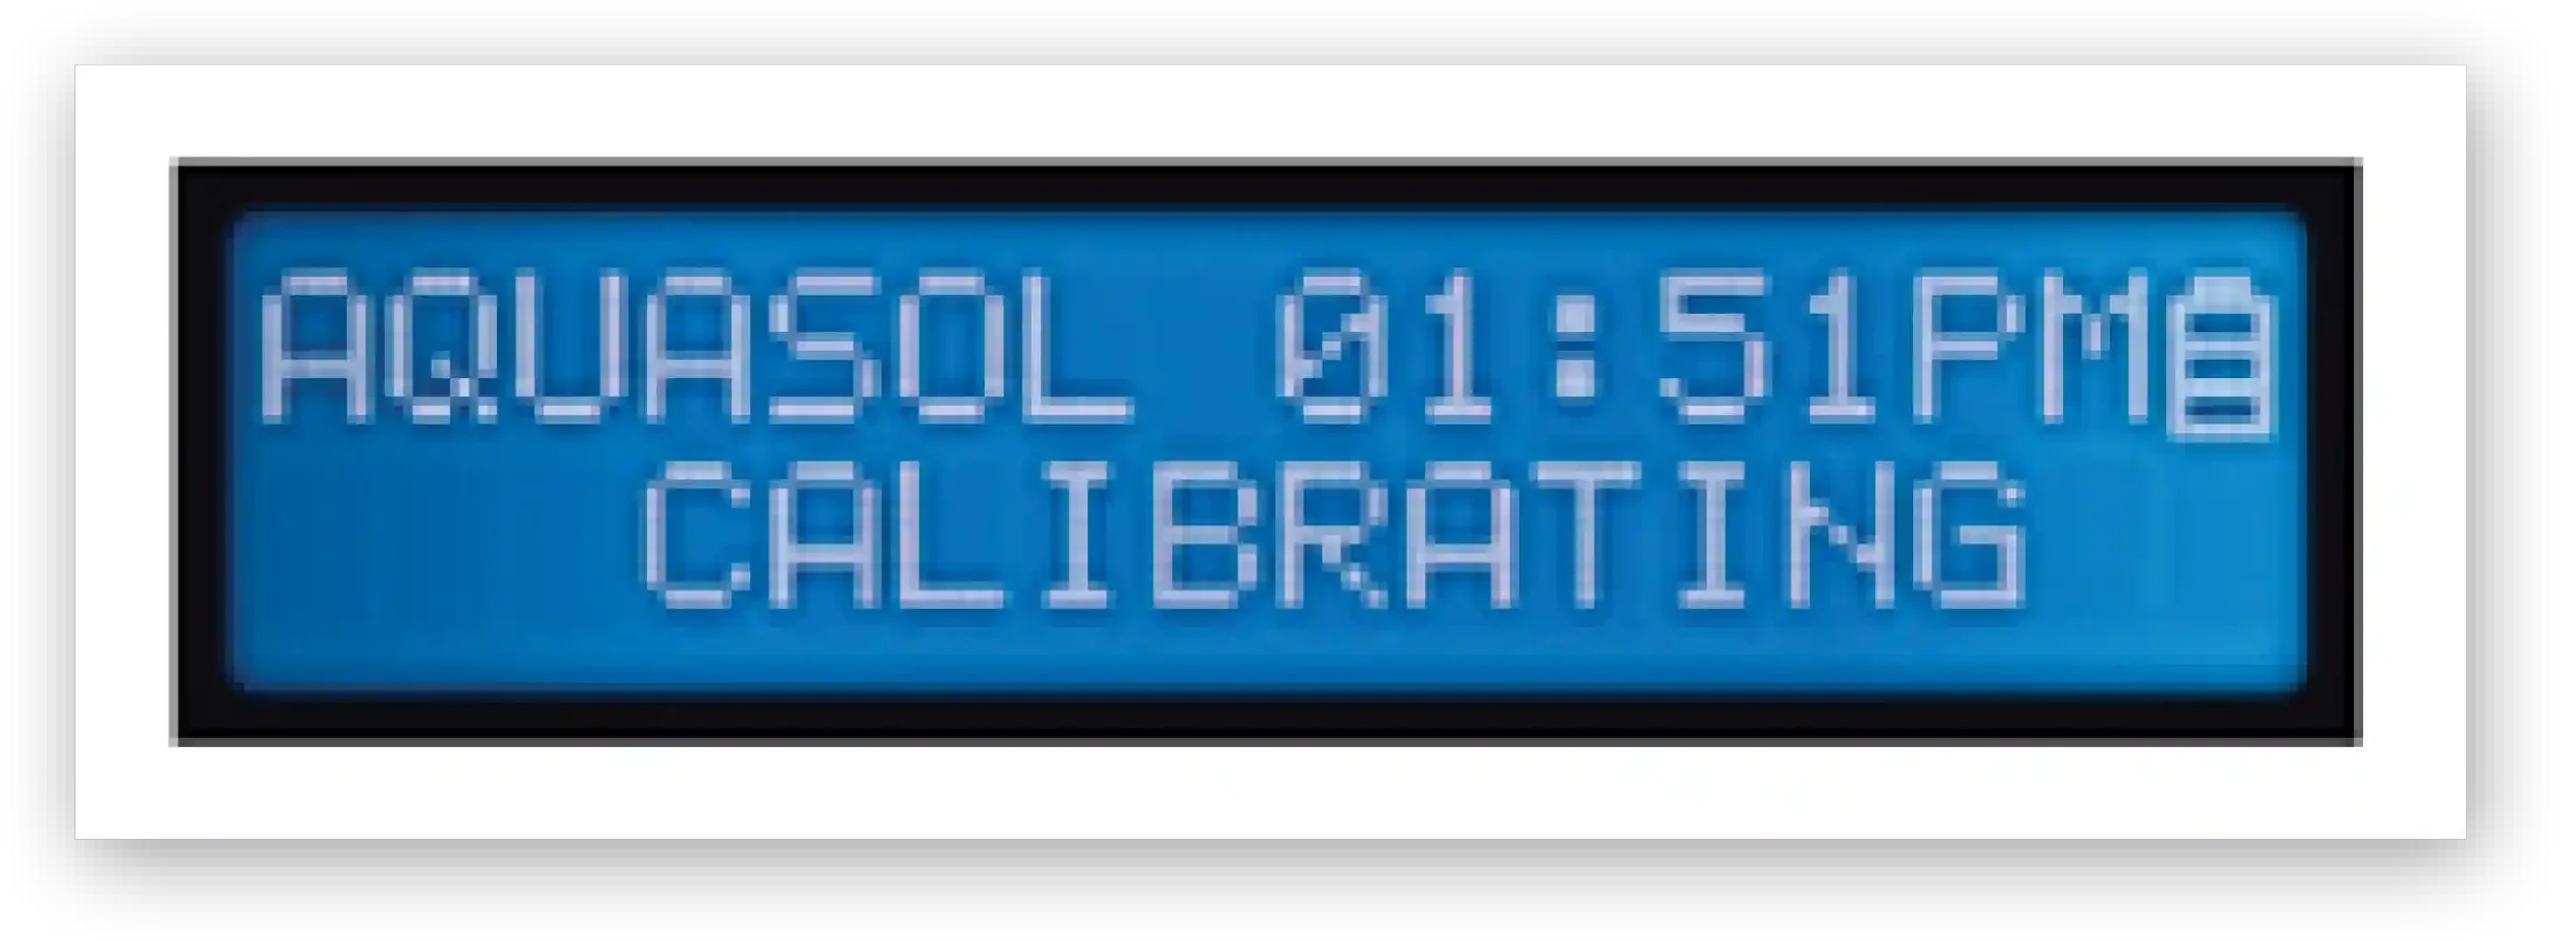
Todos los monitores de oxígeno PRO OX-100 vendidos antes del 1 de agosto de 2019 se calibran mediante «autocalibración». Este método utiliza únicamente aire ambiente para la calibración.

Todos los monitores vendidos después del 1 de agosto de 2019 se calibran mediante «calibración de 2 puntos». Este método utiliza un punto alto (aire ambiente) y un punto bajo (argón al 99,999 %) para la calibración.

APPLICATIONS

Energy & Heavy Industry

High-Purity & Critical Applications

Industrial & Fabrication

Características y Beneficios

Recursos de Registro de Datos

  1. Conecte el PRO OX-100 a la computadora con el cable suministrado
  2. En la mayoría de las PC nuevas con Windows no es necesario instalar ningún controlador
ChatGPT Image May 14, 2026, 11_20_16 AM_pro ox instruction 1

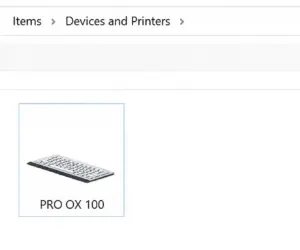
3. Es normal que el PRO-OX 100 aparezca como un teclado en la página «Dispositivos e impresoras»

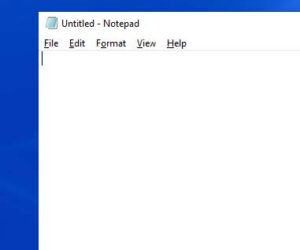
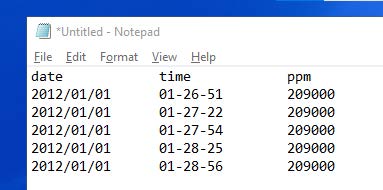
4. Abra un archivo vacío del Bloc de notas y coloque el cursor dentro del archivo

5. Vaya a la opción «PC Mode», presione «ENTRAR» y espere a que la unidad imprima los valores del registro en el Bloc de notas

Calibrado y certificado desde la fábrica

  • El Monitor de Oxígeno PRO OX-100 viene calibrado y certificado de fábrica, y acompañado de un certificado de autenticación fechado.
  • Cumple los requisitos especificados por el Instituto Nacional de Normas y Tecnología.

Modelo de calibración de dos puntos:

  • Se calibra utilizando aire ambiente y 99,999% de Argón.

Alarma Audiovisual

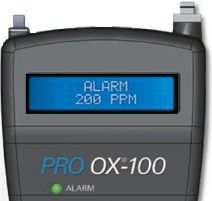
  • Elimina las conjeturas ya que la alarma audiovisual puede programarse en el valor deseado de PPM de O2
  • La unidad producirá un pitido intermitente al mismo tiempo que parpadeará una luz verde
  • El operador es alertado y puede continuar evacuando oxígeno, reprogramar la alarma o comenzar a soldar
  • Se calibra utilizando aire ambiente y 99,999% de Argón.

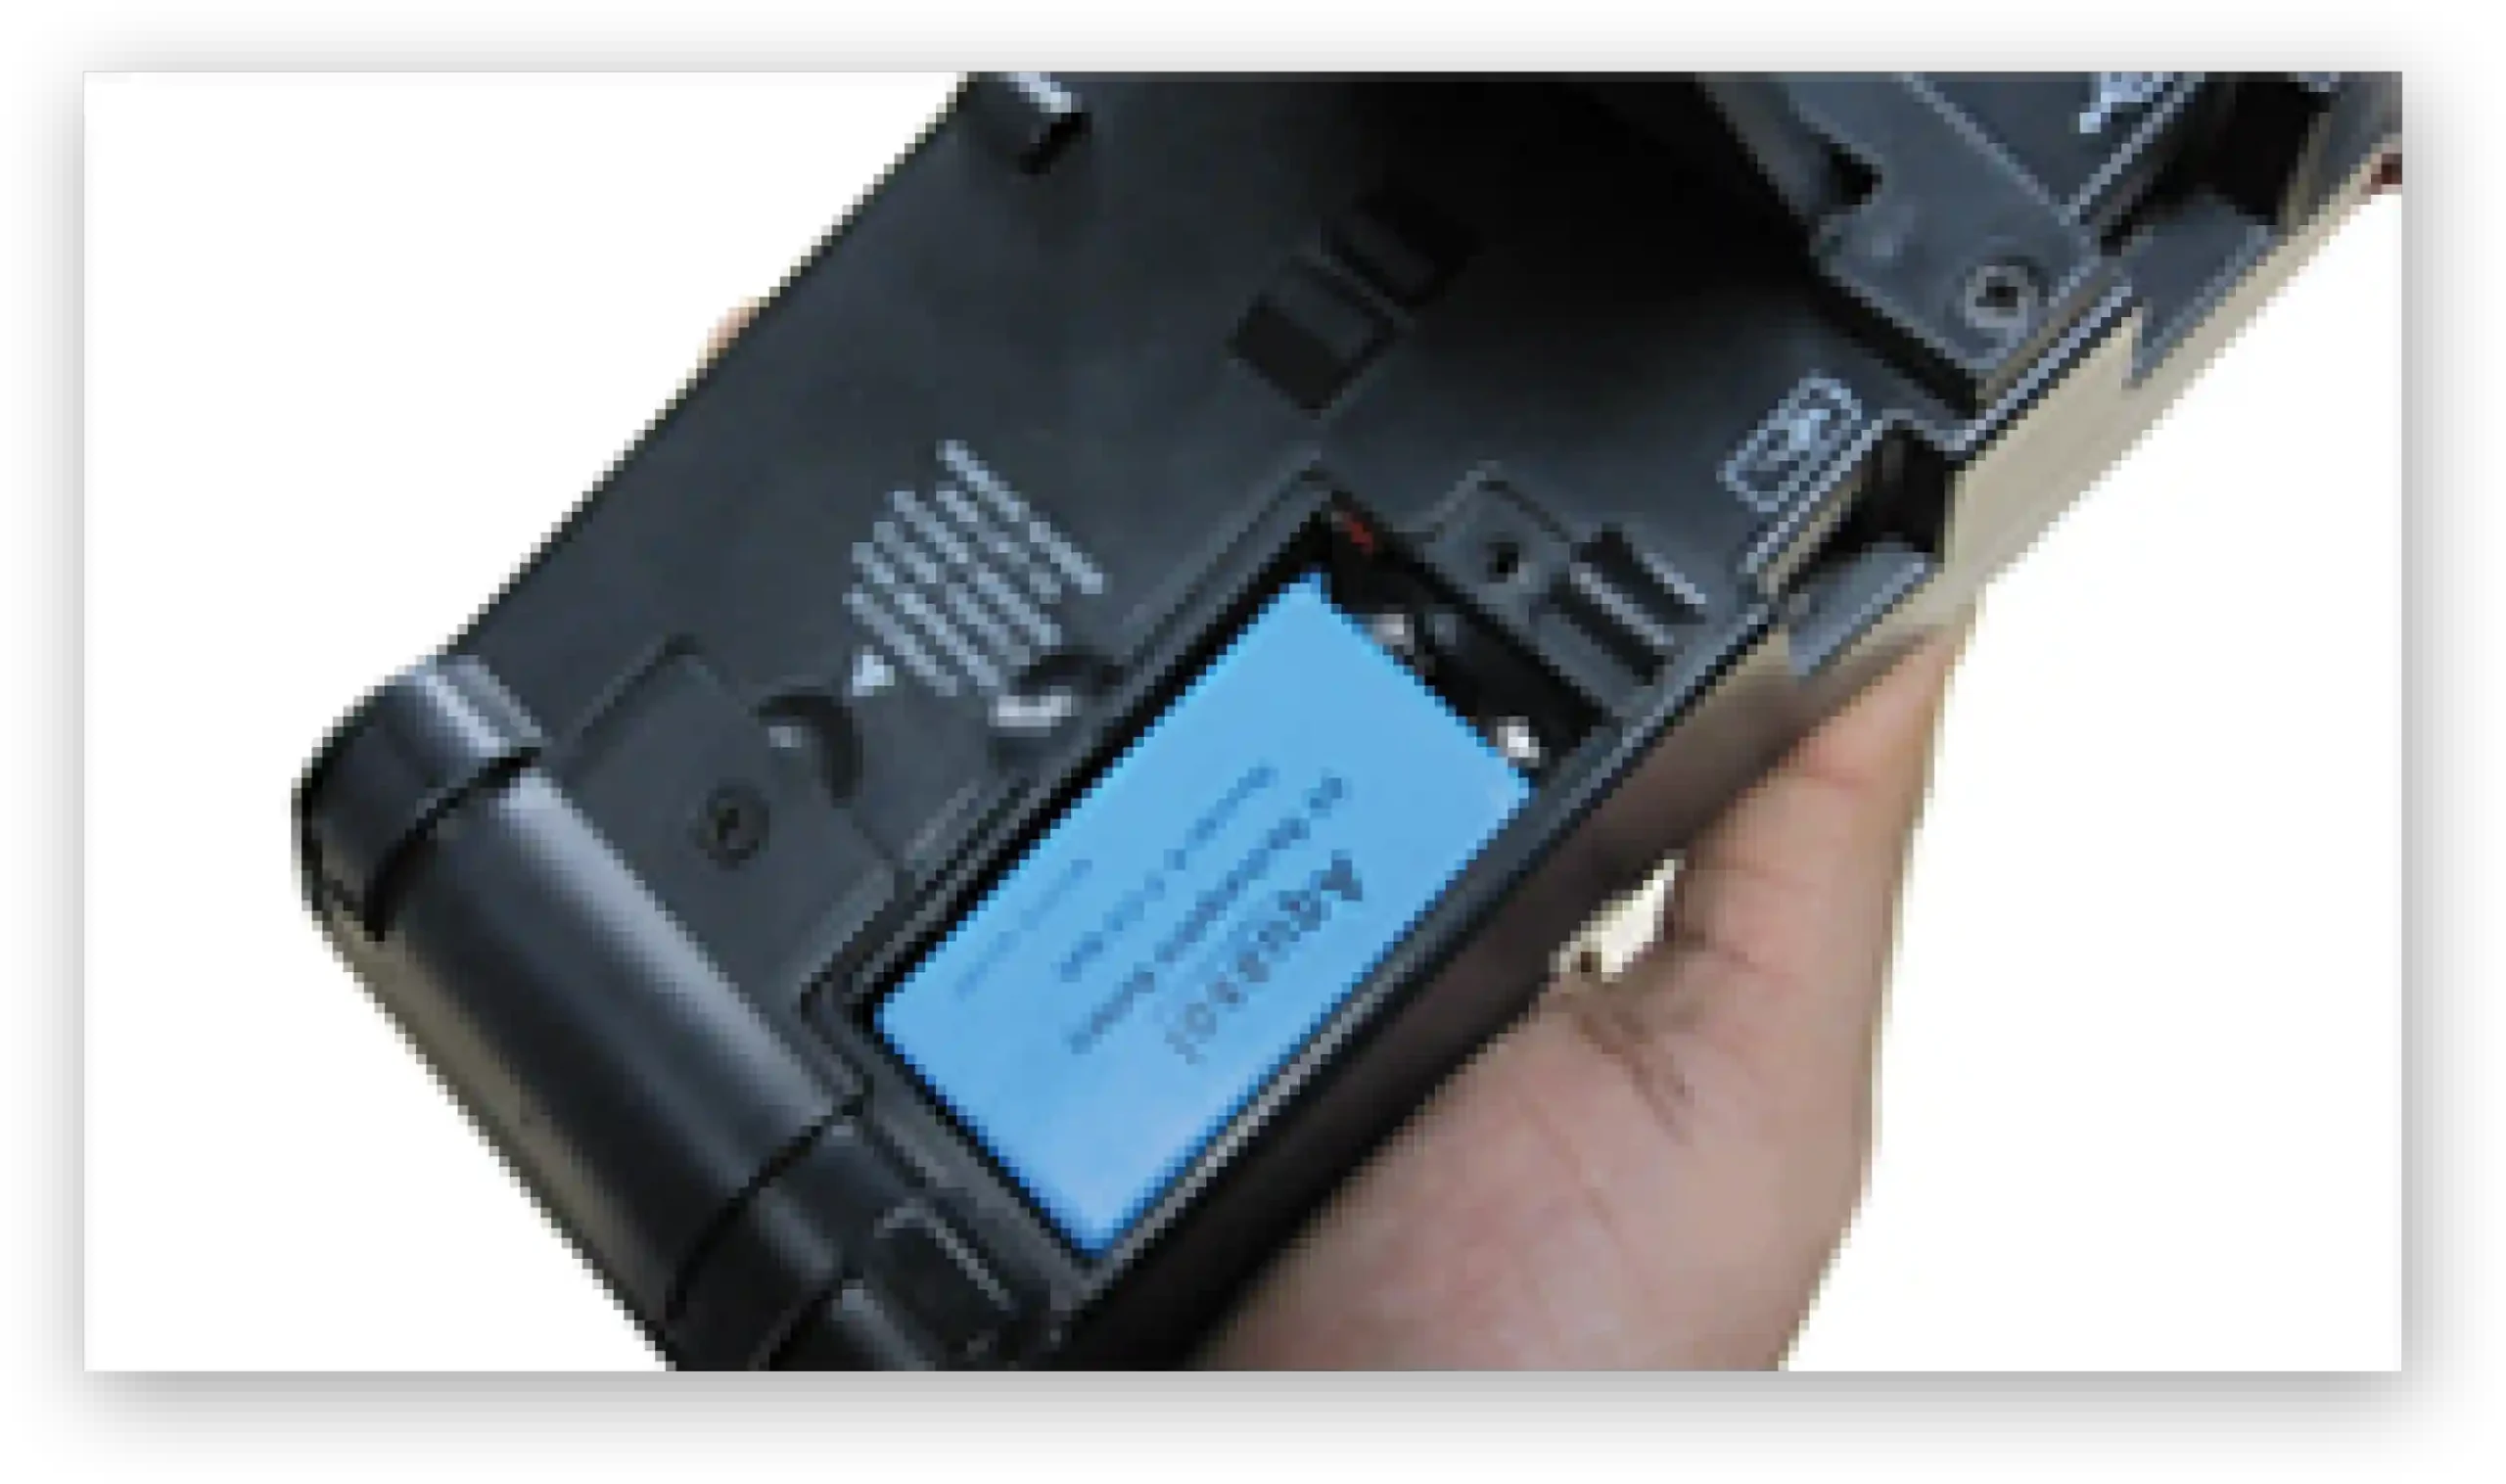
Batería de 9V Recargable y Cargador Diseñados para Voltaje Universal

  • Compatible con diferentes especificaciones de voltaje y frecuencia de todo el mundo
  • Puede funcionar en configuraciones 100VCA/60Hz, 120VCA/60Hz y 220VCA/50Hz
  • La batería recargable es la solución amigable con el medio ambiente
  • Puede usarse y usarse, ahorrando en compras
  • Se la puede sustituir con cualquier batería de 9 V no recargable
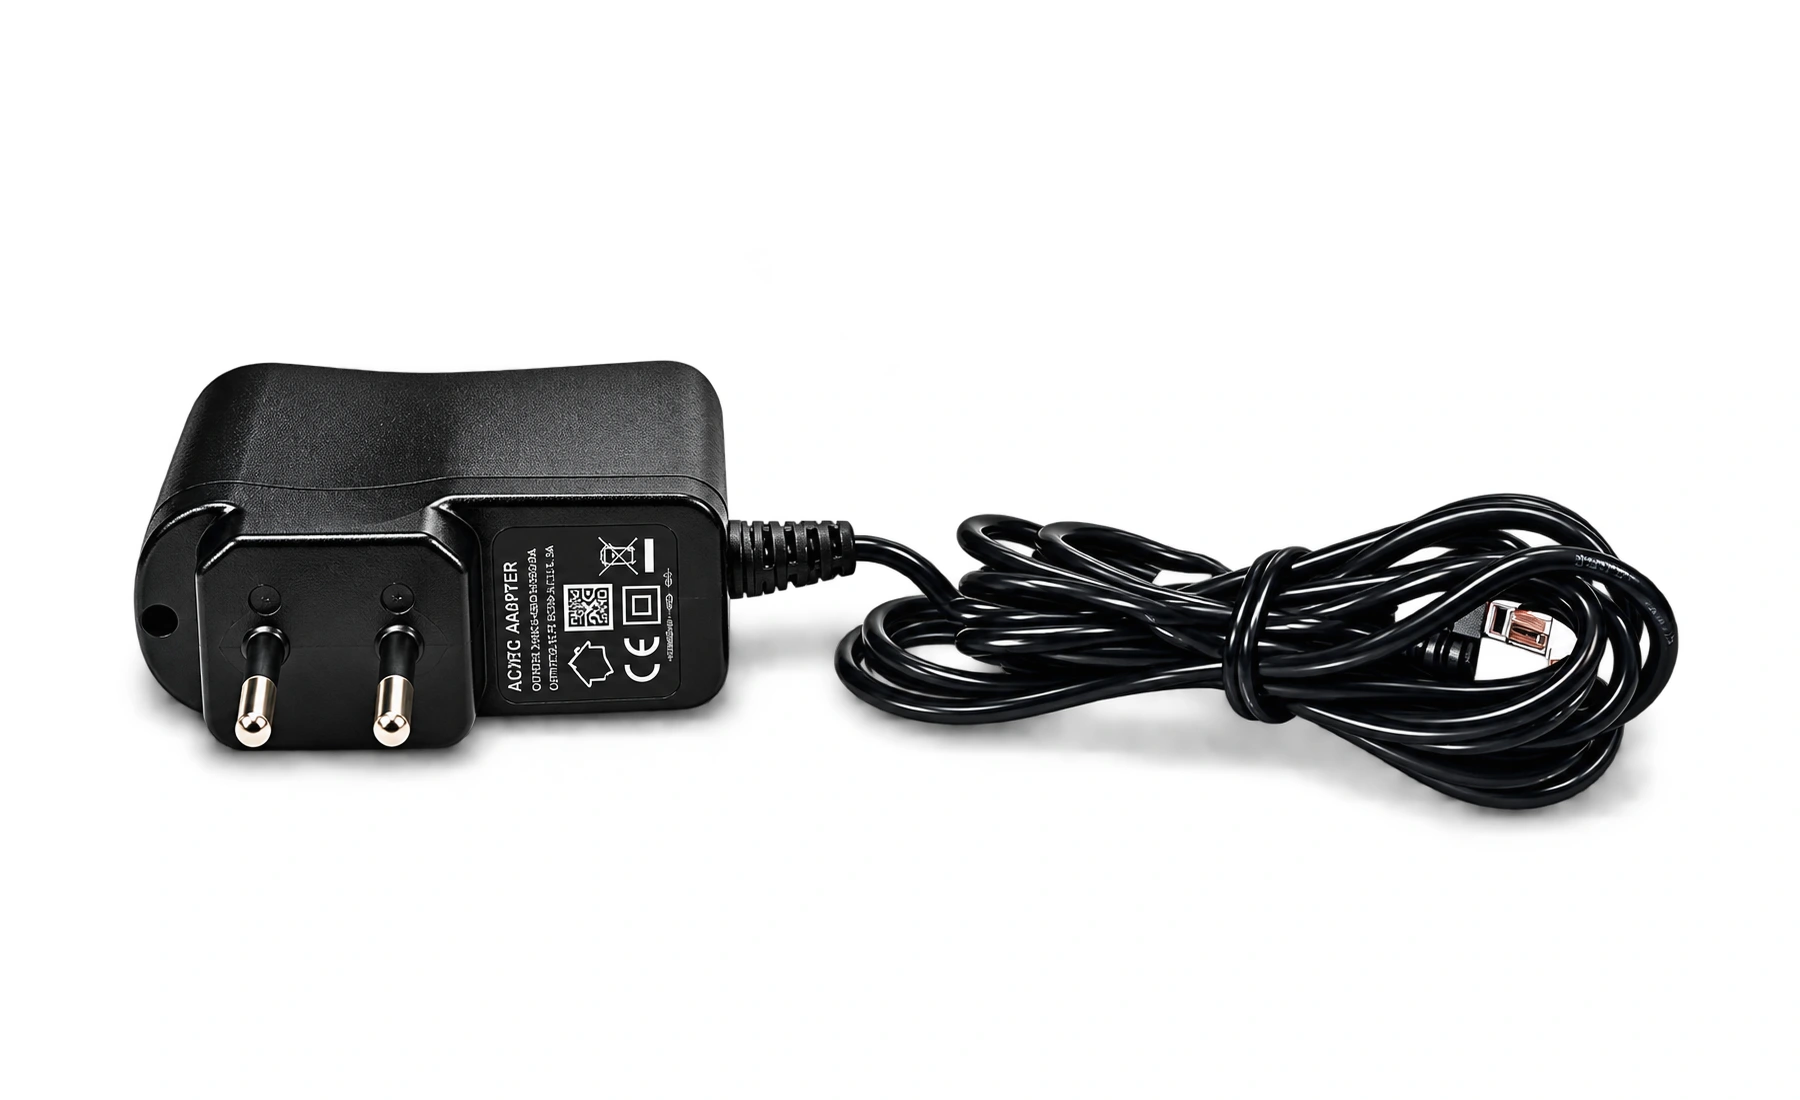
  • El cargador también sirve como fuente de alimentación independiente cuando fuera a funcionar más de una hora

Denominación CE

  • El PRO OX-100 cumple con las Directivas de CE

Idiomas

Programable en cuatro idiomas populares para satisfacer las necesidades de clientes internacionales

  • Inglés
  • Alemán
  • Portugués
  • Español

Cómo Funciona PRO OX-100

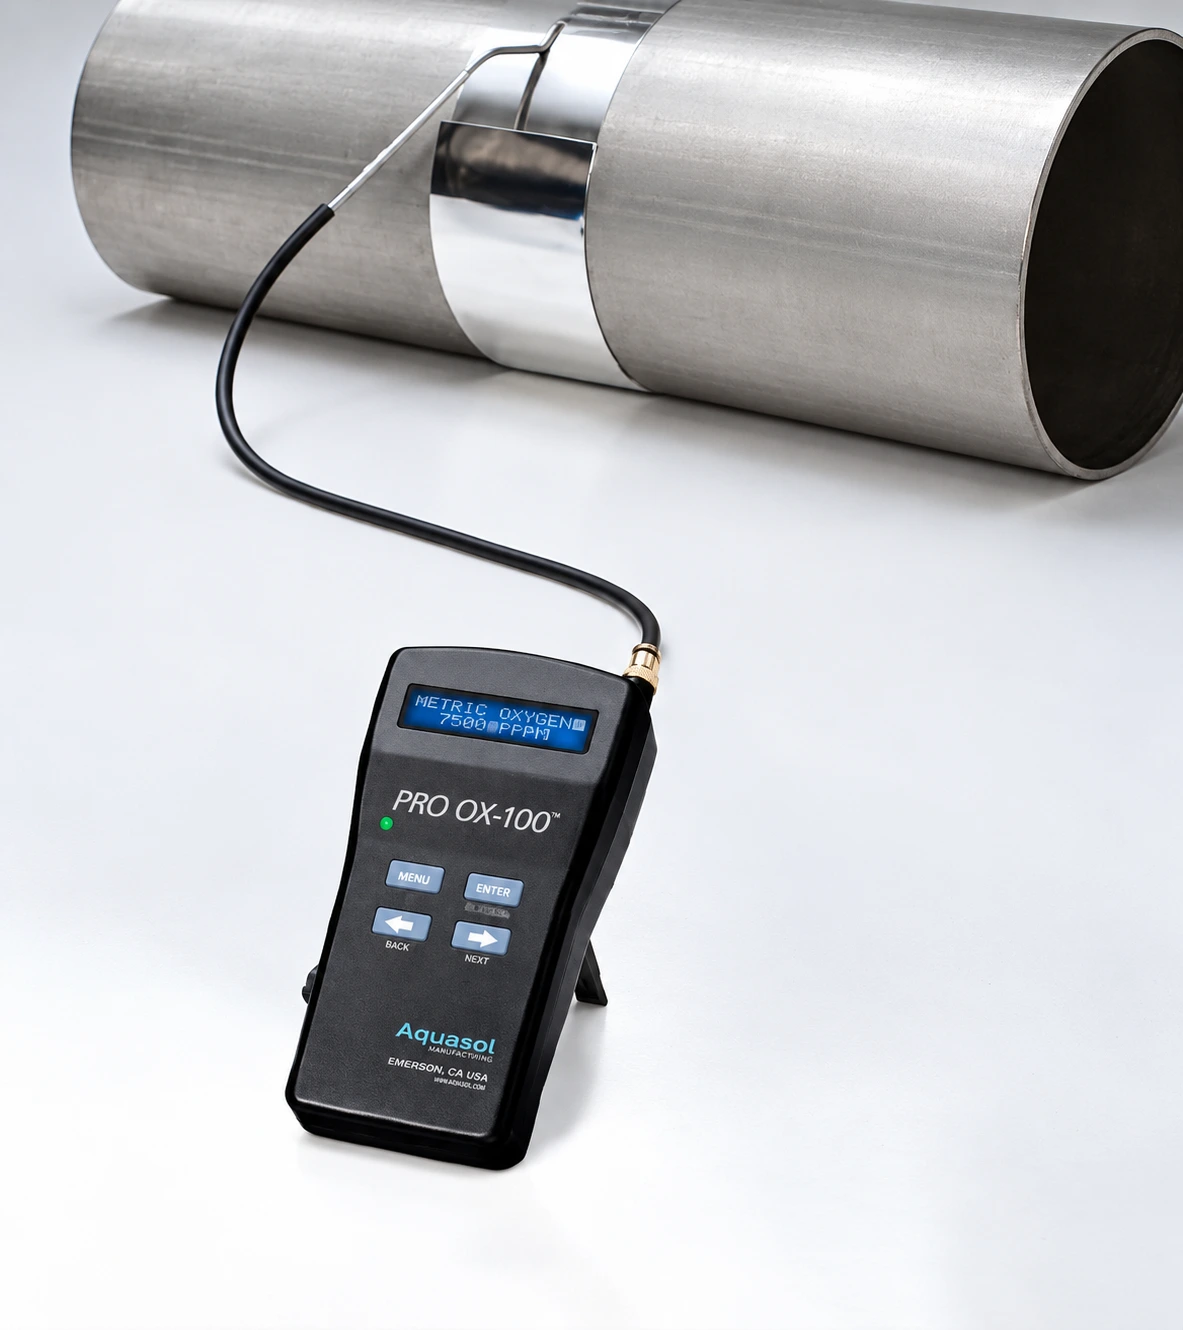
Para Instalar la Tubería de Extensión de Neoprene:

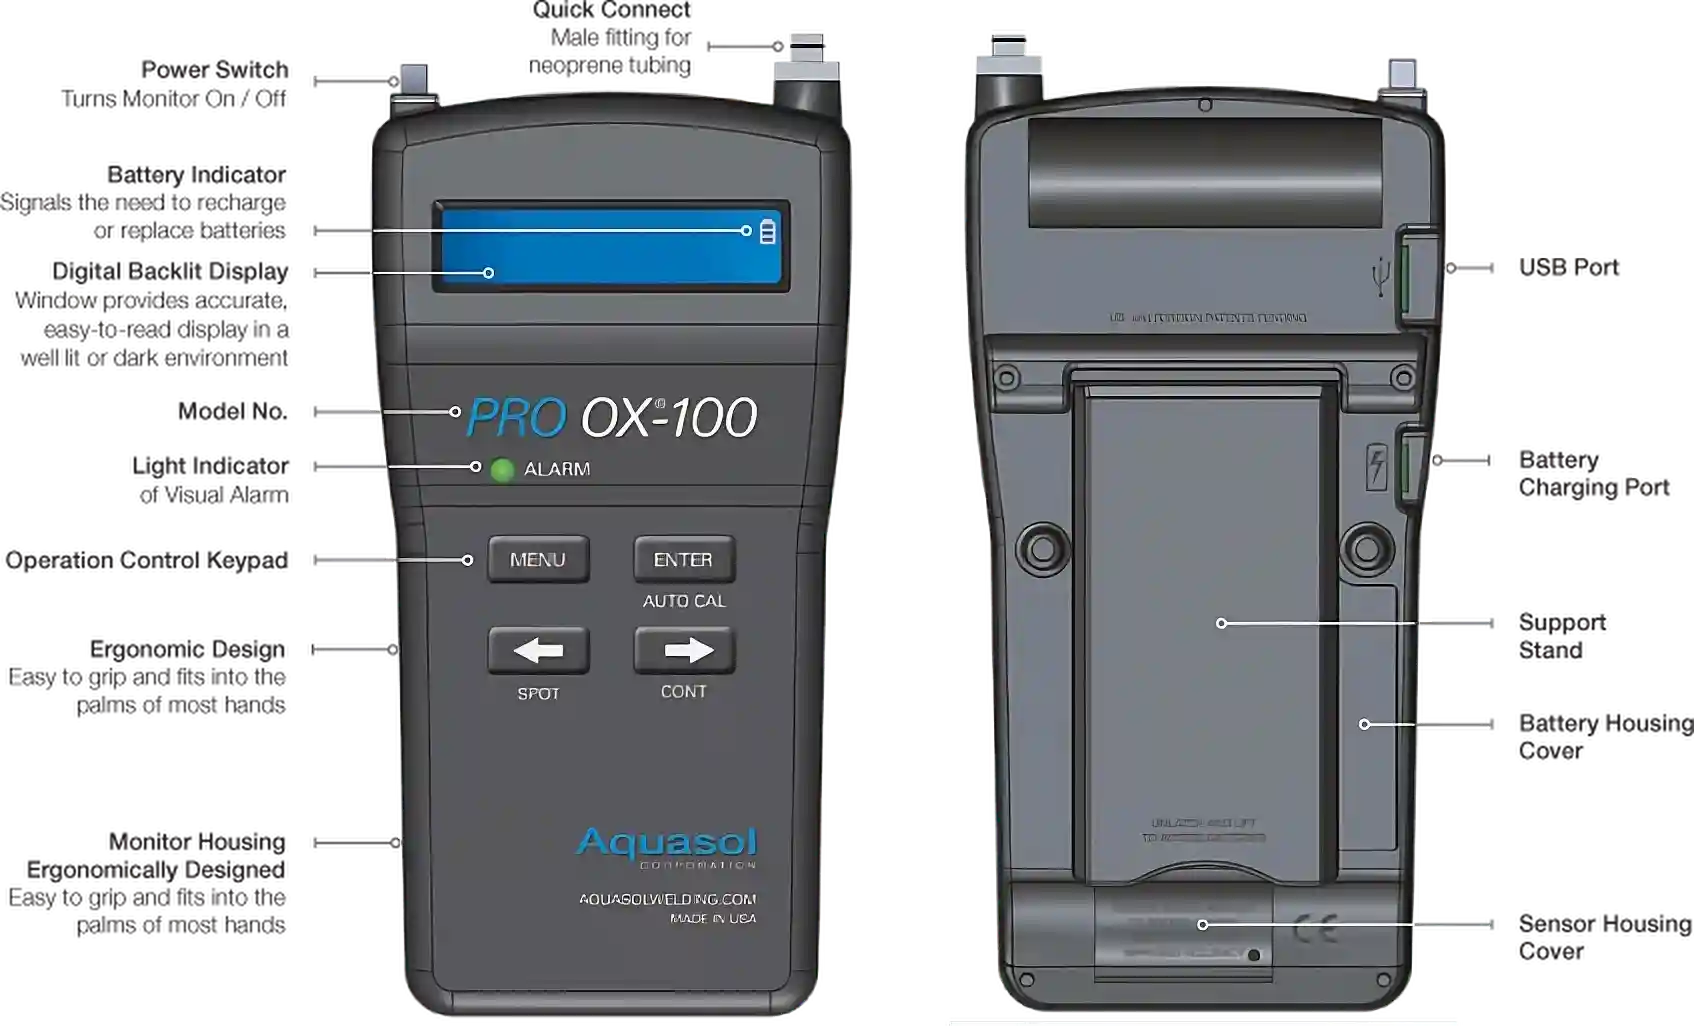
  1. Adose la tubería de extensión de neoprene con accesorio hembra al accesorio “macho” de Conexión Rápida que está arriba a la derecha de la unidad
  2. Tire suavemente para asegurarse de que la conexión está bien colocada.
  3. Inserte la sonda de acero inoxidable en el extremo del tubo de neoprene que no tiene accesorio
  4. Antes de tomar una medición de oxígeno, asegúrese de que ambas conexiones estén firmes

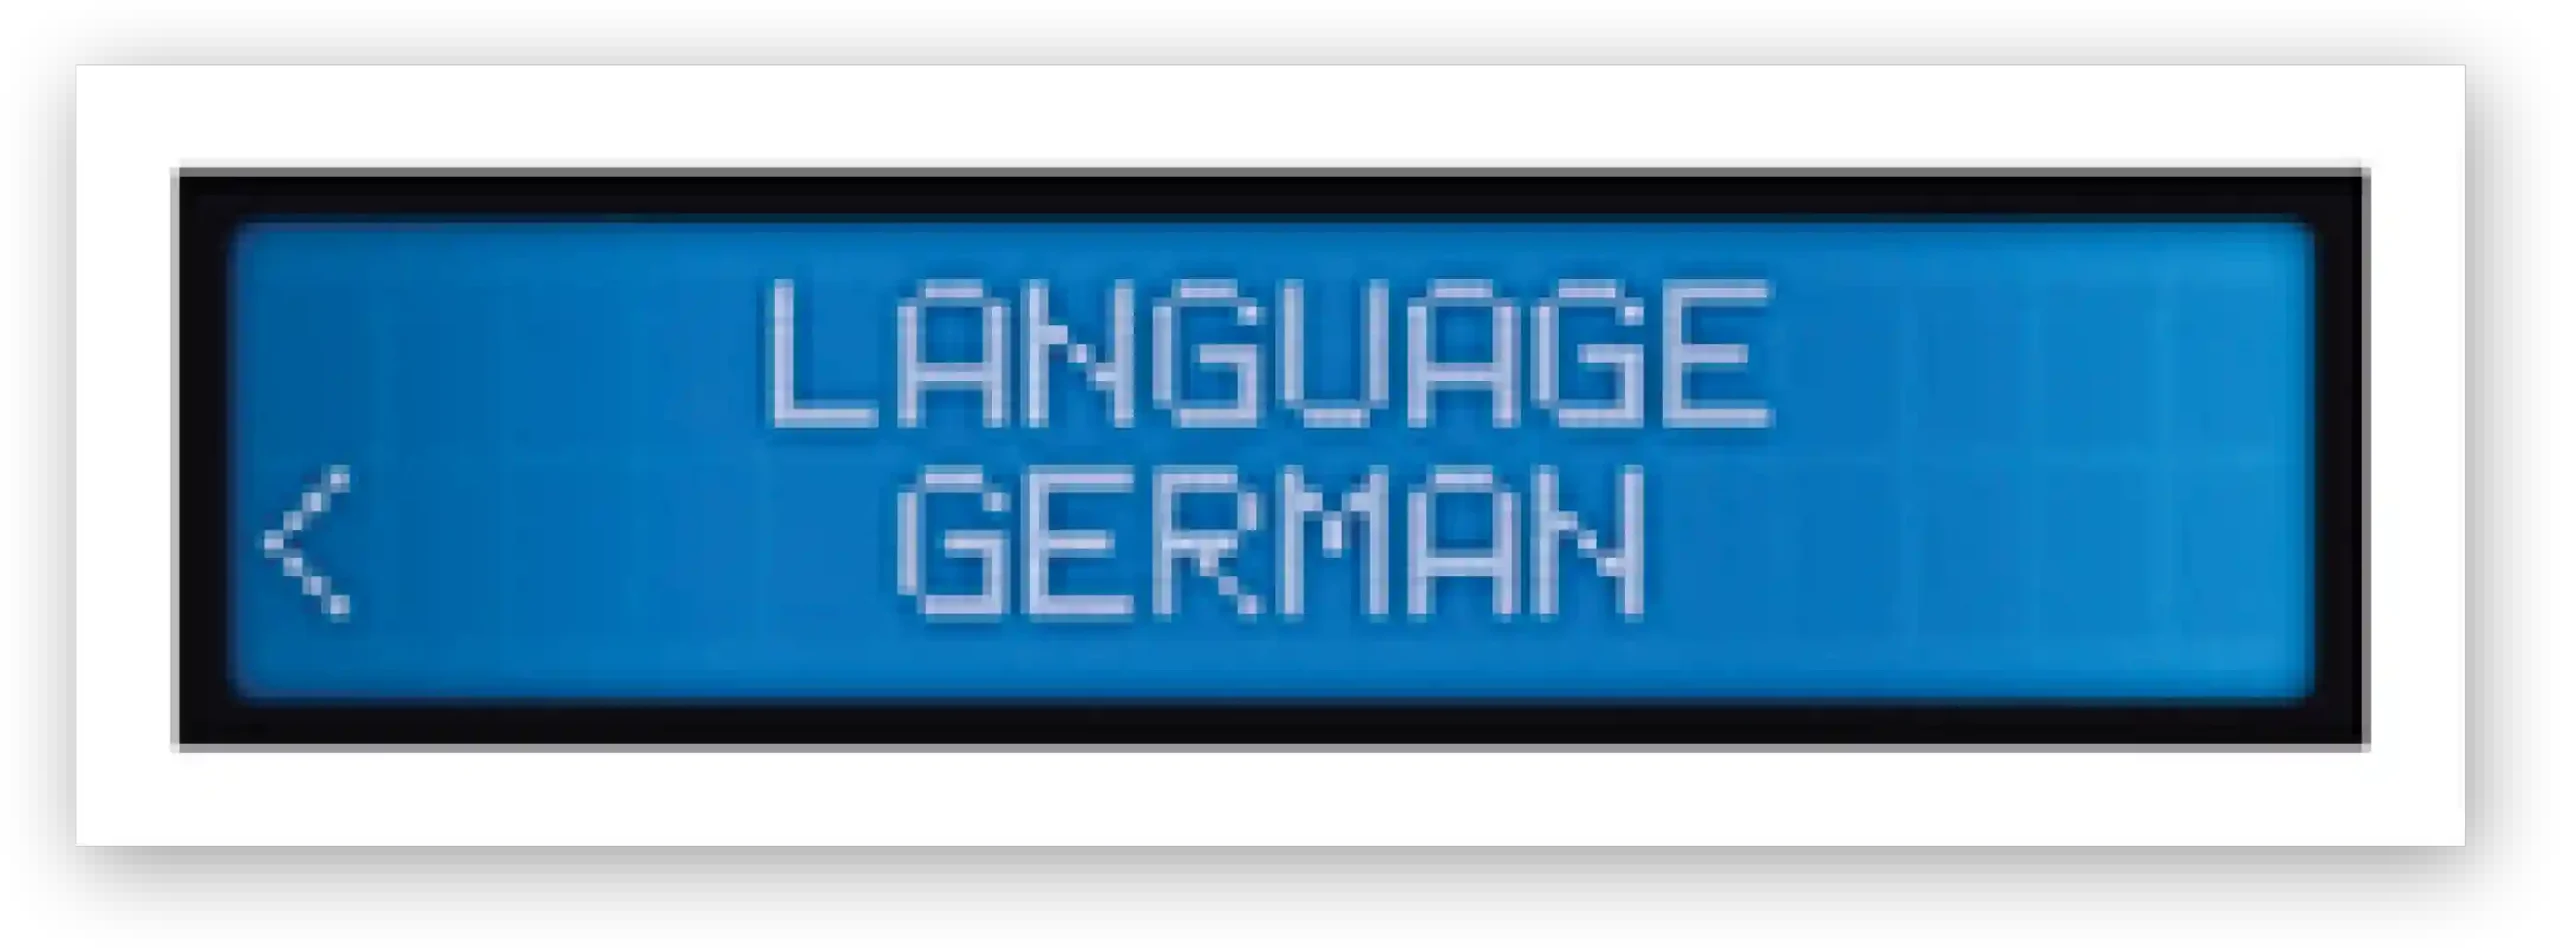
Para Fijar Idioma:

  1. Presione y sostenga el botón “MENÚ”
  2. Luego presione el botón de flecha “DERECHA” hasta que aparezca en la pantalla
  3. Presione el botón “ENTRAR” para seleccionar “CONFIGURACIÓN IDIOMA”
  4. Elija el idioma (alemán, español, portugués, inglés) que prefiera
  5. Presione el botón “ENTRAR” para Guardar y Salir
  6. Presione el botón “MENÚ” para volver a la pantalla principal

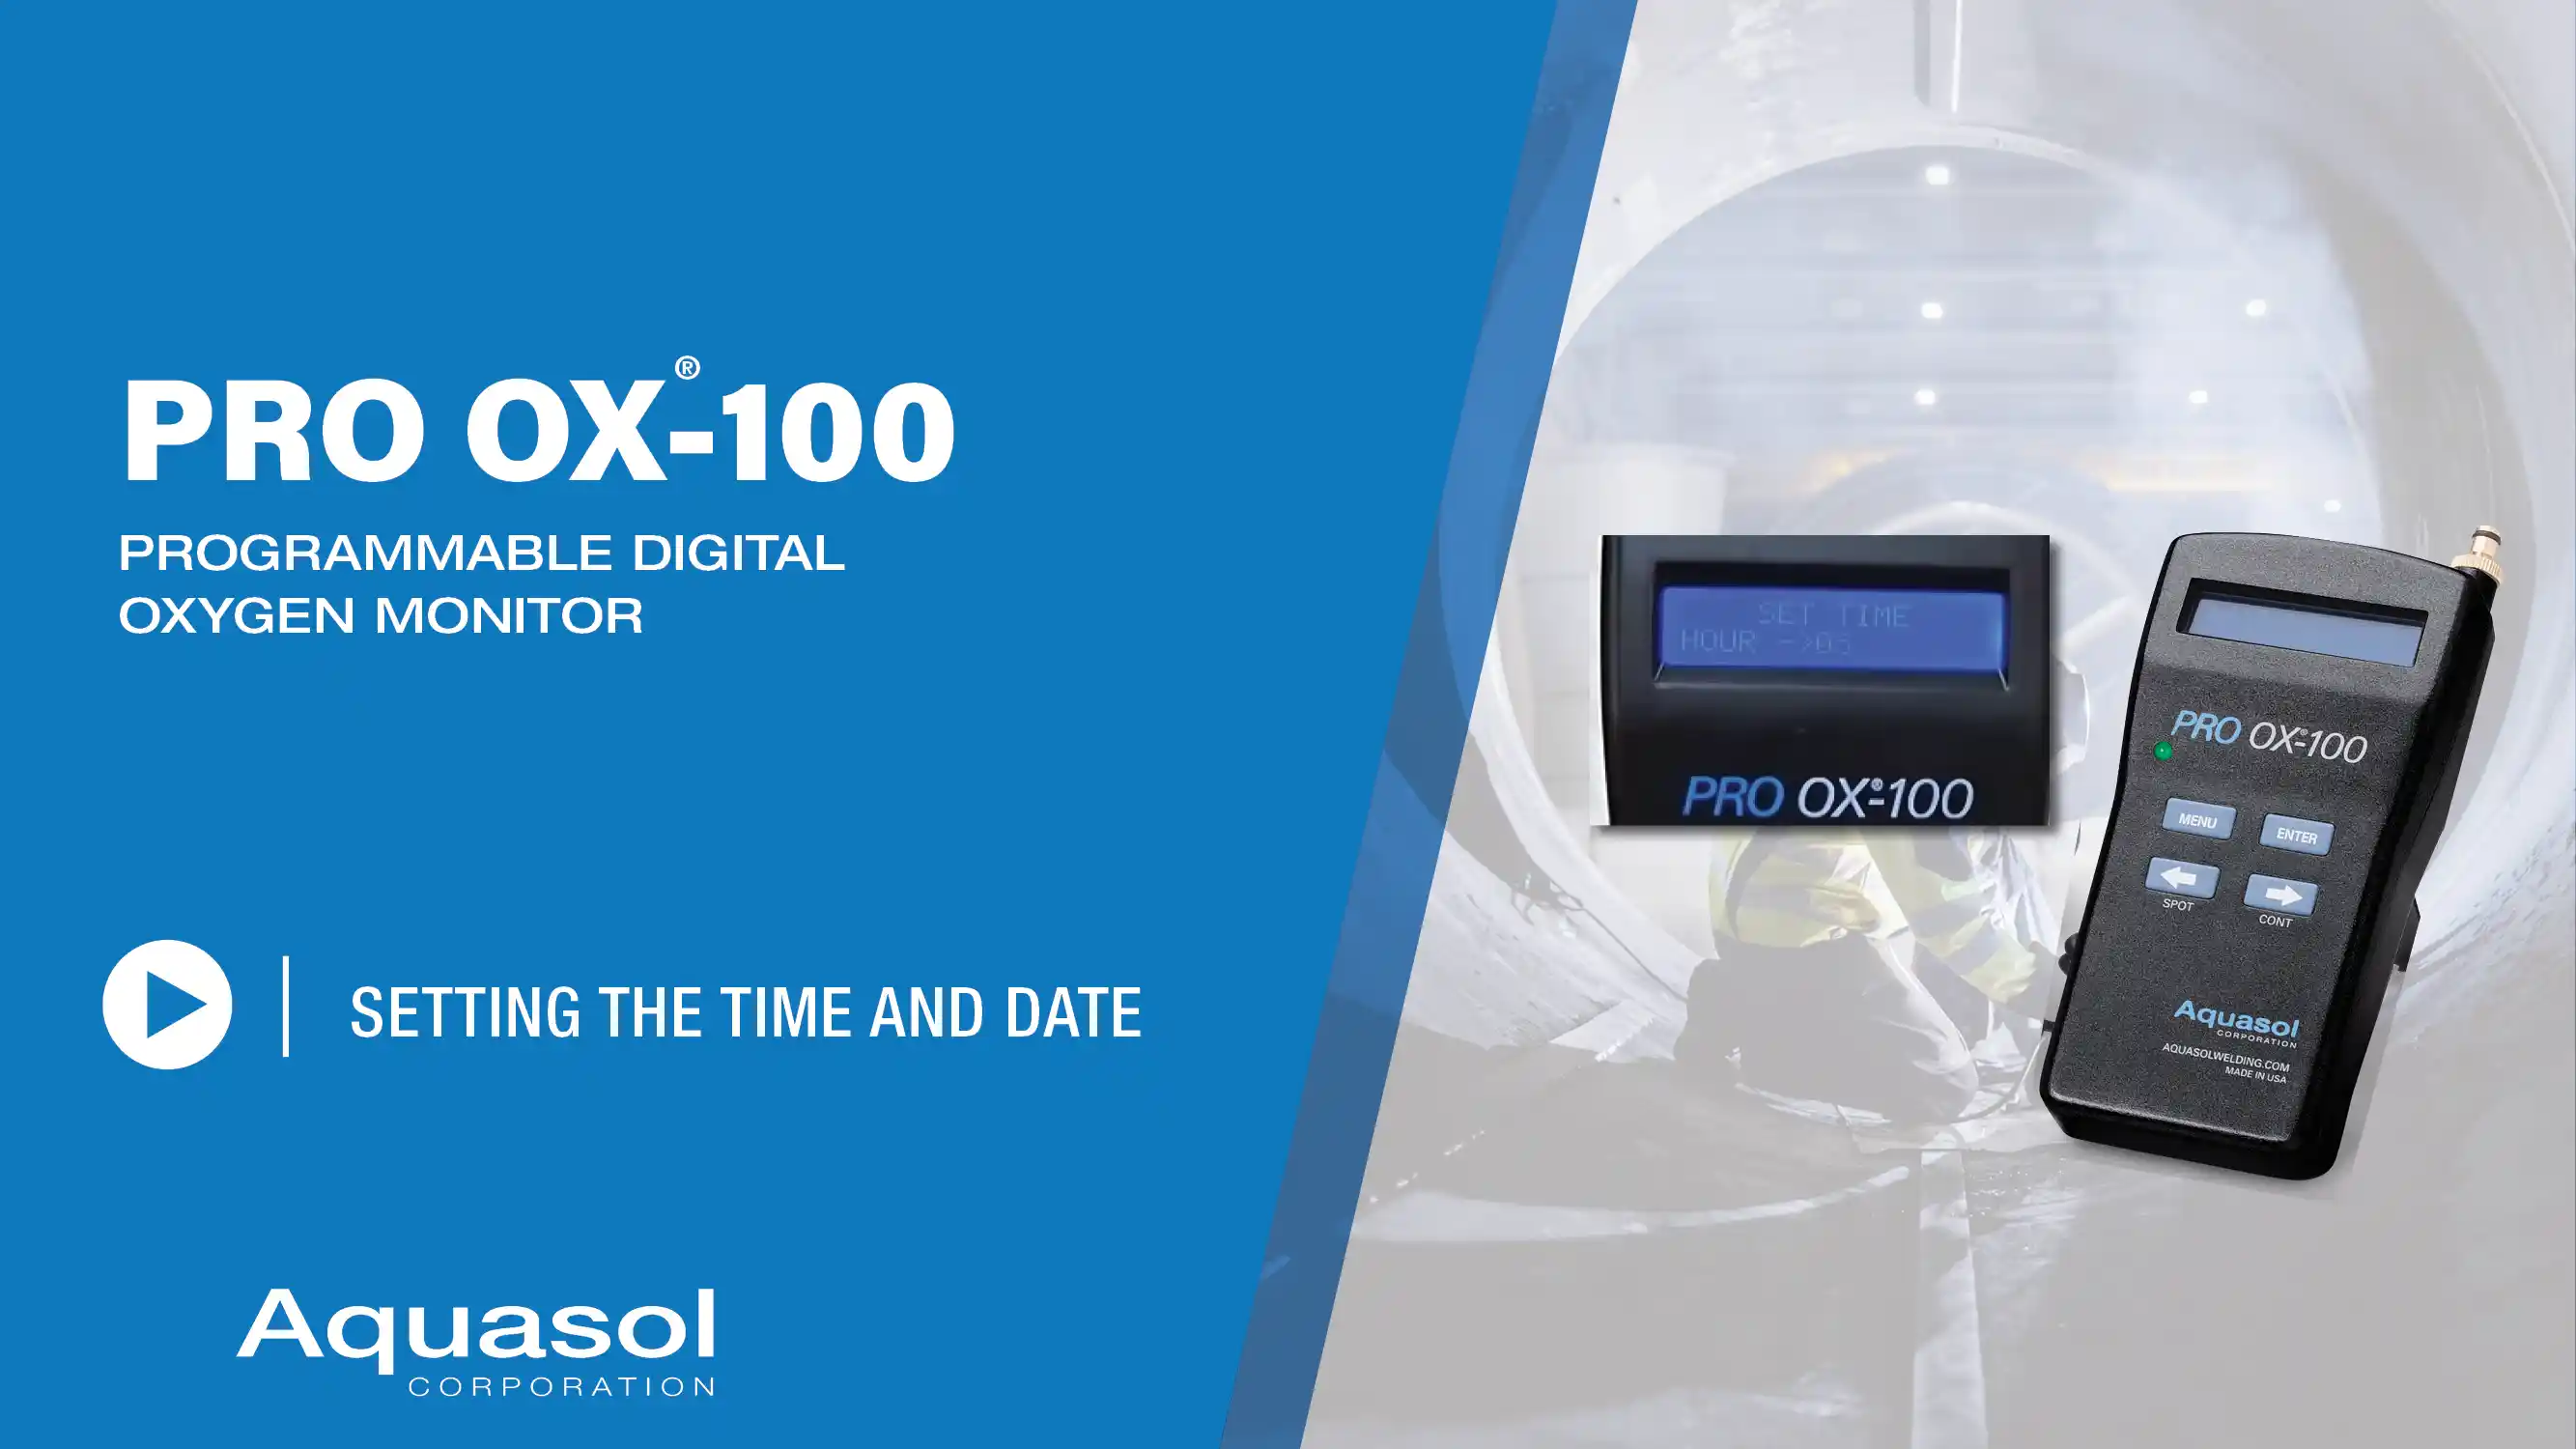
Para Fijar Fecha y Hora:

  1. Presione el botón “MENÚ” para que aparezca en pantalla el menú “CONFIGURACIÓN”
  2. Seleccione la opción «FIJAR FECHA/HORA» presionando «ENTRAR»
  3. Use los botones de flecha “DERECHA” à e “IZQUIERDA” ß para aumentar o disminuir el valor de “HORA”, “MINUTO”, SEGUNDO”, “MES”, y “AÑO”, y use el botón “ENTRAR” para guardar los valores seleccionados

Para Fijar la Alarma en ENCENDIDO/APAGADO:

  1. Presione el botón “MENÚ” y use el botón de flecha “DERECHA” àhasta que aparezca “CONFIGURACIÓN:FIJAR ALARMA”
  2. Presione el botón “ENTRAR” para seleccionar “CONFIGURACIÓN ALARMA”
  3. Use los botones de flecha “DERECHA” à e “IZQUIERDA” ß para aumentar o disminuir el valor de “ALARMA”
  4. Cuando la Alarma está desactivada (configuración de fábrica), use los botones de flecha “DERECHA” e “IZQUIERDA” ß para que aparezca el valor PPM
  5. Si intenta disminuir el valor por debajo de 100 PPM, presionando el botón de flecha “IZQUIERDA”, la alarma se desactivará
  6. Presione “Entrar” para guardar las configuraciones y salir

NOTA: La Alarma Audiovisual viene Configurada de Fábrica en “Alarma Desactivada”

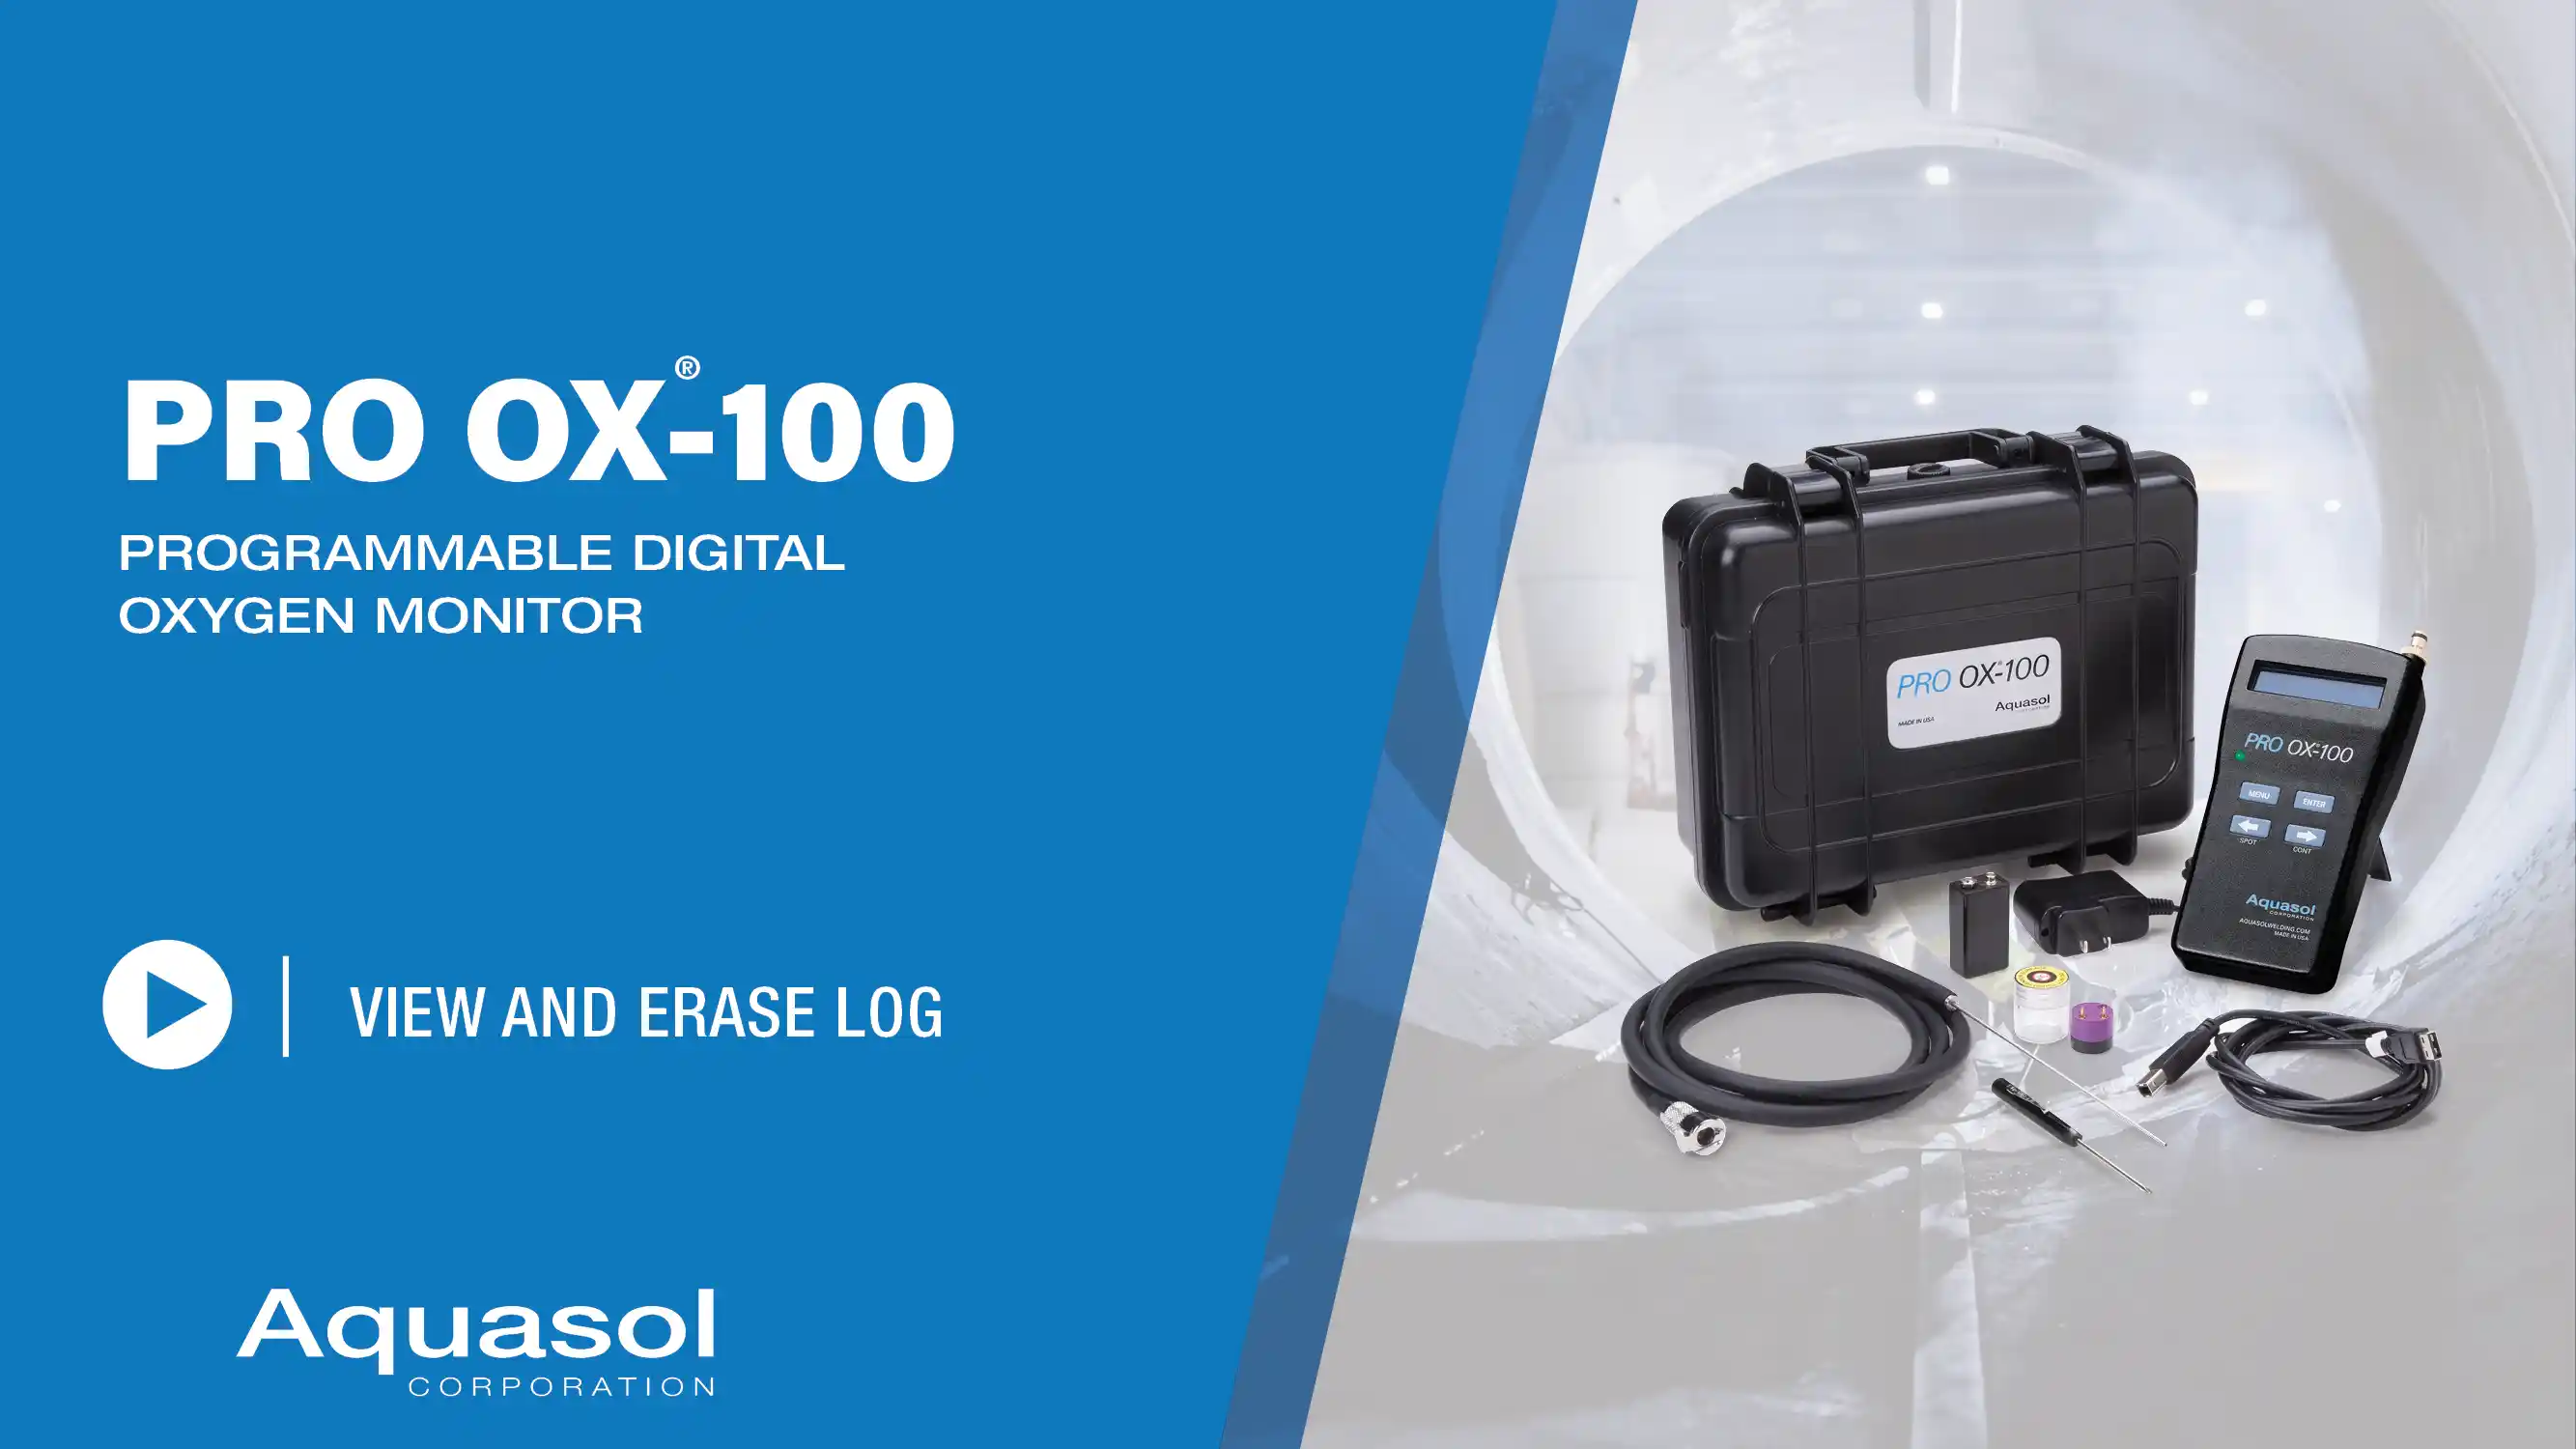
Para ver el Registro:

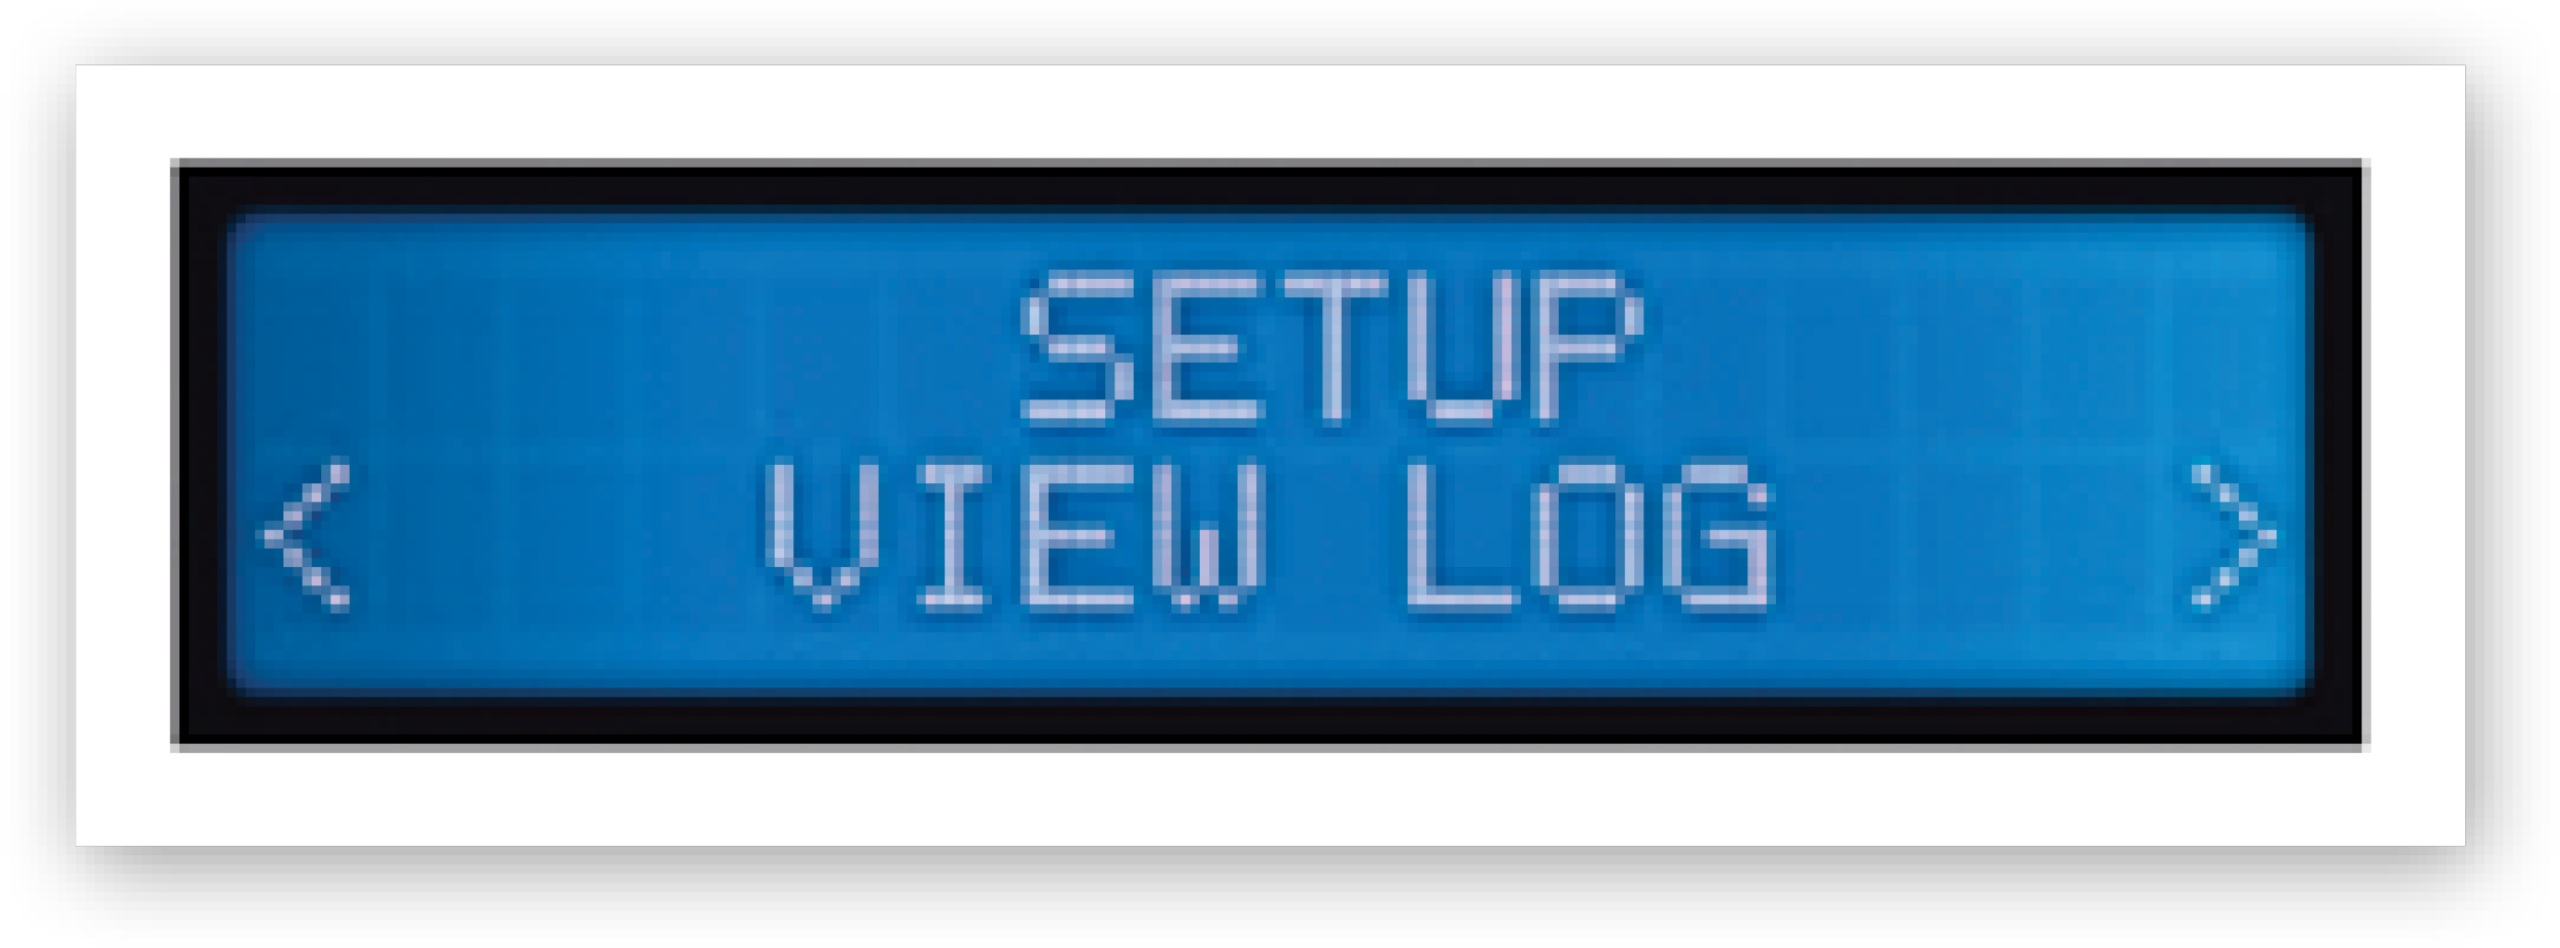
  1. Presione el botón “MENÚ” y use el botón de flecha “DERECHA” àhasta que aparezca “CONFIGURACIÓN:VER REGISTRO”
  2. Presione el botón “ENTRAR” para seleccionar el visualizador “REGISTRO”
  3. Use los botones de flecha “DERECHA” à e “IZQUIERDA” ß para navegar por el registro. La pantalla mostrará un total de hasta 500 puntos de datos
  4. Presione “Entrar” para guardar las configuraciones y salir

Para Borrar el Registro:

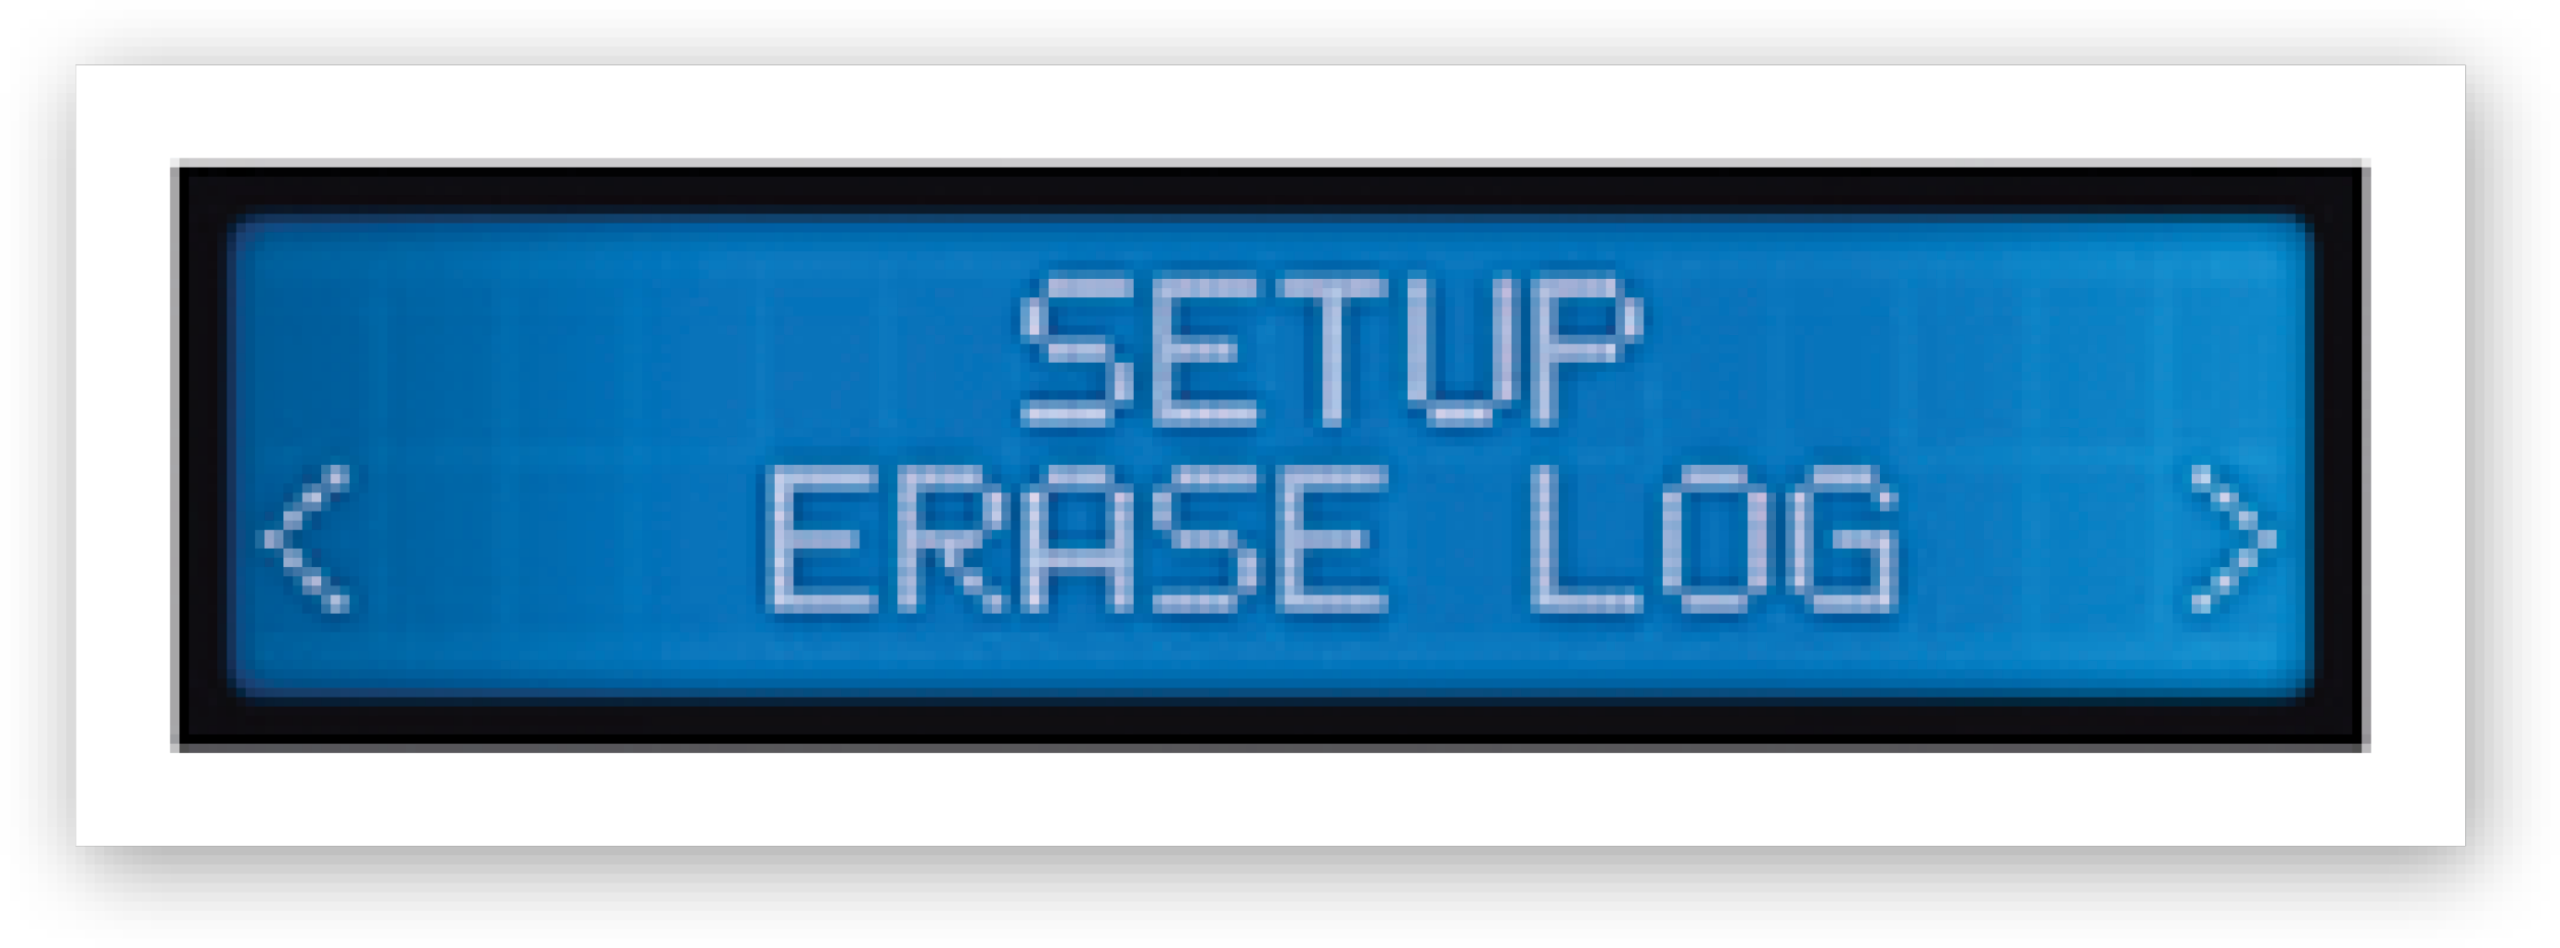
  1. Presione el botón “MENÚ” y use el botón de flecha “DERECHA” àhasta que aparezca “CONFIGURACIÓN:BORRAR REGISTRO”
  2. Presione el botón “ENTRAR” para comenzar a borrar todos los puntos de datos del registro
  3. Cuando en la pantalla aparezca “HECHO”, todos los puntos de datos habrán sido borrados del registro
  4. Presione “Entrar” para guardar las configuraciones y salir

Cómo Calibrar el PRO OX-100:

Modelo de calibración de dos puntos:

  • Todos los monitores de oxígeno Pro OX-100 vienen calibrados y certificados de fábrica
  • La calibración de 2 puntos solo es necesaria cuando se reemplaza el sensor
  • Consta de 2 pasos con un punto alto, «CAL HI», y un punto bajo, «CAL LO»
  • «CAL HI» toma muestras del aire ambiente con el objetivo de 20,9 % de oxígeno
  • «CAL LO» utiliza argón al 99,999 % con el objetivo de >100 ppm de oxígeno
  • Cada punto del proceso de calibración tarda aproximadamente 14 minutos en completarse
  1. Presione el botón “MENÚ” y use el botón de flecha “DERECHA” hasta que aparezca “SETUP: CAL HI”
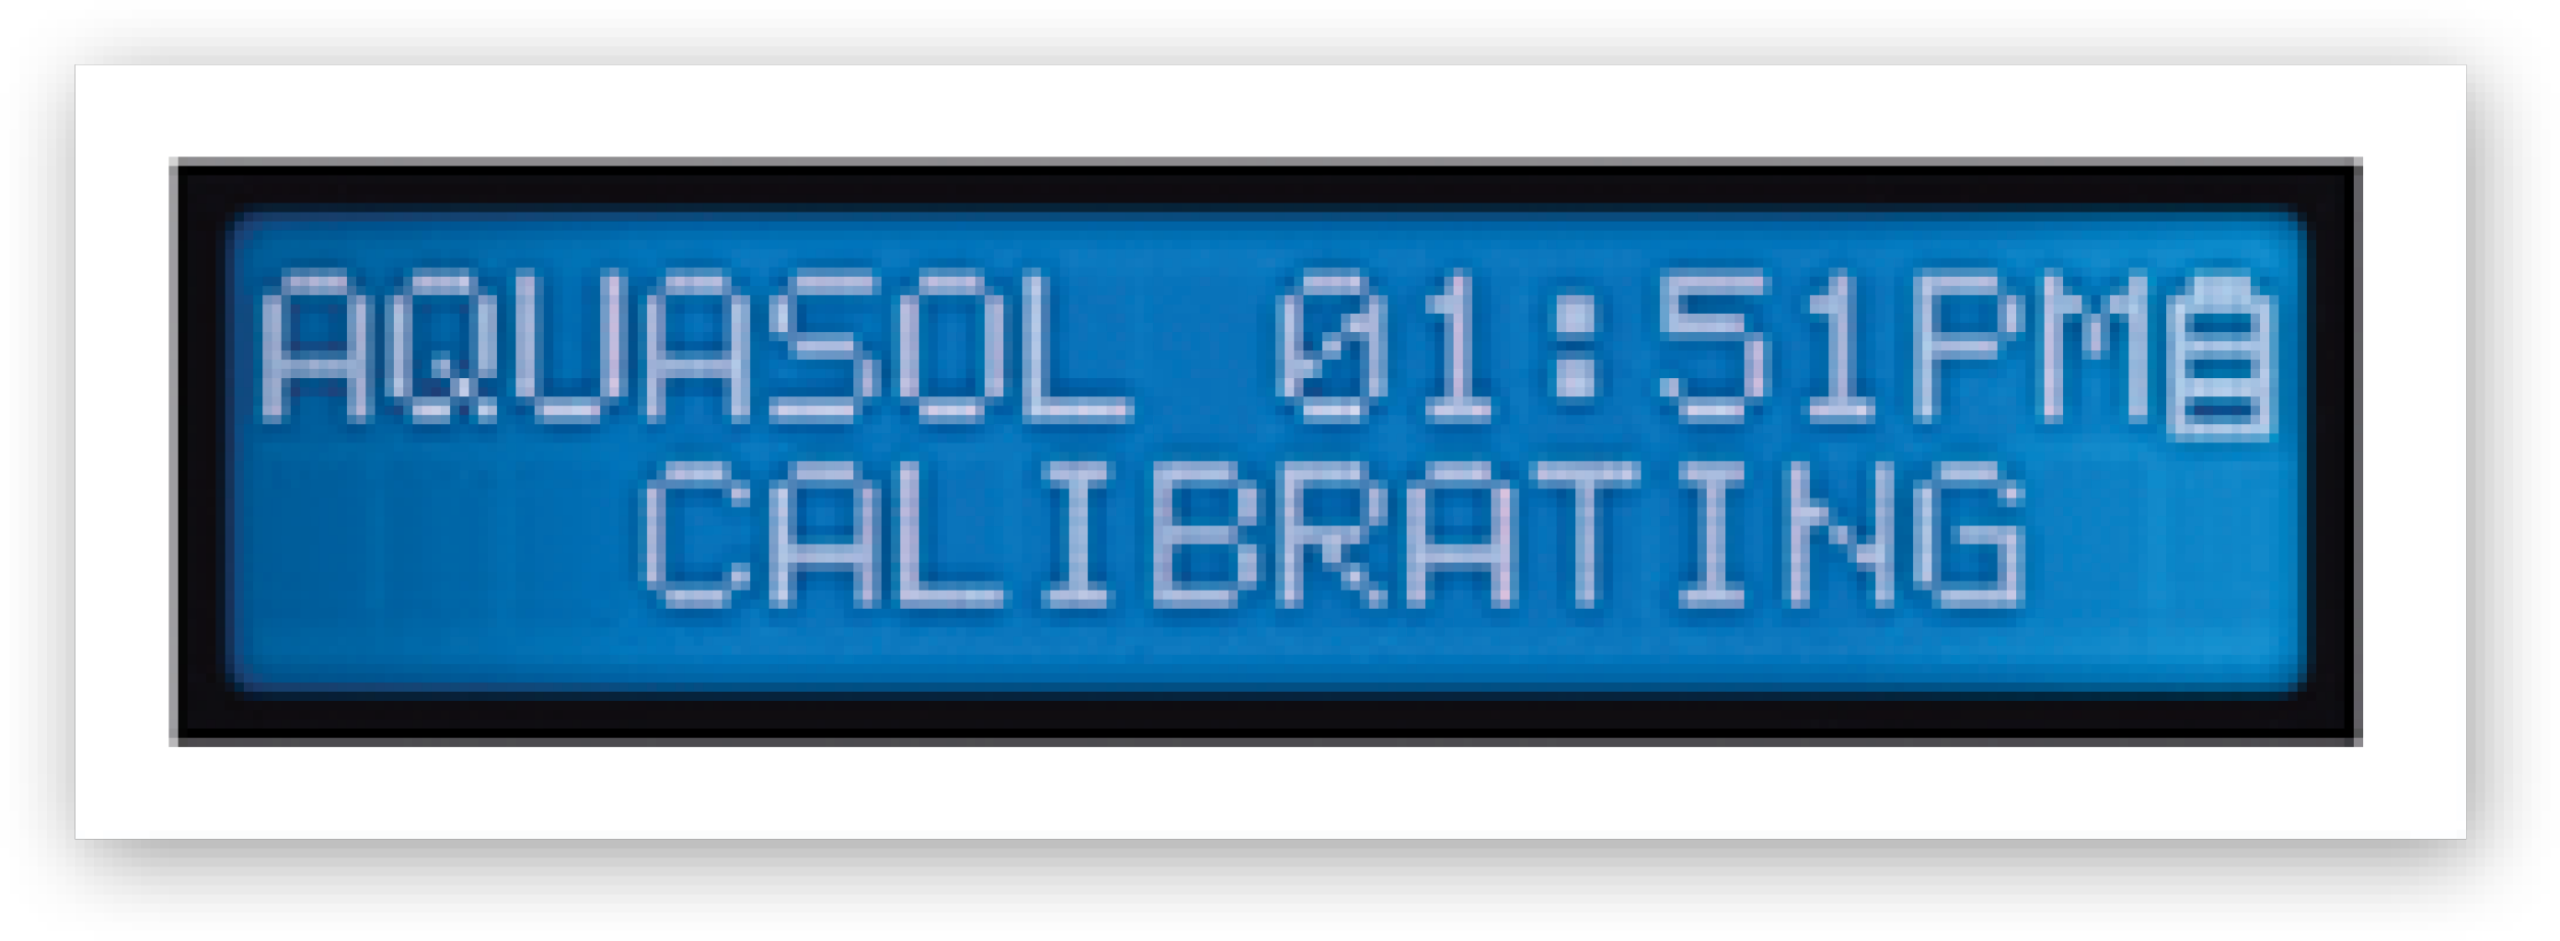
  2. Presione “ENTRAR” para confirmar y vuelva a presionarlo para comenzar la calibración
  3. La bomba se apagará automáticamente al finalizar. Reinicie el monitor para salir
  4. Inserte la sonda de muestreo en una línea de argón con un caudal de 20 CFH
  5. Presione el botón “MENÚ” y use el botón de flecha “DERECHA” hasta que aparezca “SETUP: CAL LO”
  6. Presione “ENTRAR” para confirmar y vuelva a presionarlo para comenzar la calibración

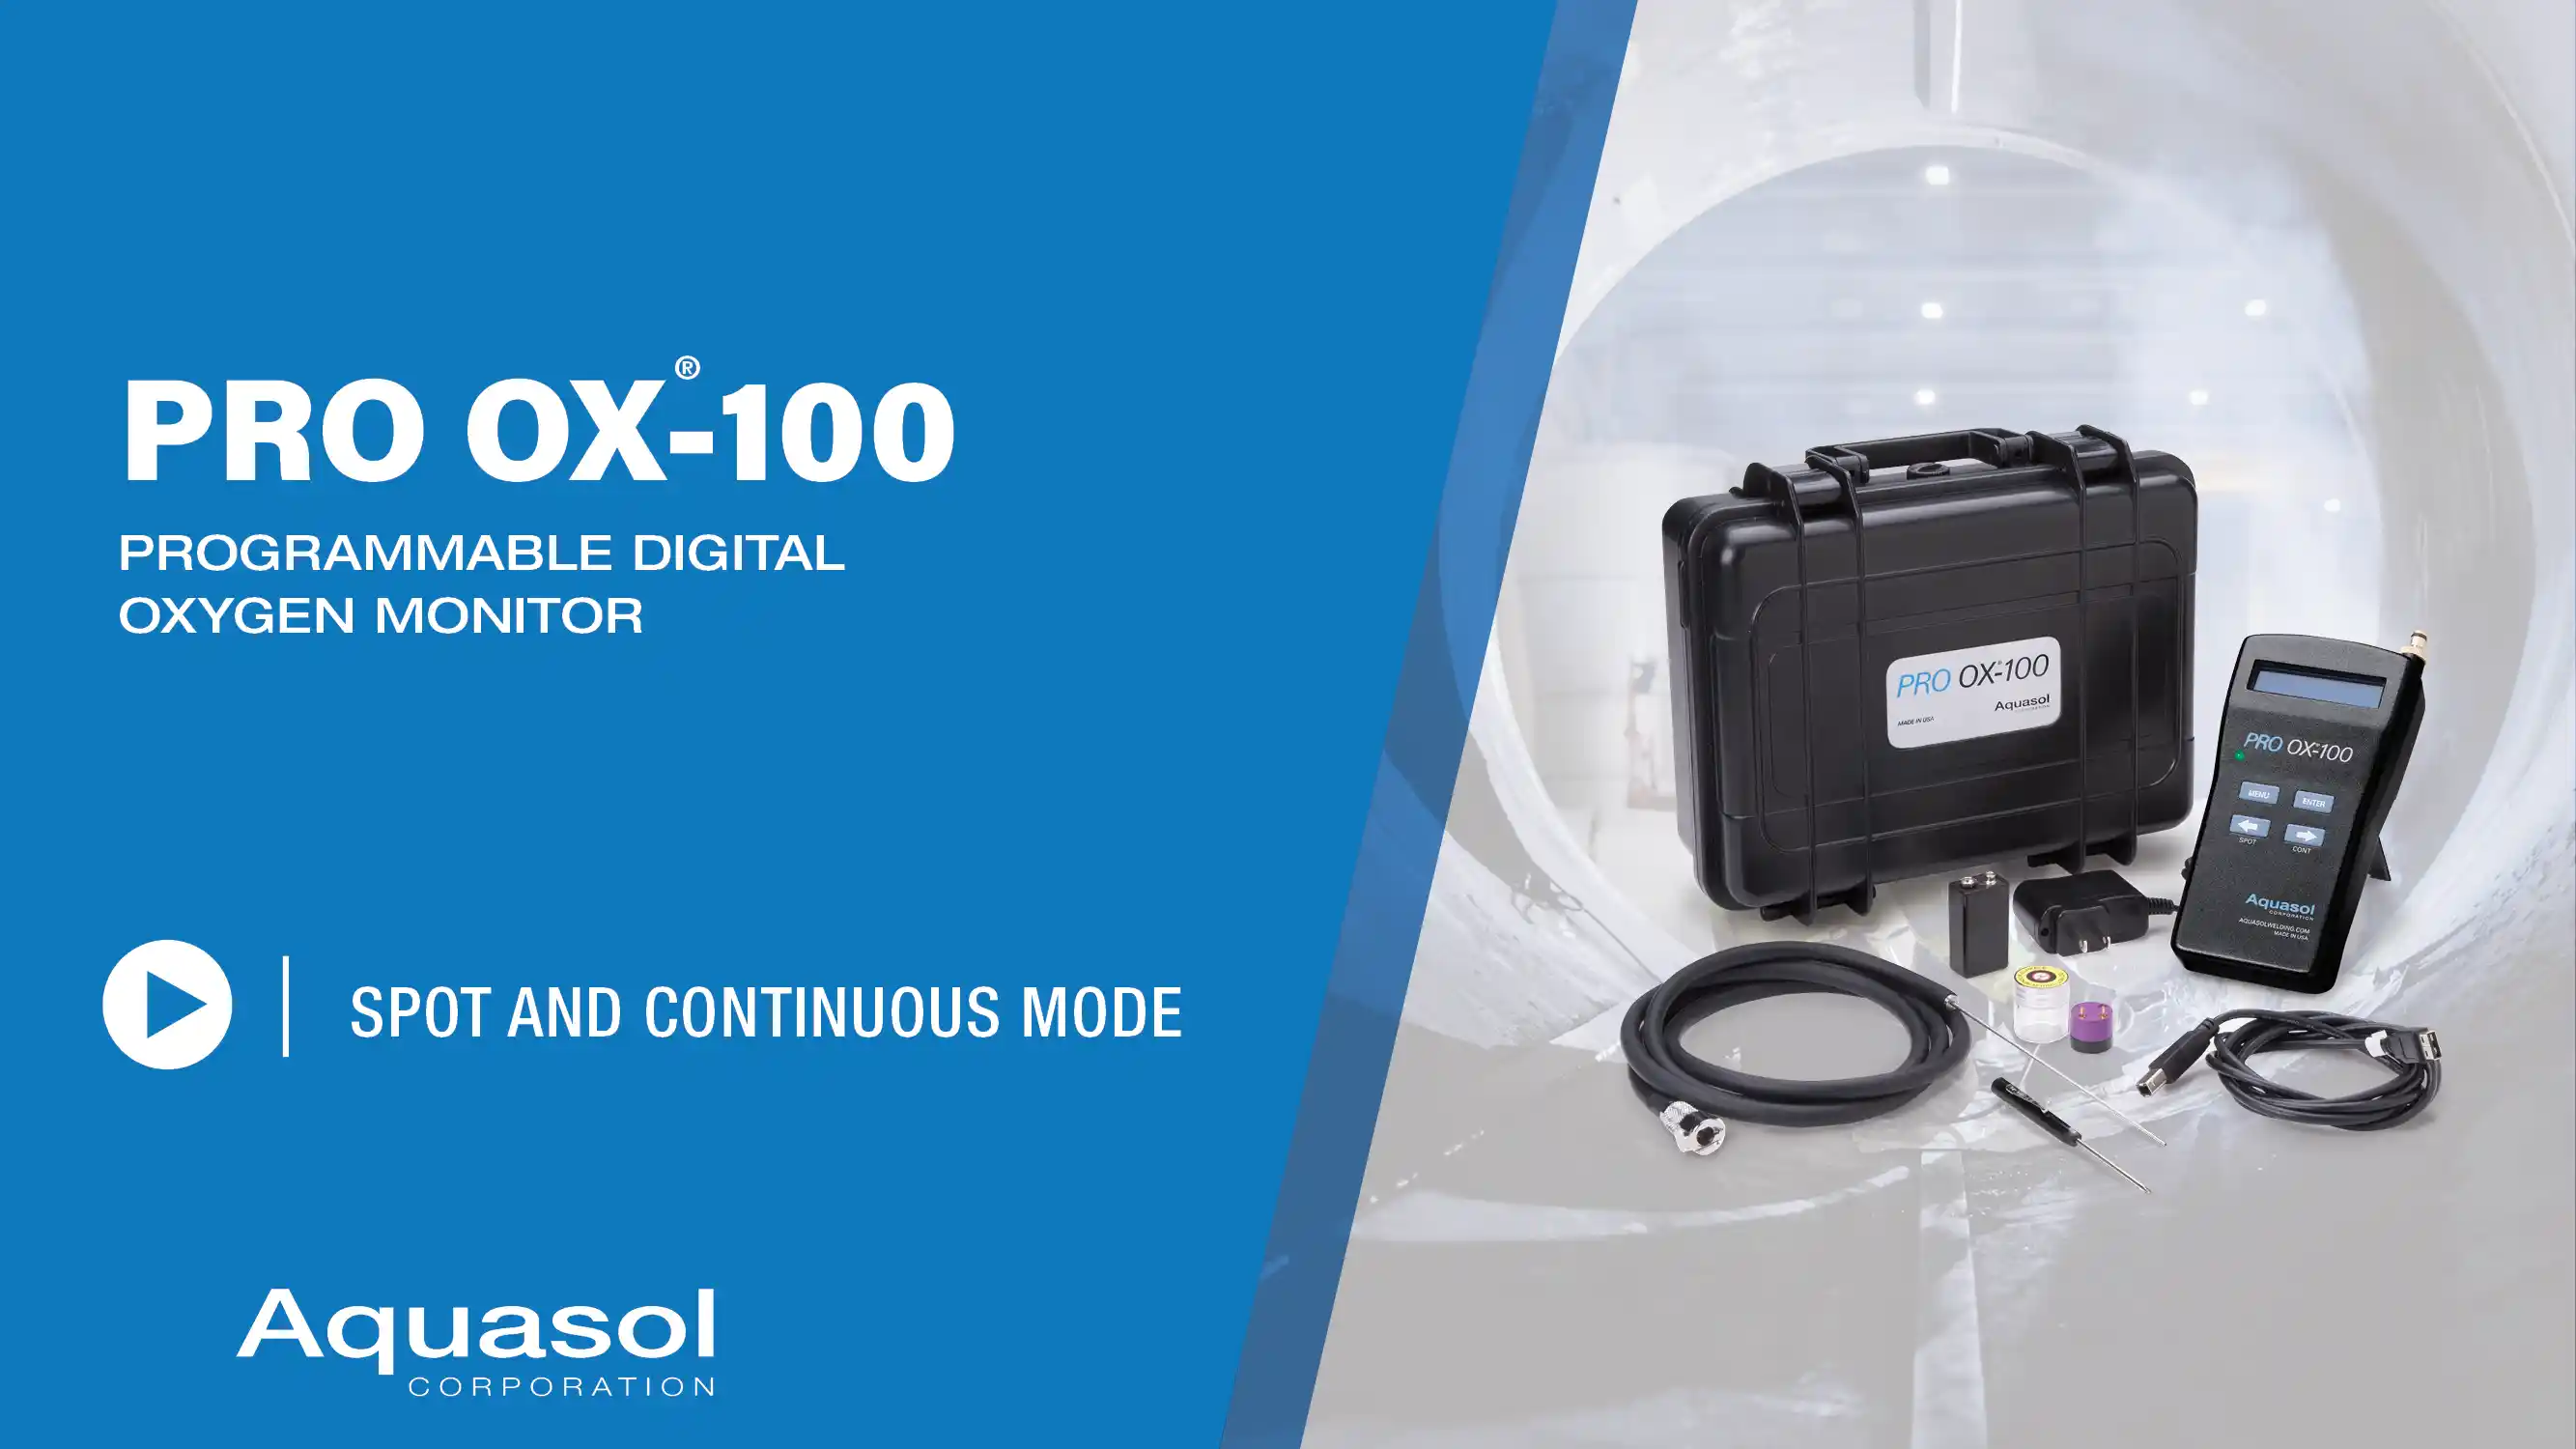
Modo de Lectura Puntual:

  1. Cuando la unidad PRO OX-100 está en la pantalla principal, presione el botón “PUNTUAL” y la unidad comenzará a funcionar
  2. Al finalizar la lectura puntual, en la PRO OX-100 aparecerá el valor porcentual de oxígeno
  3. Presione el botón de flecha “IZQUIERDA” ß para volver a la pantalla principal

Modo de Lectura Continuo:

  1. Cuando la unidad PRO OX-100 está en la pantalla principal, presione el botón “CONT”
  2. Durante la operación, la unidad actualizará constantemente el último nivel de oxígeno
  3. Para salir del modo continuo, presione el botón “CONT” después de que en la pantalla aparezca una lectura

Tipos y Tamaños

ARTÍCULO N° DESCRIPCIÓN DIMENSIONES PESO
SIST. INGLÉS (pulg.) SIST. MÉTRICO (mm) SIST. INGLÉS SIST. MÉTRICO
P-OX KIT Monitor de Oxígeno PRO OX-100 y Kit de Accesorios 11 x 9 x 4 279 x 227 x 102 4.00 lb 182 g
P-OX KIT Euro Monitor de Oxígeno PRO OX-100 y Kit de Accesorios con Cargador Europeo 11 x 9 x 4 279 x 227 x 102 4.00 lb 182 g
P-OX Sensor Sensor de Oxígeno PRO OX-100 1 x 1 21 x 20 0.03 lb 16 g
P-OX Batt Batería NiMH 9 V PRO OX-100 2 x 1 x 1 48 x 26 x 17 0.12 lb 54 g
P-OX Charger/US Cargador de Batería NiMH 12 V PRO OX-100 con Enchufe Tipo EE.UU. 3 x 2 x 1 8 x 60 x 25 0.10 lb 59 g
P-OX Charger/EU Cargador de Batería NiMH 12 V PRO OX-100 con Enchufe Tipo Europeo 3 x 2 x 1 8 x 60 x 25 0.10 lb 59 g
P-OX USB Cable USB PRO OX-100 (72″ o 1.8 m) 4 x 4 x 1 102 x 102 x 25 0.11 lb 50 g

FAQs

Self Calibrating Model:
Calibration can be performed on a weekly basis. There are no other specific recommendations regarding maintenance besides general care of the unit such as cleaning, proper storage, etc.
Point Calibration Model:
1. As the unit undergoes 2-point calibration, it is not necessary to recalibrate unless the SENSOR needs replacement. A CAL ERR will indicate a need for replacement.
2. Replace sensor and follow instructions in section 2.1.7 of the manual pages 19-21.
Periodic Calibration Interval
Self Calibrating Model:
If a unit is used very frequently (daily)it should be calibrated once a week. If it is not used frequently, it should be calibrated once every three weeks.
Modelo de calibración de dos puntos:
As the unit undergoes 2 point calibration, it is not necessary to recalibrate unless the SENSOR needs replacement. A CAL ERR will indicate a need for replacement.»

Every oxygen monitor is shipped with a Calibration Certificate.

The Pro OX-100 is battery operated, but can also be operated through a standalone power supply. For specifications on use, refer to section 2.1.1 of the manual. With a full-charge, the battery can supply continuous power for up to two (2) hours.

When using The Pro OX-100 Oxygen Monitor for LESS than two (2)continuous hours, ensure a fully charged battery is installed into the battery housing. Then turn the power switch to the ON position. Continue to use the monitor until operation is complete or the battery indicator displays the “lowbattery indicator”. When using The Pro OX®-100 Oxygen Monitor for MORE than two (2)continuous hours be sure to turn the power switch to the OFF position. If the battery is installed, remove it from the housing. Then connect the standalone power supply/charger cable to the port. After this step, connect the power supply/charger plug into the nearest working outlet (110Vfor US type/220V for EU type). Then simply turn the power switch to the ON position. The Pro OX-100 is capable of operating indefinitely with a standalone power supply.
CAUTION: ALWAYS REMOVE THE BATTERY IF USING THE MONITOR FOR MORE THAN 2 CONTINUOUS HOURS. FAILURE TO DO SO CAN OVERHEAT THE BATTERY AND SERIOUSLY DAMAGE THE PRODUCT AS WELL AS VOID THE WARRANTY.»
The PRO OX-100 can operate in temperatures as low as 0°C (32°F) and as high as 50°C (122°F).

The sensor has a lifespan of approximately one year under normal operating conditions (see manual for operating temperature, proper storage guidelines, etc.).

Sensors are available for purchase. Each sensor has a one-year warranty. It is not recommended to keep stock of extra sensors. Sensors are readily available to ship and are lightweight. Contact orderdesk@aquasolcorporation.com for further information

If there is an issue starting the pump when pressing the SPOT or CONT button, the pump may be damaged. Contact customer service for an RGA authorization.

If there is no display when the toggle switch is in the ON position, either the battery is drained or the LCD is damaged.

If the battery is drained, simply recharge the battery or use the standalone power supply. Refer to section 1.2.2B of the PRO OX-100 manual for instructions.

If the screen does not light up, replace the battery.

If the LCD is damaged, the unit must be sent to Aquasol Corporation for repair. Contact customer service for an RGA authorization.

If strange symbols appear on the screen when the toggle switch is in the ON position, the display is damaged.

The unit must be repaired. Contact customer service for an RGA authorization.

The keypad is damaged if the keys do not correspond with what is on the display. The unit must be sent to Aquasol Corporation for repair. Contact customer service for an RGA authorization.

To test the PRO OX-100 audiovisual alarm, follow the guidelines below:

  1. Go to alarm setting and set the alarm to 100 ppm. Save and Exit.
  2. Pull the sensor out from the sensor housing.
  3. Press ‘CONT’ and wait until the screen shows “BELOW 100 PPM”. The alarm should go off (both light and sound).

If user is unable to set the alarm, the program could be corrupted. Contact customer service for an RGA authorization.

If the alarm does not sound or flash, the alarm is either disabled or damaged. In order to fix this, refer to the manual Section 2.1.3. and follow the instructions. If the issue still persists, the unit must be sent to Aquasol Corporation for repair. Contact customer service for an RGA authorization.

Self Calibrating Model:
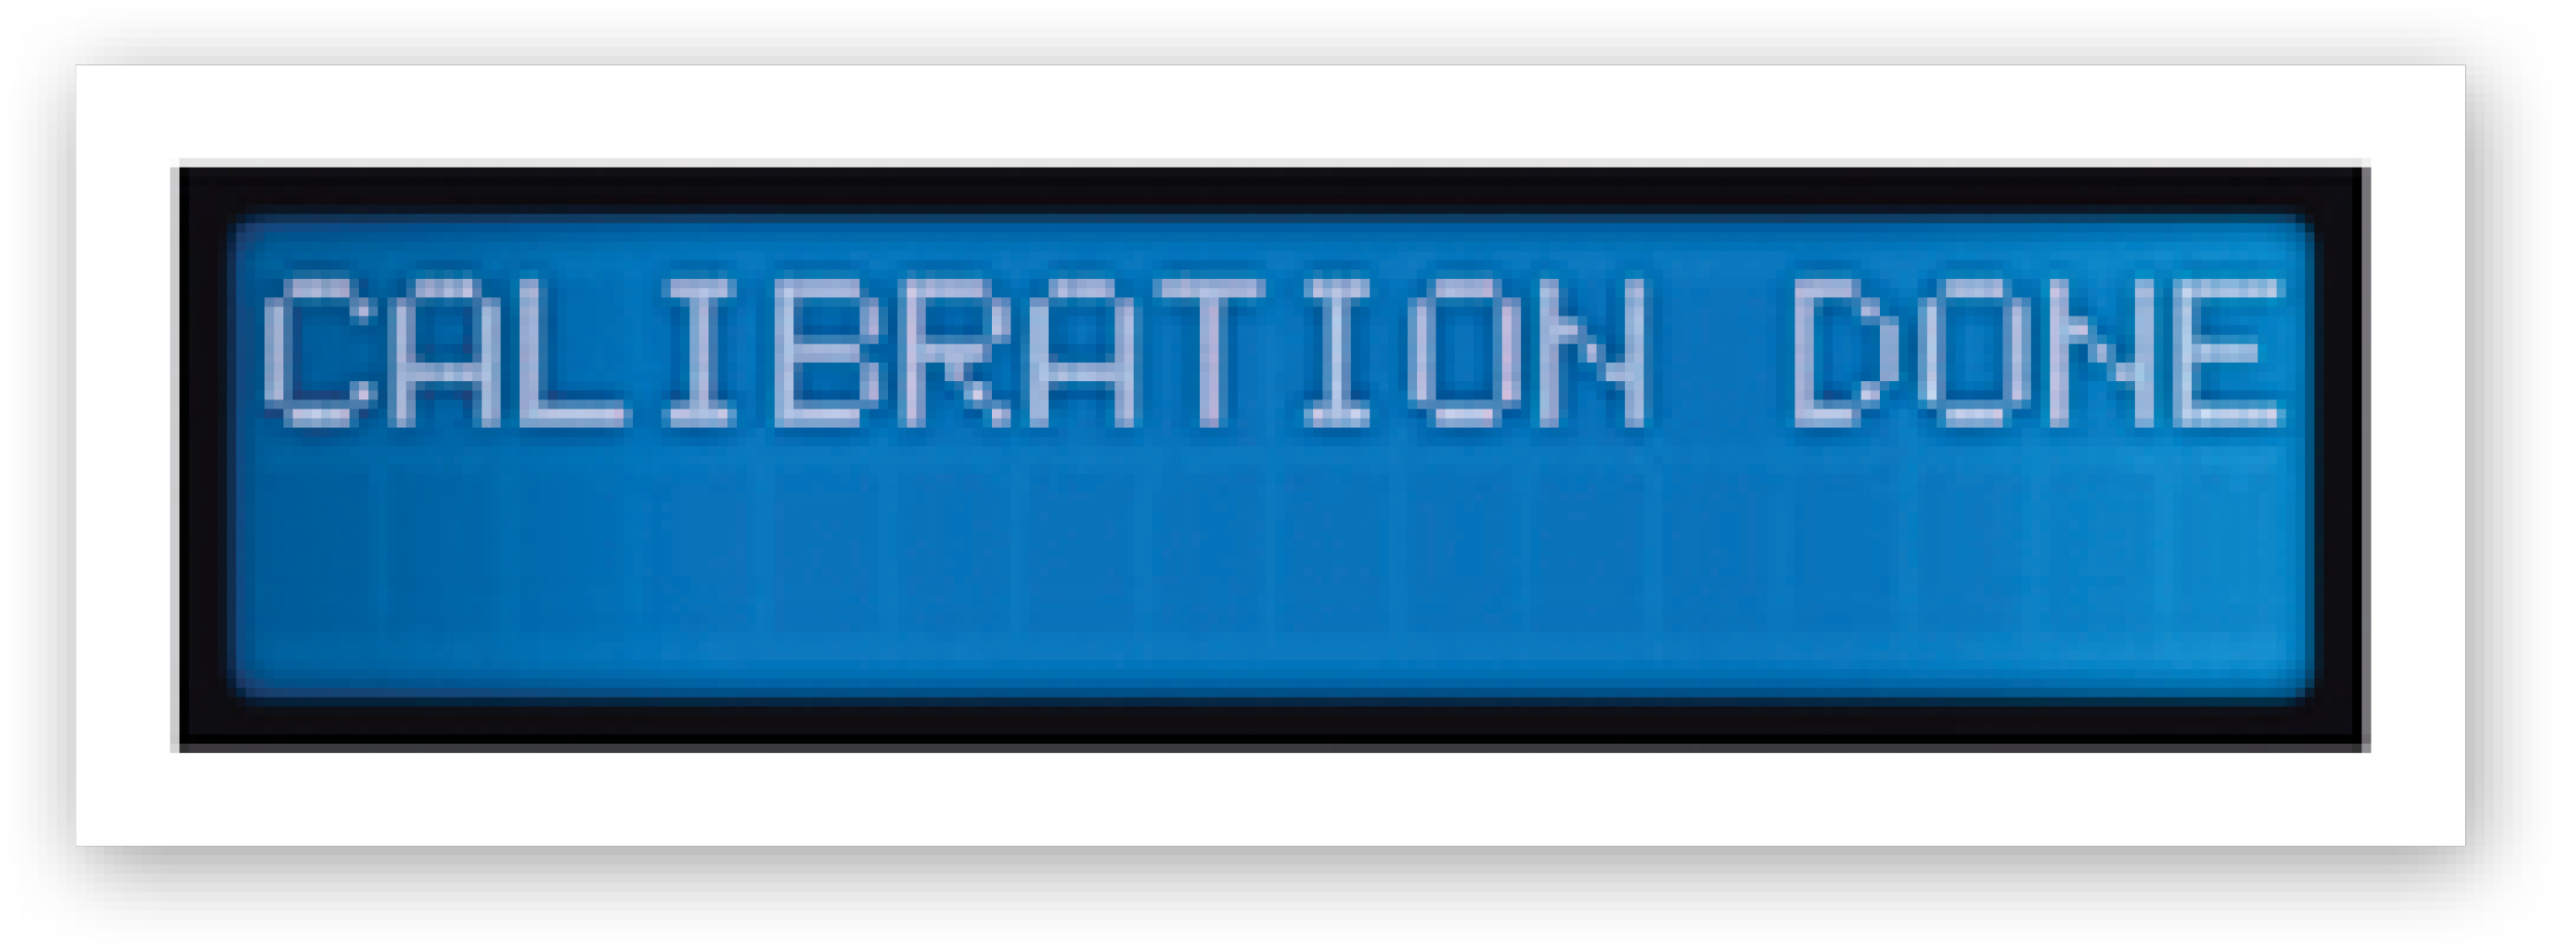
Ensure the sensor is plugged into the sockets properly. After running for 30 seconds, if calibration is successful, the screen will display “CALIBRATION DONE”.

Self Calibrating & 2 Point Calibration Models:
If CAL ERR is displayed, sensor must be replaced. Call Aquasol customer service.

High-frequency may be an issue with monitors receiving readings around specific welding machines. To test for this, place a piece of metal foil/sheet metal between the monitor and the machine, to protect it from interfering with the circuit board. If the monitor reading is normal, high-frequency equipment is interfering.

Any new 9V rechargeable battery can be substituted in the PRO-OX 100. The specification for the 9V battery is NiMH 280mAh. Additionally, any ordinary (non-chargeable) battery may be used as well.

The PRO OX-100 logs data that can be transferred to a computer via USB cable. Conversion software enables easy capture and export of 50 data points to Microsoft® Excel and Plain text format. Data is recorded in 15 second intervals in CONTINUOUS mode or as needed in SPOT mode.

In order to obtain the data logging software required for the Pro OX®-100, go to aquasolwelding.com, click on the products drop down menu and select “PRO OX-100”. Then click on the provided link, Download “Software and Driver” zip file, complete the form including unit serial number and other required information. Within 24 hours you will receive an email with software attachments for 32 and 64 bit machines.

Self Calibrating Model:
Calibration can be performed on a weekly basis. There are no other specific recommendations regarding maintenance besides general care of the unit such as cleaning, proper storage, etc.

Point Calibration Model:
1. As the unit undergoes 2 point calibration, it is not necessary to recalibrate unless the SENSOR needs replacement. A CAL ERR will indicate a need for replacement.
2. Replace sensor and follow instructions in section 2.1.7 of the manual pages 19-21.

Self Calibrating Model:
If a unit is used very frequently (daily) it should be calibrated once a week. If it is not used frequently, it should be calibrated once every three weeks.

2 Point Calibration Model:
As the unit undergoes 2 point calibration, it is not necessary to recalibrate unless the SENSOR needs replacement. A CAL ERR will indicate a need for replacement.

Every oxygen monitor is shipped with a Calibration Certificate.

The Pro OX-100 is battery operated, but can also be operated through a standalone power supply. For specifications on use, refer to section 2.1.1 of the manual. With a full-charge, the battery can supply continuous power for up to two (2) hours.

When using The Pro OX-100 Oxygen Monitor for LESS than two (2) continuous hours, ensure a fully charged battery is installed into the battery housing. Then turn the power switch to the ON position. Continue to use the monitor until operation is complete or the battery indicator displays the “low battery indicator”.

When using The Pro OX®-100 Oxygen Monitor for MORE than two (2) continuous hours be sure to turn the power switch to the OFF position. If the battery is installed, remove it from the housing. Then connect the standalone power supply/charger cable to the port. After this step, connect the power supply/charger plug into the nearest working outlet (110V for US type/220V for EU type). Then simply turn the power switch to the ON position. The Pro OX-100 is capable of operating indefinitely with a standalone power supply.

CAUTION: ALWAYS REMOVE THE BATTERY IF USING THE MONITOR FOR MORE THAN 2 CONTINUOUS HOURS. FAILURE TO DO SO CAN OVERHEAT THE BATTERY AND SERIOUSLY DAMAGE THE PRODUCT AS WELL AS VOID THE WARRANTY.

The PRO OX-100 can operate in temperatures as low as 0°C (32°F) and as high as 50°C (122°F).

The sensor has a lifespan of approximately one year under normal operating conditions (see manual for operating temperature, proper storage guidelines, etc.).

Sensors are available for purchase. Each sensor has a one-year warranty. It is not recommended to keep stock of extra sensors. Sensors are readily available to ship and are lightweight.

If there is an issue starting the pump when pressing the SPOT or CONT button, the pump may be damaged. Contact customer service for an RGA authorization.

If there is no display when the toggle switch is in the ON position, either the battery is drained or the LCD is damaged.

If the battery is drained, simply recharge the battery or use the standalone power supply. Refer to section 1.2.2B of the PRO OX-100 manual for instructions.

If the screen does not light up, replace the battery.

If the LCD is damaged, the unit must be sent to Aquasol Corporation for repair. Contact customer service for an RGA authorization.

If strange symbols appear on the screen when the toggle switch is in the ON position, the display is damaged.

The unit must be repaired. Contact customer service for an RGA authorization.

The keypad is damaged if the keys do not correspond with what is on the display. The unit must be sent to Aquasol Corporation for repair. Contact customer service for an RGA authorization.

To test the PRO OX-100 audiovisual alarm, follow the guidelines below:

  1. Go to alarm setting and set the alarm to 100 ppm. Save and Exit.
  2. Pull the sensor out from the sensor housing.
  3. Press ‘CONT’ and wait until the screen shows “BELOW 100 PPM”. The alarm should go off (both light and sound).

If user is unable to set the alarm, the program could be corrupted. Contact customer service for an RGA authorization.

VEA EL VIDEO

Play Pause
Previous track Backward 10s Play Pause Forward 10s Next track Unmute Mute
/
Settings Playback Accessibility
Announcements
Keyboard Animations
Quality
Enter PiP Exit PiP Enter Fullscreen Exit Fullscreen Toggle Playlist

PRO OX-100

1 / 7 videos
  • Digital Oxygen Monitor for TIG Welding (Overview)
    Digital Oxygen Monitor for TIG Welding (Overview)
    0:03:30
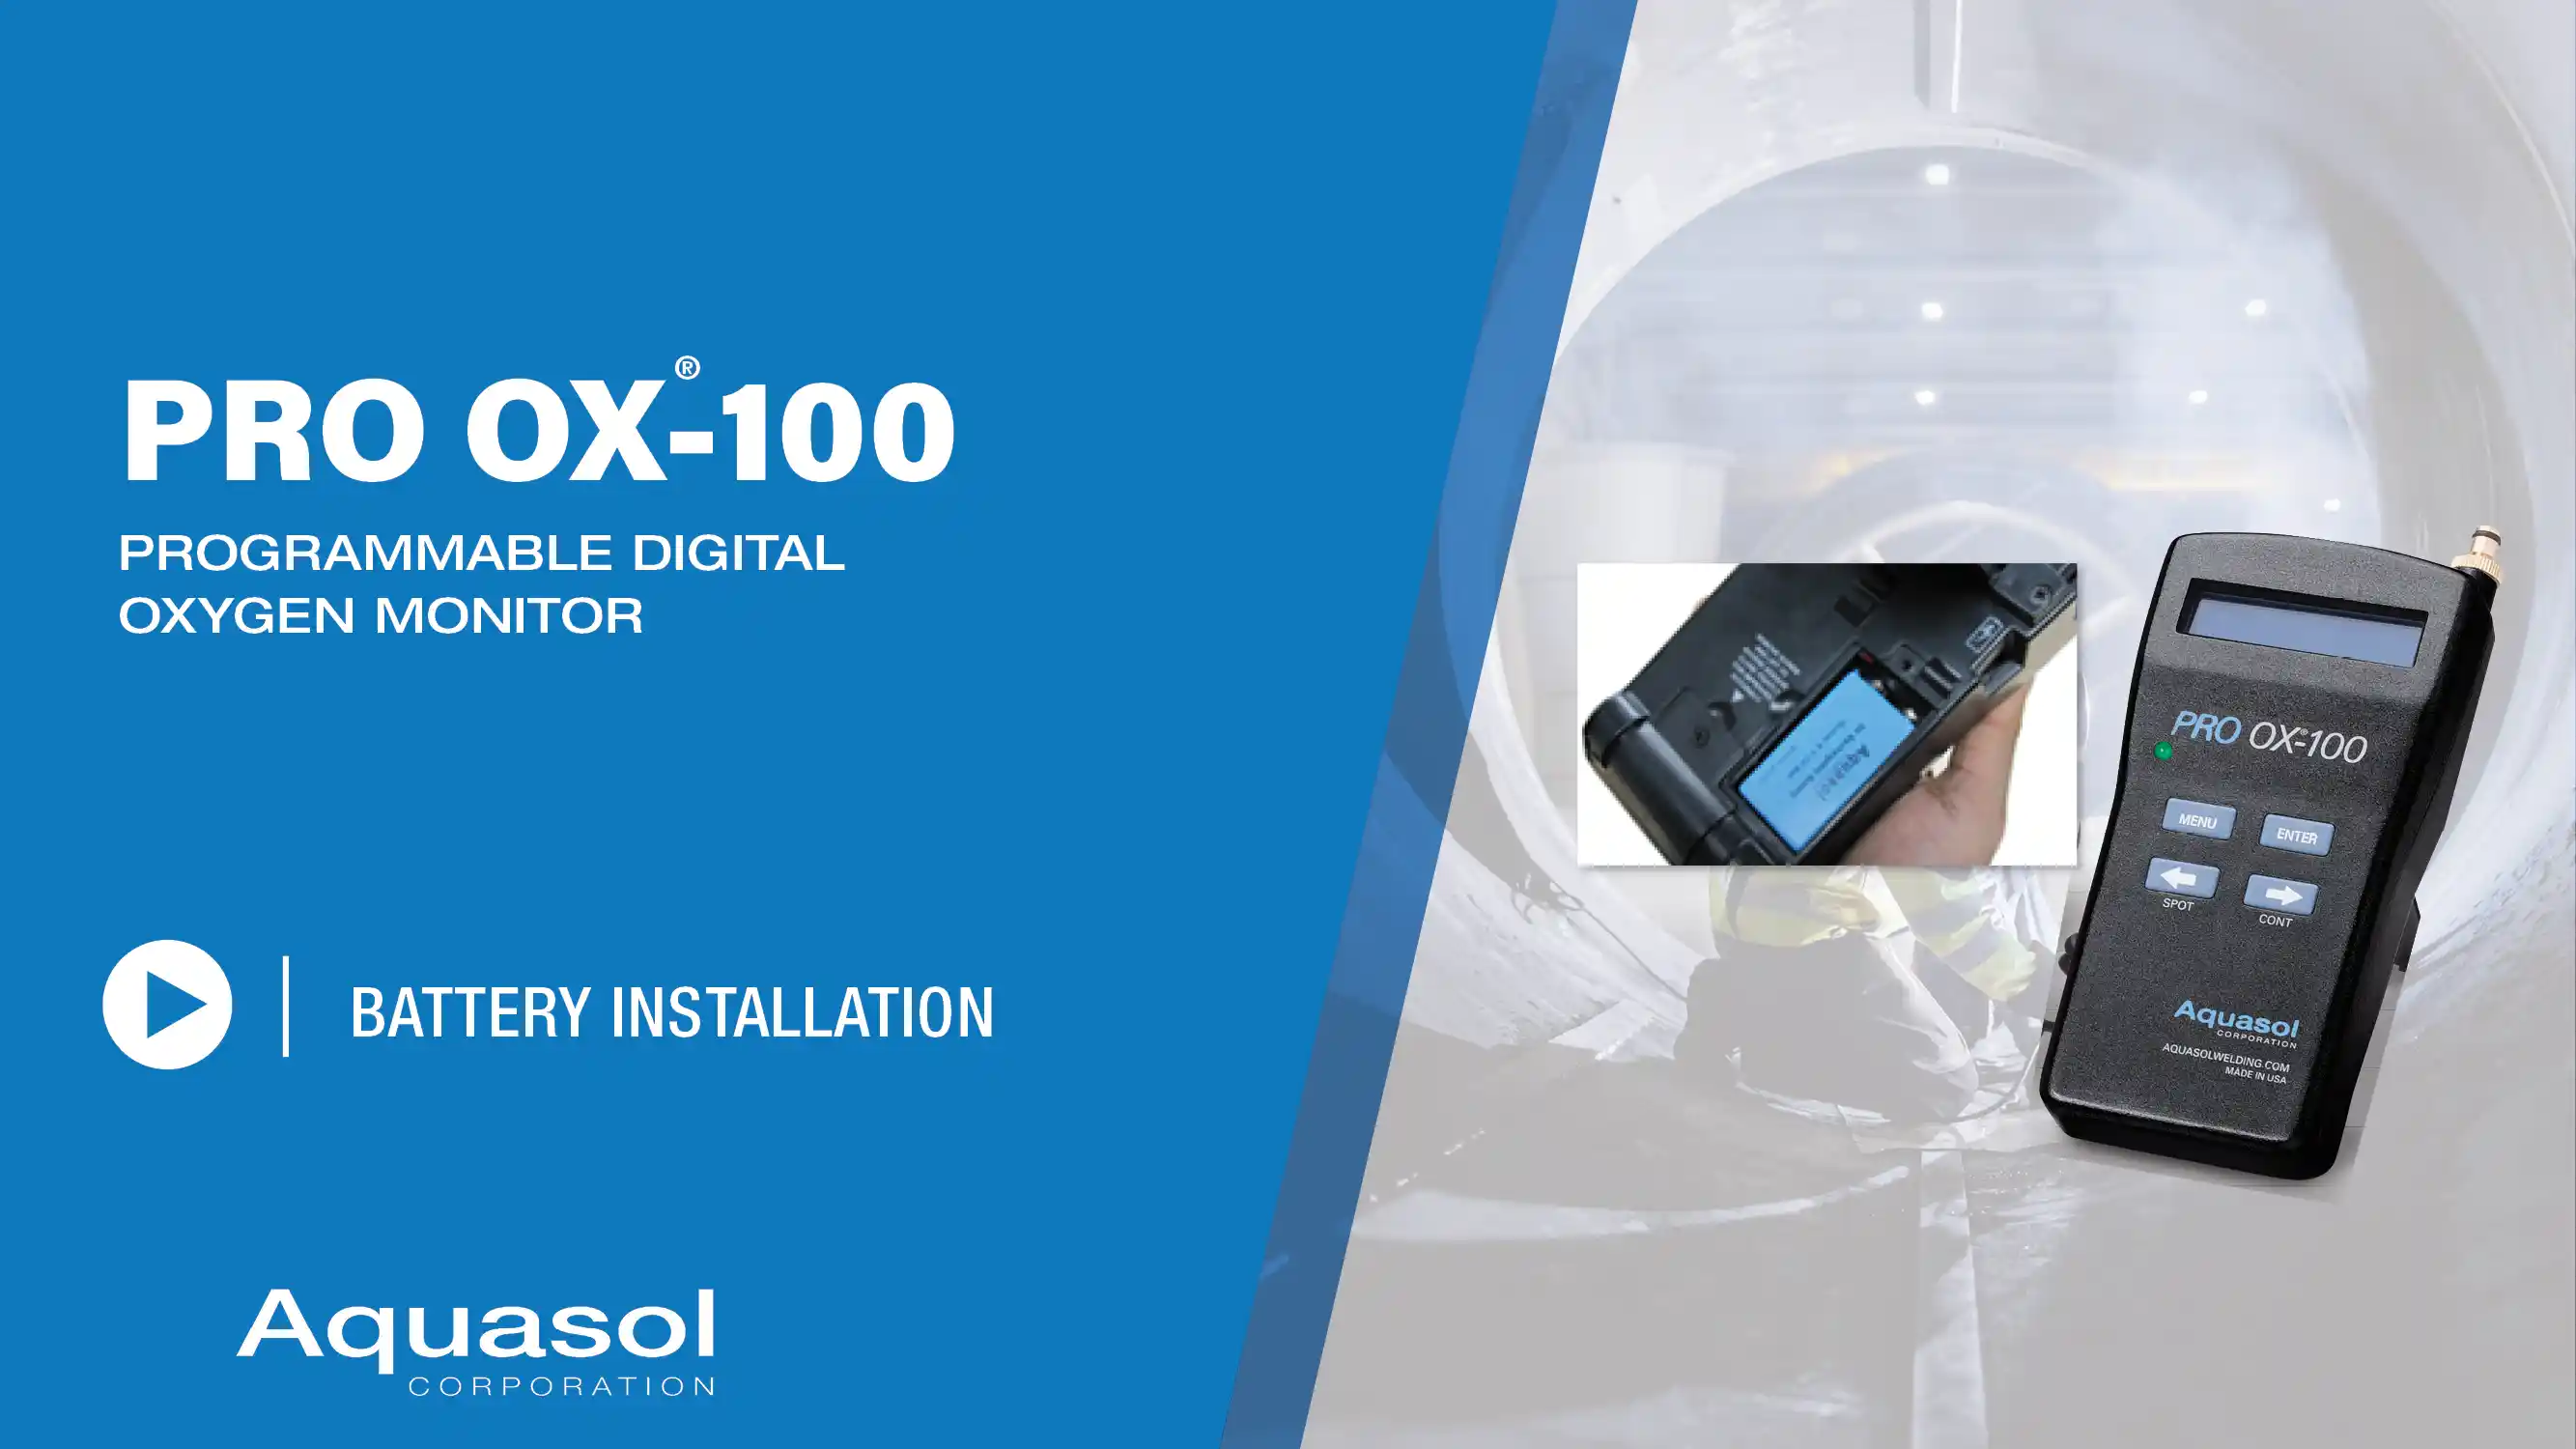
  • Digital Oxygen Sensor (Pro OX100) — Battery Installation
    Digital Oxygen Sensor (Pro OX100) — Battery Installation
    0:01:44
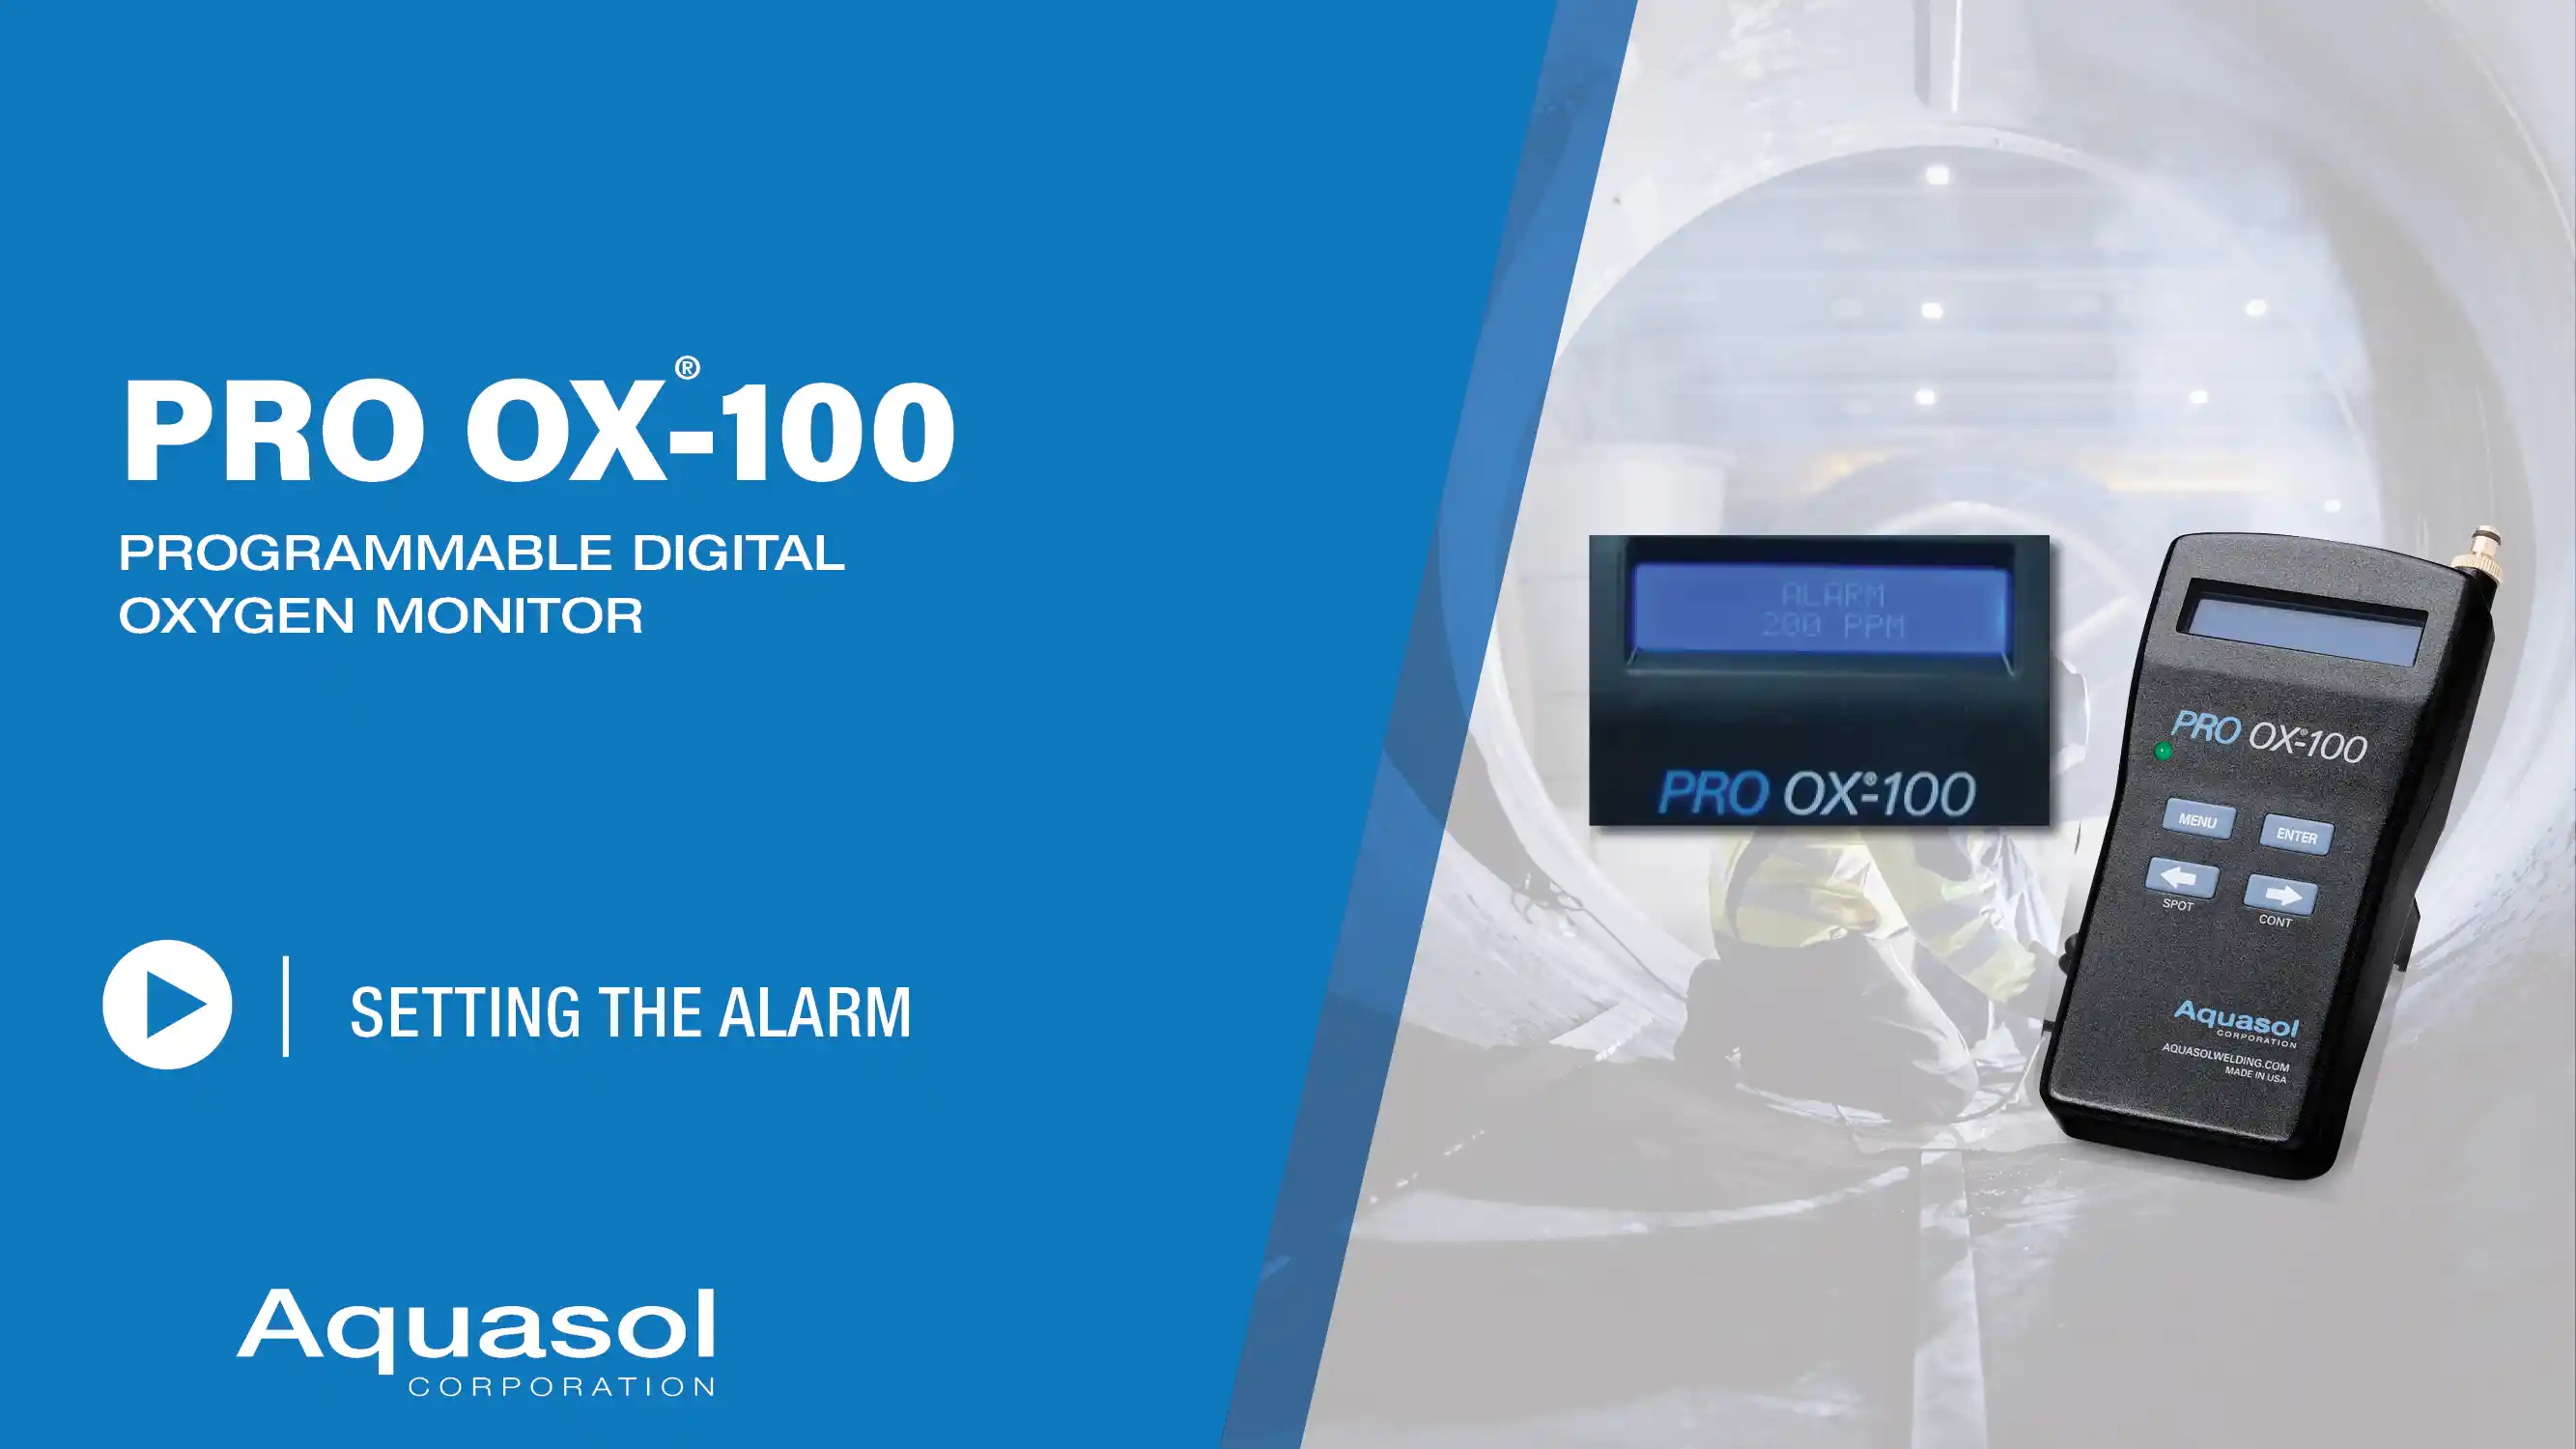
  • Oxygen Purge Monitor (Pro OX100) — Setting the Alarm
    Oxygen Purge Monitor (Pro OX100) — Setting the Alarm
    0:00:56
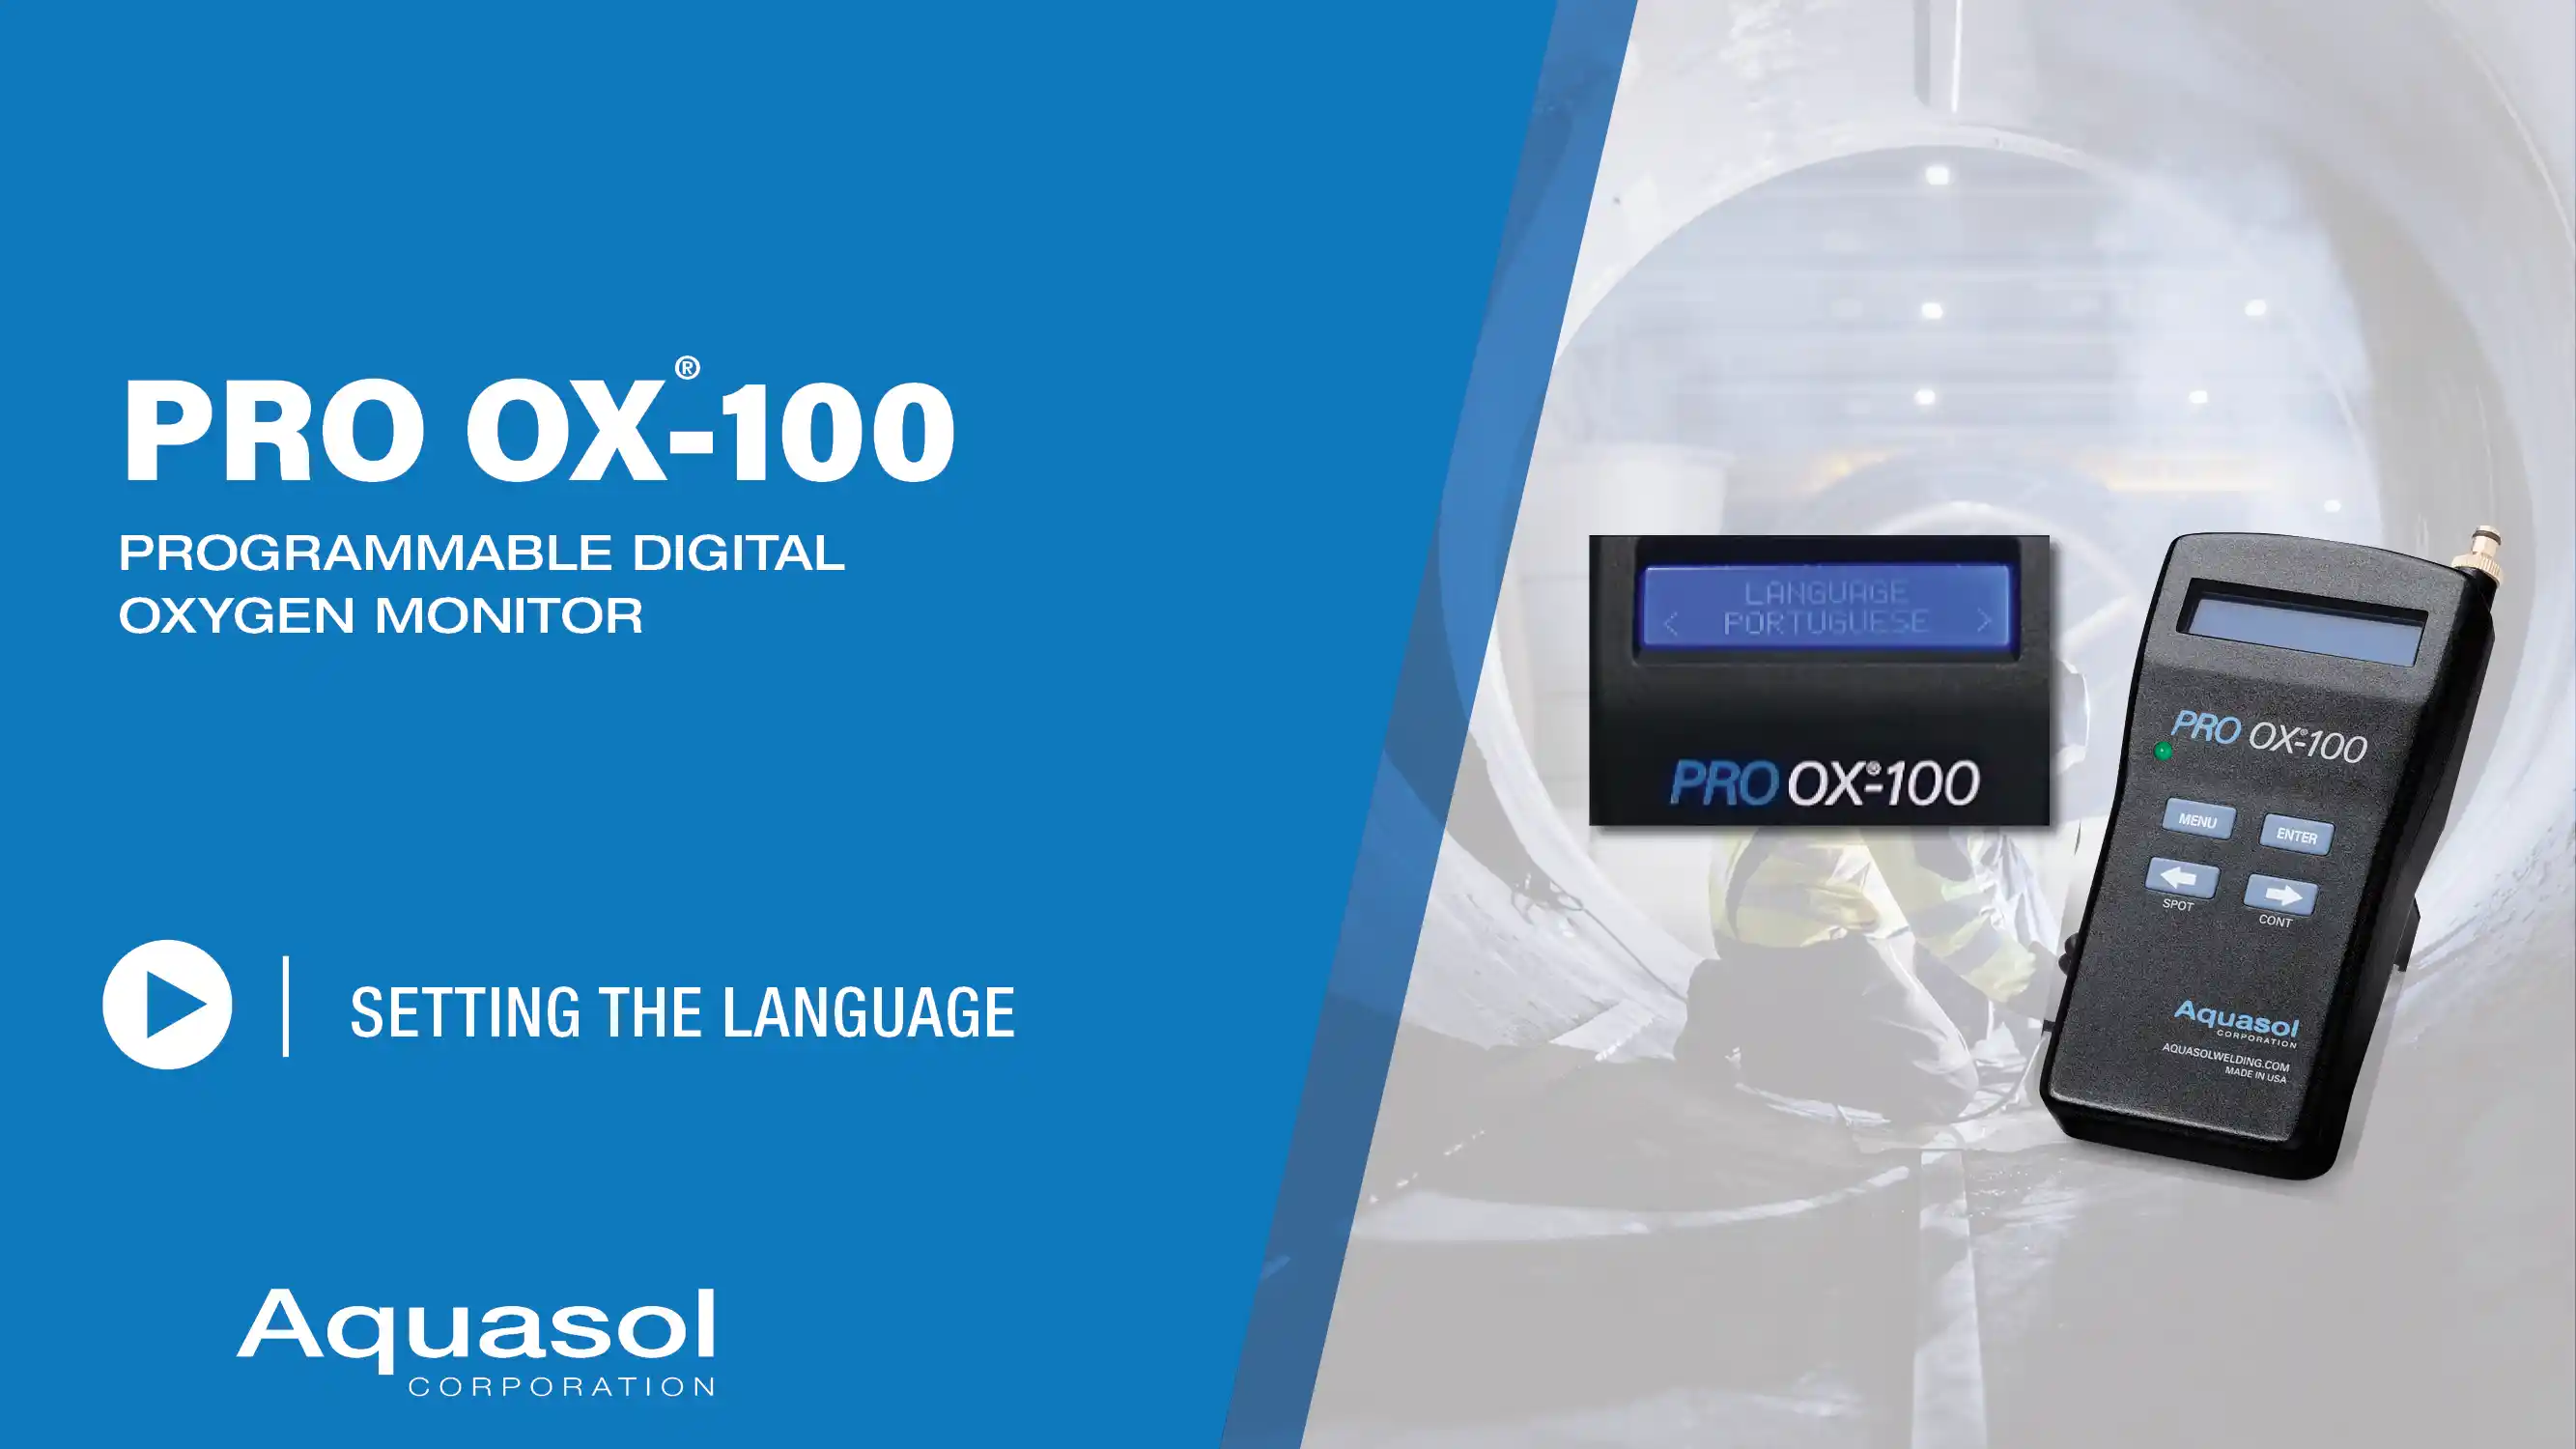
  • Oxygen Analyzer for TIG Welding (Pro OX100) — Setting the Language
    Oxygen Analyzer for TIG Welding (Pro OX100) — Setting the Language
    0:00:41
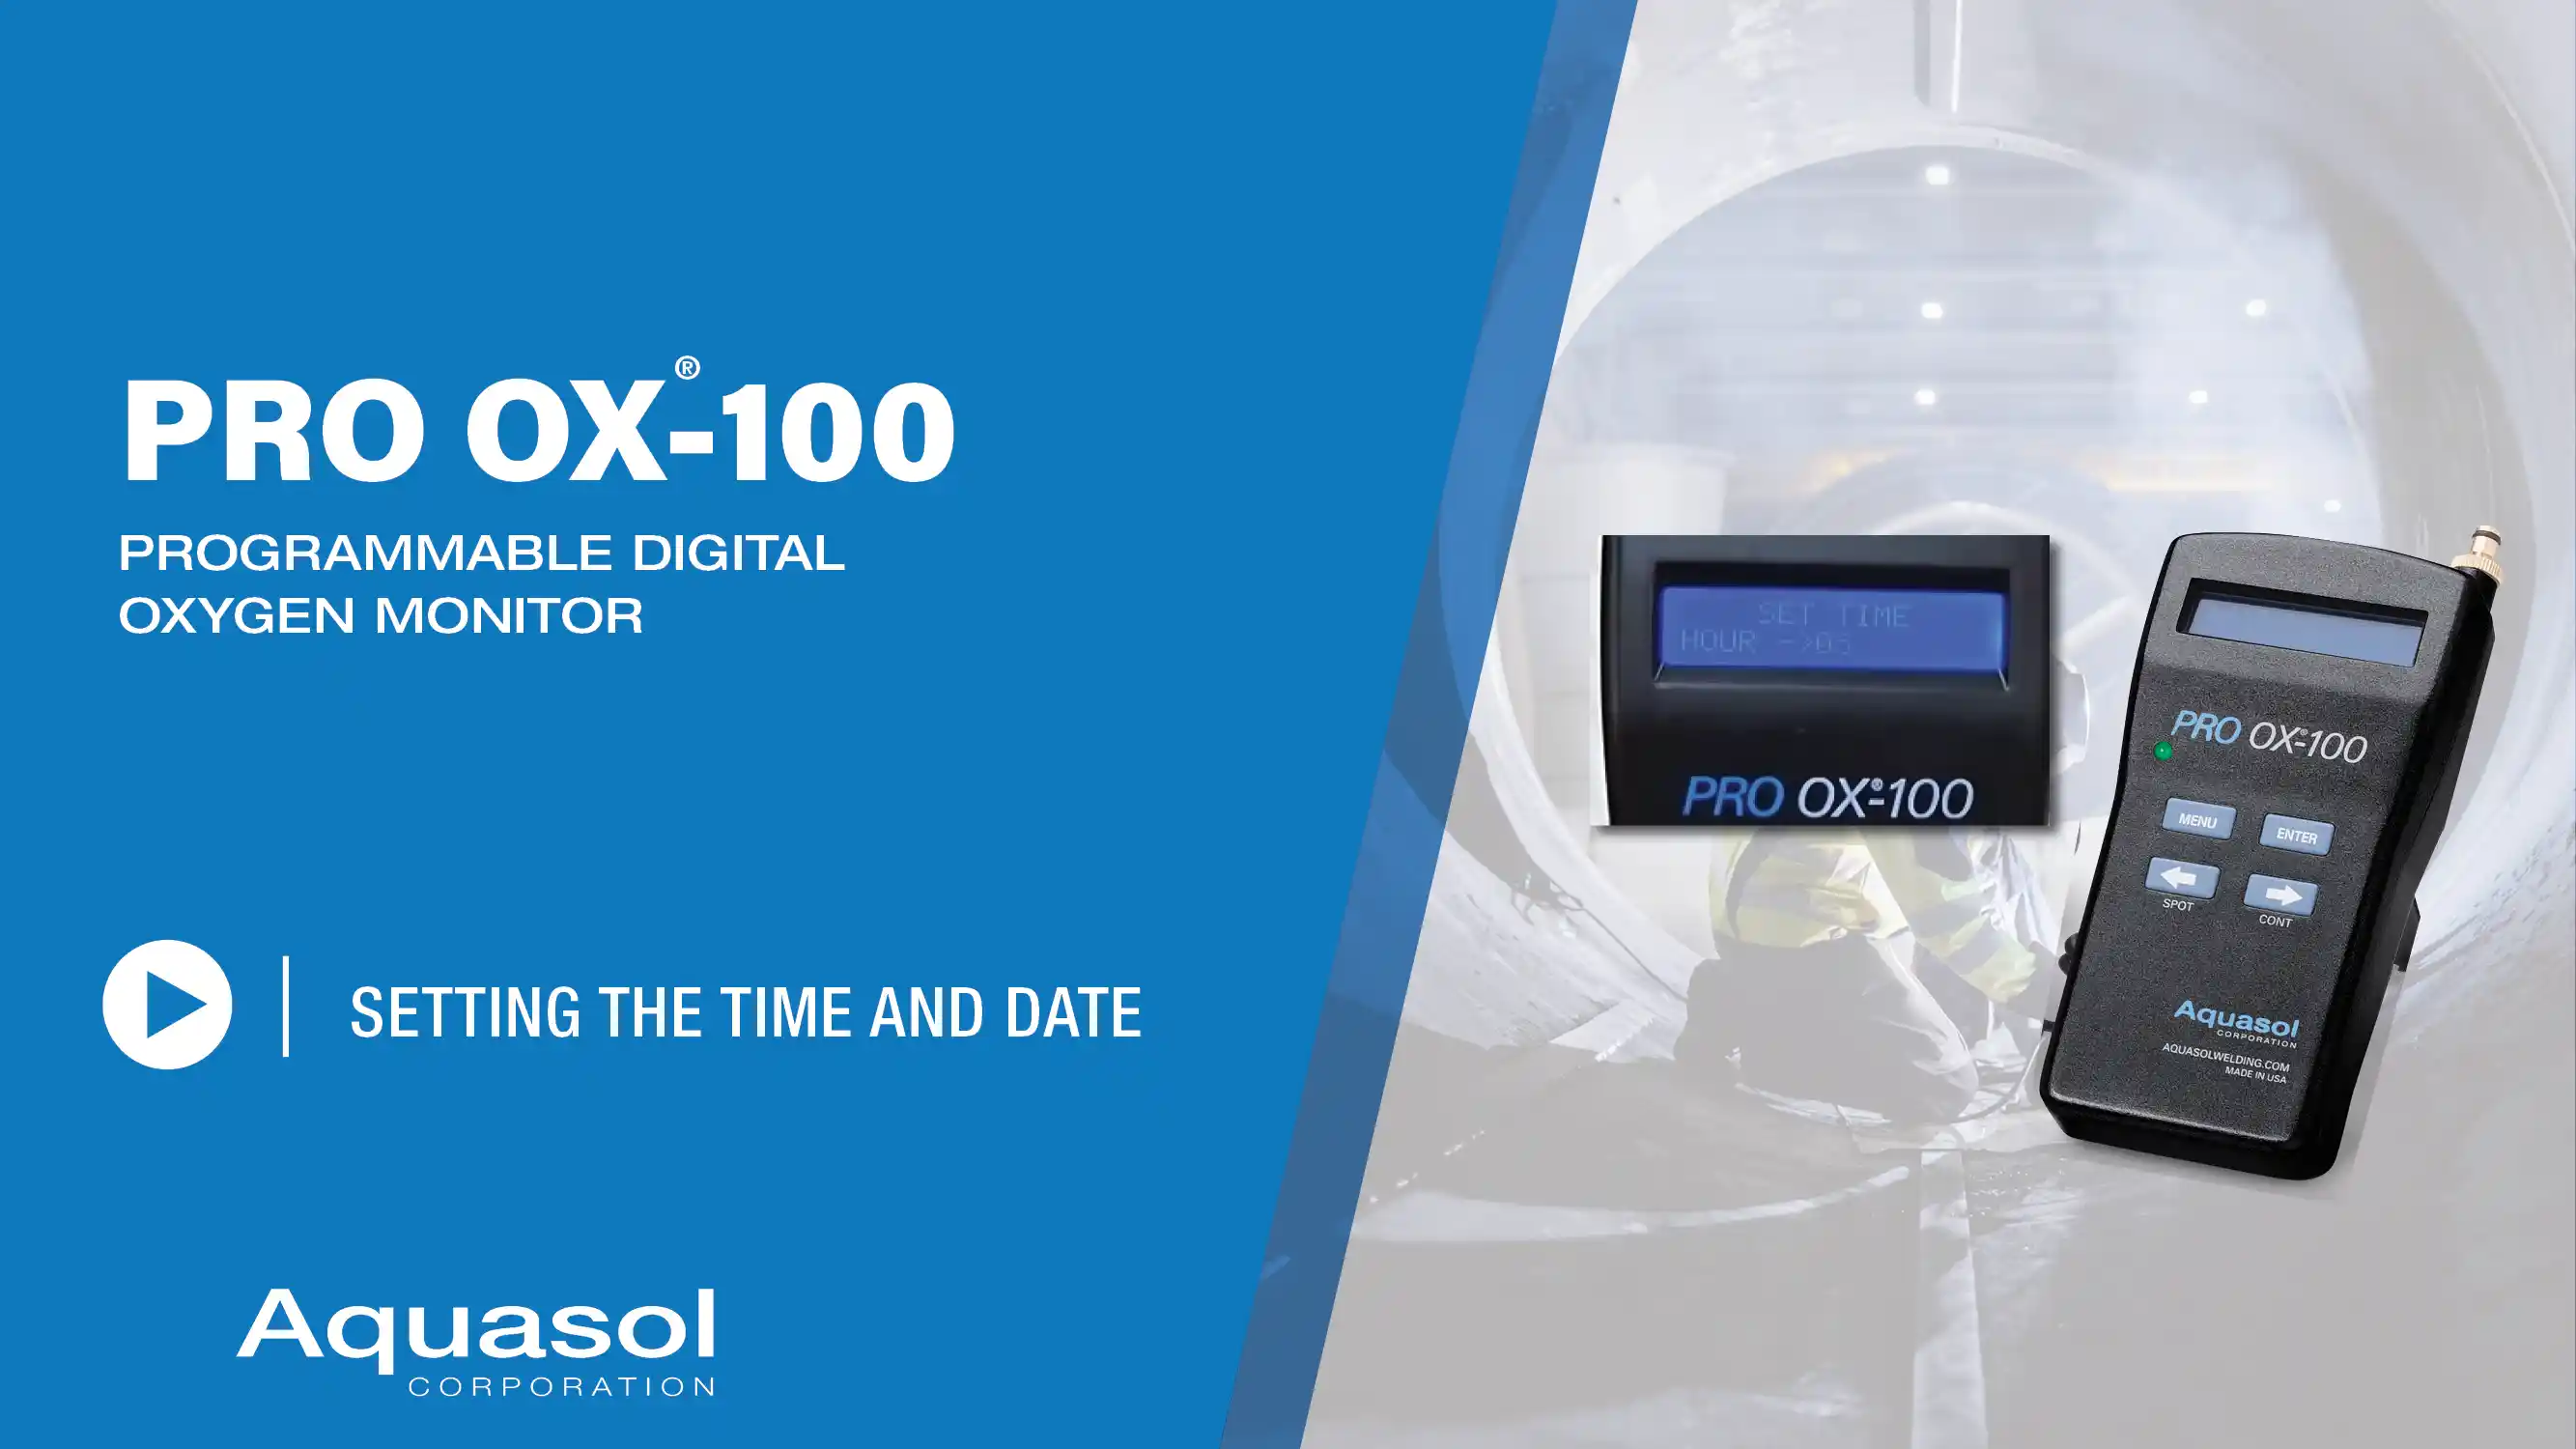
  • Oxygen Purge Monitor for Welding (Pro OX100) — Setting the Time and Date
    Oxygen Purge Monitor for Welding (Pro OX100) — Setting the Time and Date
    0:00:52
  • Portable Oxygen Monitor for Welding (Pro OX100) — Spot and Continuous Mode
    Portable Oxygen Monitor for Welding (Pro OX100) — Spot and Continuous Mode
    0:01:46
  • Handheld Oxygen Monitor (Pro OX100) — View and Erase Log
    Handheld Oxygen Monitor (Pro OX100) — View and Erase Log
    0:00:51