PRO OX

®

-100

جهاز رقمي قابل للبرمجة لمراقبة الأكسجين

براءات اختراع أمريكية وأجنبية ممنوحة |

صنع في الولايات المتحدة الأمريكية

مراقبة دقيقة لمستويات الأكسجين بميزات متقدمة قابلة للبرمجة وإمكانات لتسجيل البيانات، مع قياسات تصل إلى 0.01% (100 ppm)، لتطبيقات اللحام وتطهير الأنابيب بغاز الحماية التي تتطلب دقة عالية.

نبذة عن المنتج

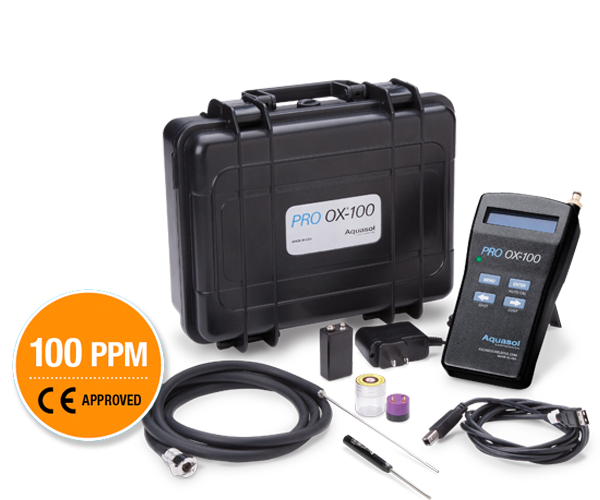
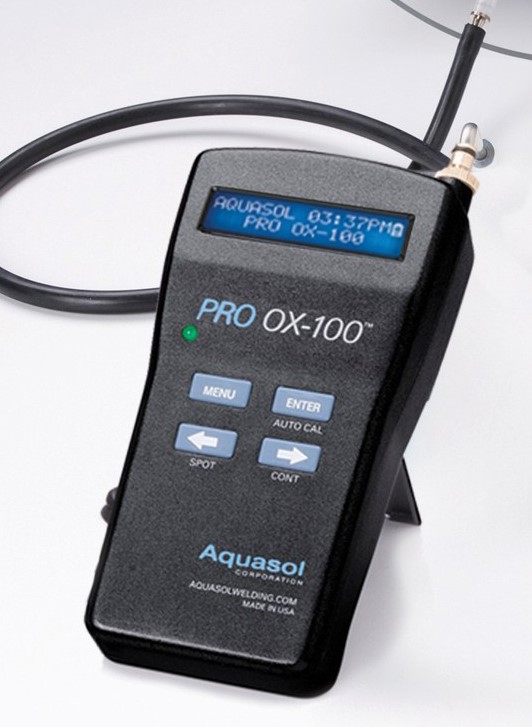
إن جهاز مراقبة الأكسجين المحمول باليد والقابل للبرمجة طراز Pro OX-100 من شركة أكواسول مُصمم لتقديم أدق قراءات ممكنة لمستوى الأكسحين للمشغلين.

ويقوم جهاز مراقبة لحام الأكسجين للمُعايرة الذاتية المزود بمضخة داخلية والمشهور دوليًا لمزاياه المتقدمة بدرجة كبيرة وتكلفته المنخفضة بالقياس بدقة بمعدل تمايز قدره 0.01% (100 جزء في المليون) وهو مثالي لاستخدامات التطهير وغير ذلك من الاستخدامات الأخرى.

يأتي جهاز Pro OX-100 مزودًا بالعديد من المزايا المتقدمة مثل قدراته على تسجيل البيانات التي تتيح عمال اللحام إنشاء سجلات دائمة للبيانات الحقيقية (على فترات زمنية تبلغ 15 ثانية) وتصدير ما يصل إلى 50 نقطة بيانات إلى ملف Microsoft® Excel وتنسيق نص عادي.

كما يقدم الجهاز أيضًا ميزة اللغات المتعددة المدمجة والقابلة للبرمجة يصاحبها تعليمات فورية على الشاشة متوفرة باللغات الإنجليزية والإسبانية والألمانية والبرتغالية. وإلى جانب مواصفات وتوافقيات فولطية وتردد مختلفة، يُعد جهاز Pro OX-100 من أكثر أجهزة مراقبة لحام الأكسجين الشاملة توفرًا في السوق العالمي اليوم.

تتم معايرة جميع أجهزة مراقبة الأكسجين PRO OX-100 المُباعة قبل 1 أغسطس 2019 عبر «المعايرة الذاتية». وتستخدم هذه الطريقة الهواء المُحيط فقط للمعايرة.

تتم معايرة جميع الأجهزة المُباعة بعد 1 أغسطس 2019 عبر «المعايرة ثنائية النقطة». وتستخدم هذه الطريقة نقطة عالية (الهواء المُحيط) ونقطة منخفضة (أرجون بنقاء 99.999%) للمعايرة.

APPLICATIONS

Energy & Heavy Industry

High-Purity & Critical Applications

Industrial & Fabrication

الخصائص والمزايا

قدرات على تسجيل البيانات

  1. قم بتوصيل جهاز PRO OX-100 بالكمبيوتر باستخدام الكابل المرفق
  2. لا حاجة لتثبيت أي برنامج تشغيل في معظم أجهزة الكمبيوتر الجديدة التي تعمل بنظام Windows
ChatGPT Image May 14, 2026, 11_20_16 AM_pro ox instruction 1

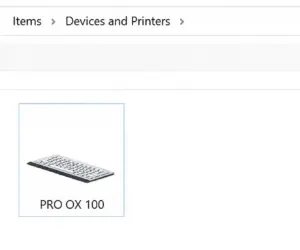
3. من الطبيعي أن يظهر جهاز PRO-OX 100 كلوحة مفاتيح في صفحة «الأجهزة والطابعات»

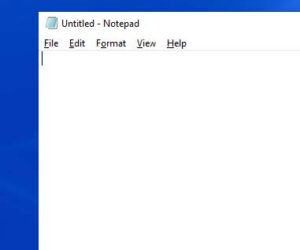
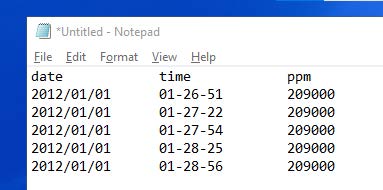
4. افتح ملف Notepad فارغًا وضع المؤشر داخل الملف

5. انتقل إلى خيار «PC Mode» واضغط على «ENTER» وانتظر حتى تطبع الوحدة قيم السجل في ملف Notepad

معايرة واعتماد المصنع

  • إن جهاز مراقبة الأكسجين طراز PRO OX-100 مُعاير ومُعتمد من المصنع، ومُلحق به شهادة توثيق مؤرخة
  • مطابق للمواصفات المحددة من قبل المعهد الوطني للمعايير والتكنولوجيا

2 نموذج معايرة نقطتين:

  • يعاير باستخدام الهواء المحيط و 99.999٪ أرجون.

إنذار سمعي بصري

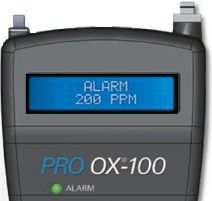
  • التخلص من أعمال التخمين حيث يُمكن ضبط الإنذار السمعي البصري على قيمة O2 جزء في المليون
  • ستصدر الوحدة صوتًا متقطعًا بشكلٍ متزامن حيث سيومض مصباح أخضر
  • وبهذا يتم تنبيه عامل اللحام حتى في البيئات شديدة الضوضاء وضعيفة الإضاءة ويمكنه الاستمرار في تفريغ الأكسجين أو إعادة ضبط الإنذار أو البدء في اللحام
  • يعاير باستخدام الهواء المحيط و 99.999٪ أرجون.

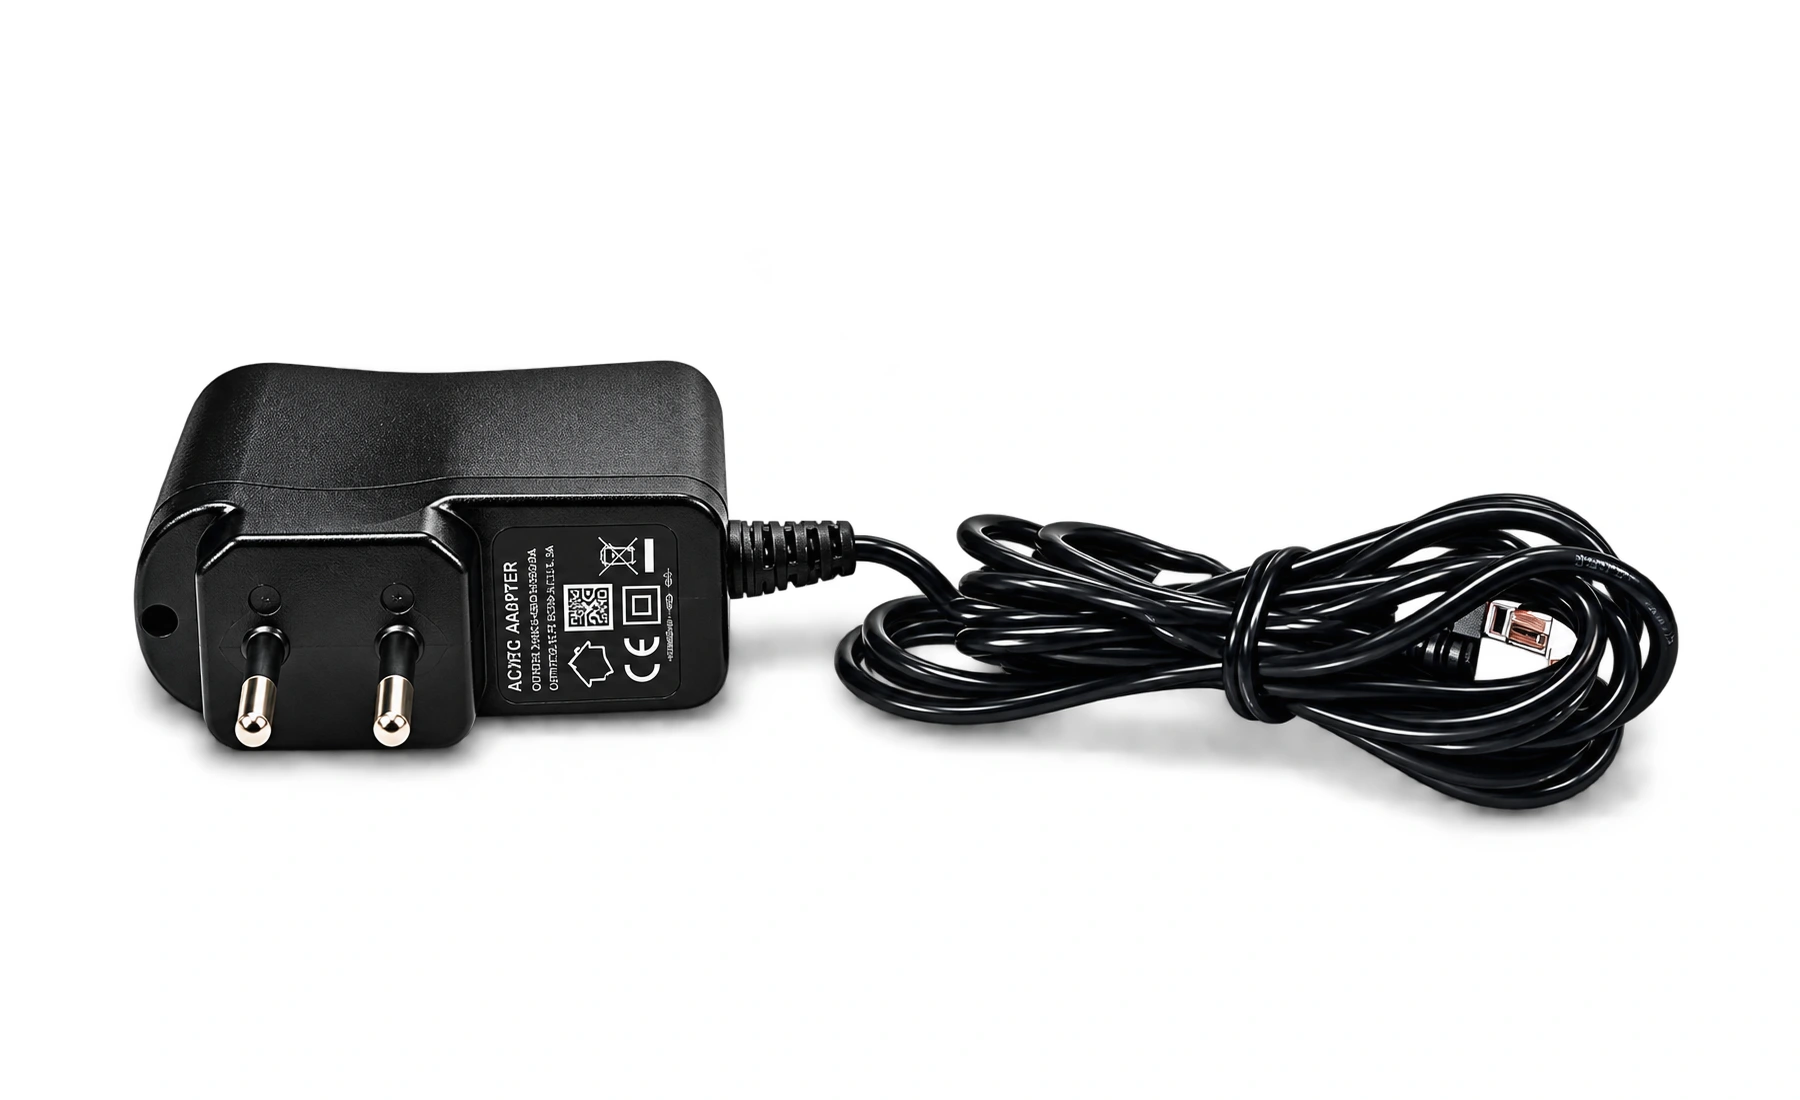
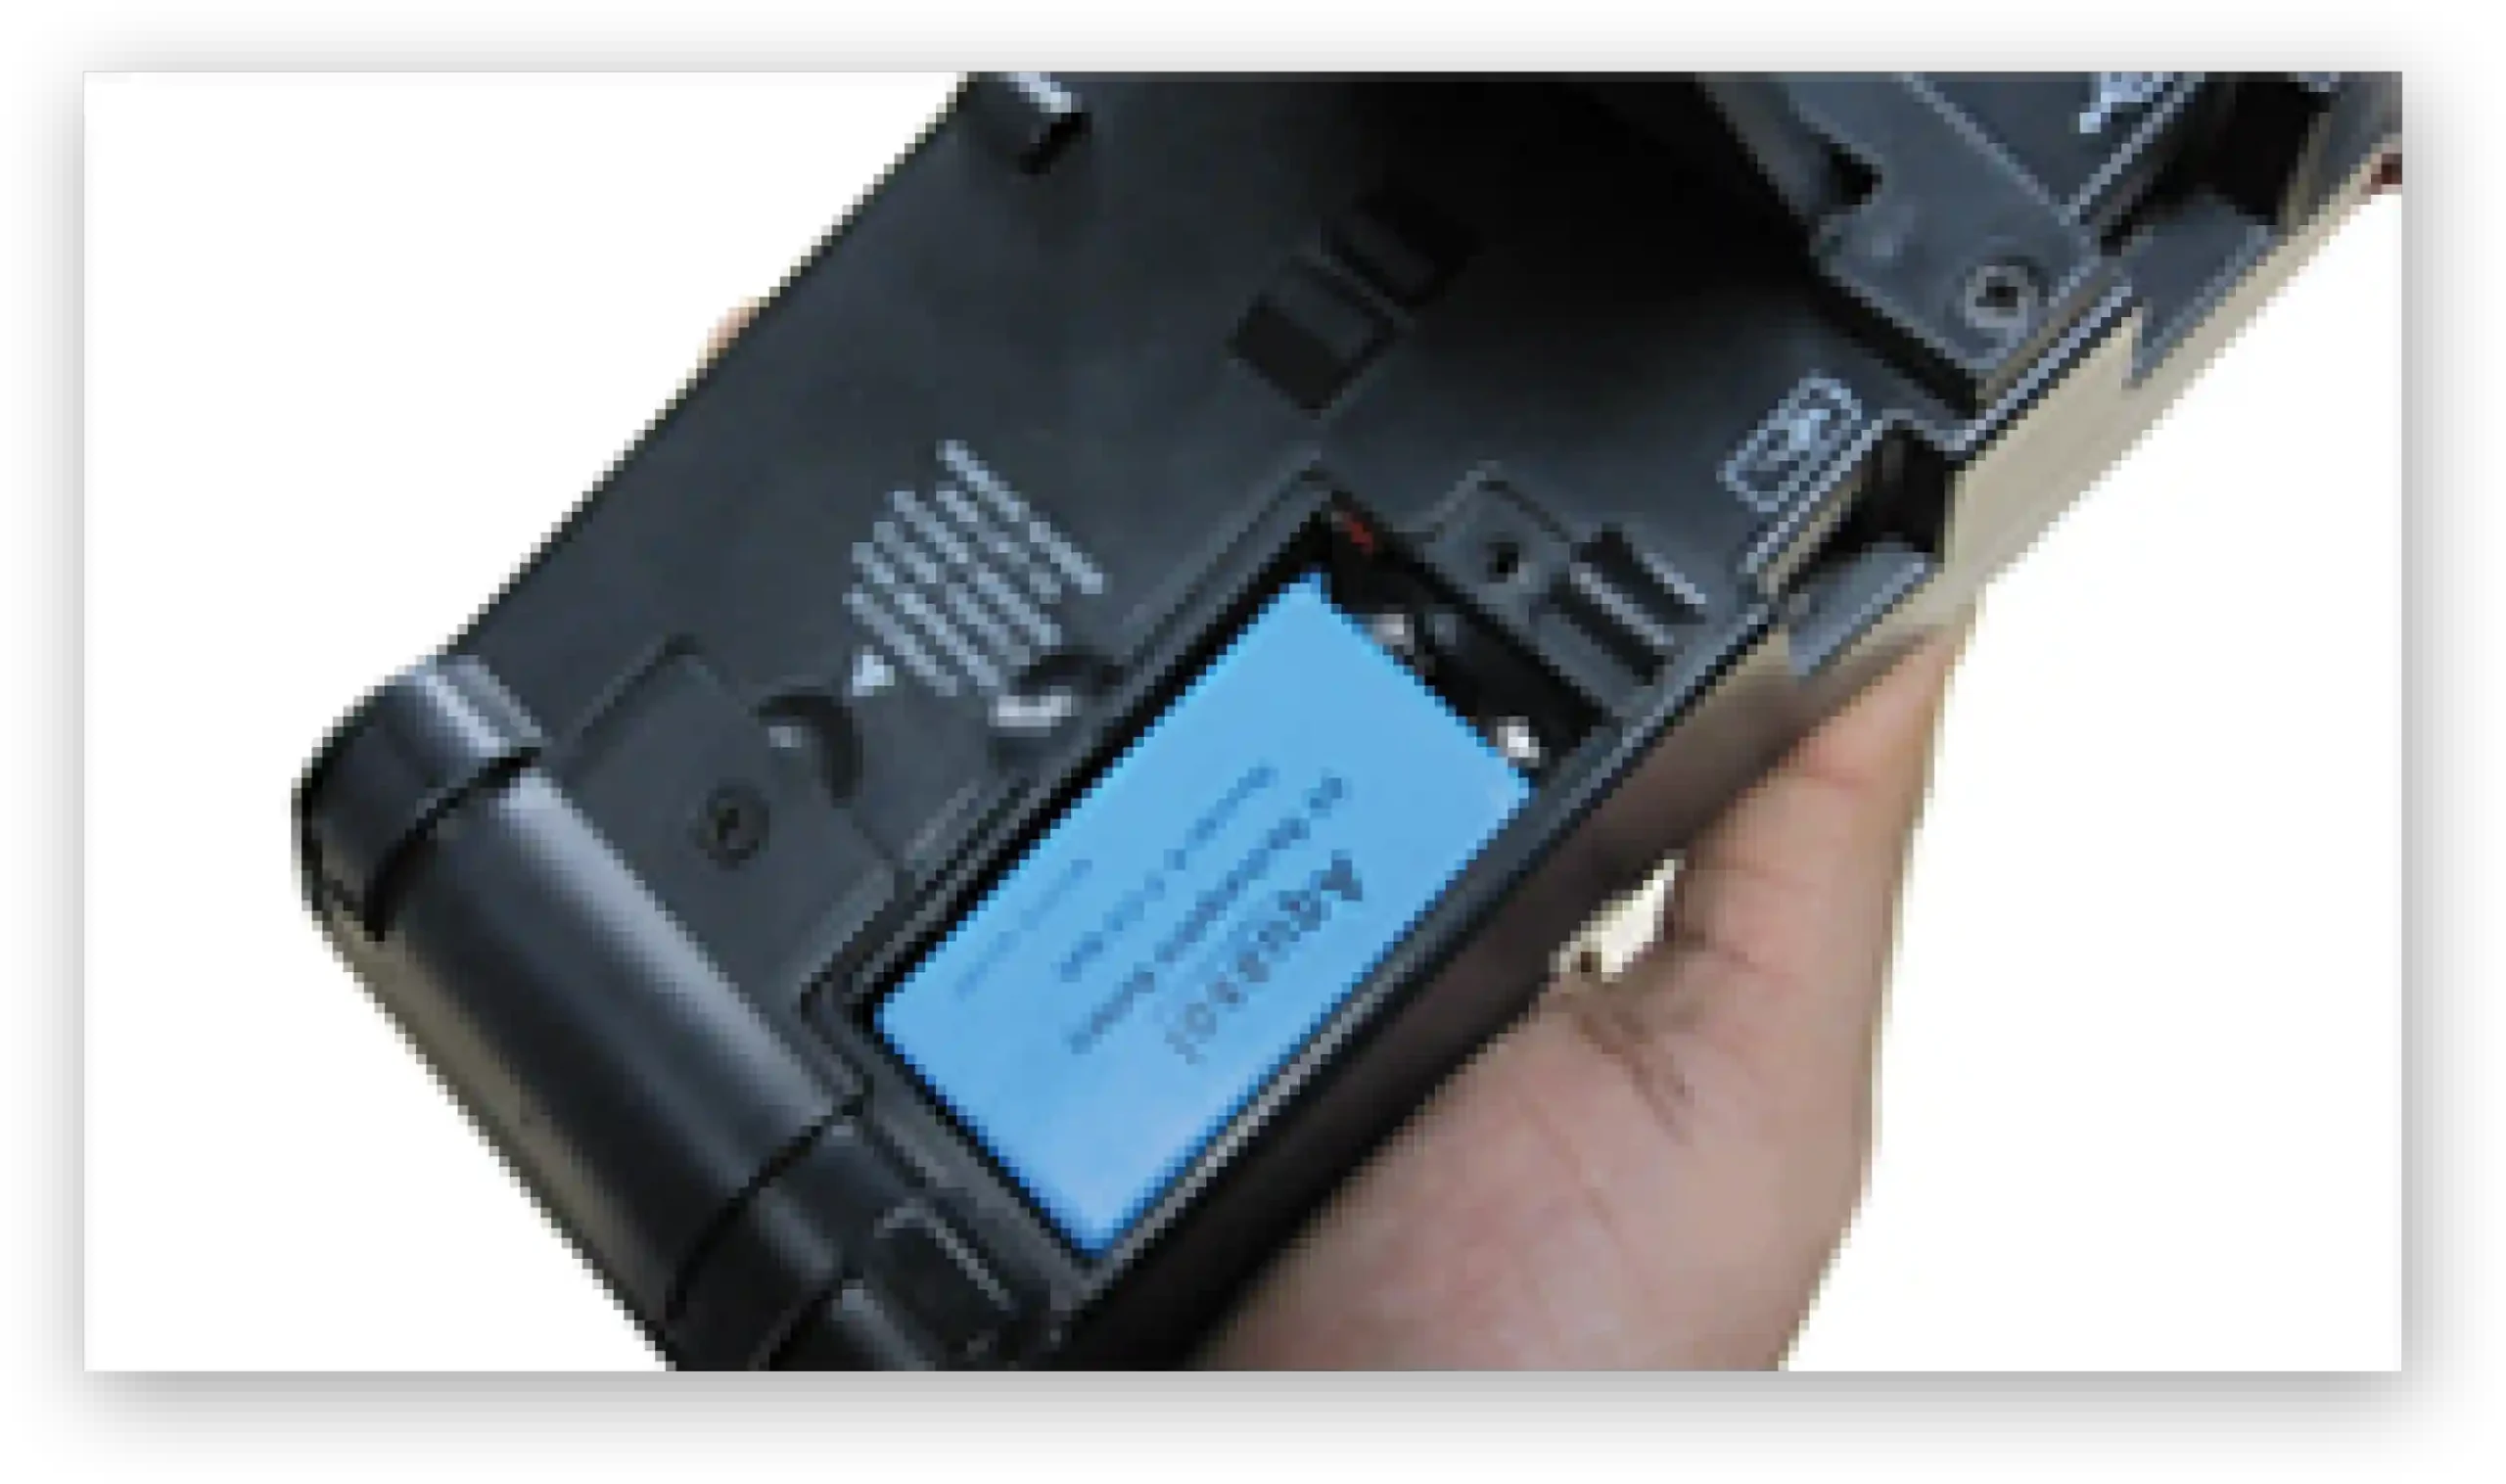
بطارية 9 فولت قابلة لإعادة الشحن وشاحن مُصمم للفولطية العالمية

  • يتوافق مع مواصفات الفولطية والتردد المختلفة في جميع أنحاء العالم
  • يُمكن أن يعمل على تكوينات ذات 100 فولت تيار متردد/60 هرتز و120 فولت تيار متردد/60 هرتز و220 فولت تيار متردد/50 هرتز
  • تعد البطارية القابلة لإعادة الشحن حلاً صديقًا للبيئة
  • يُمكن استخدامها مرارًا وتَكرارًا، حيث توفر في المشتريات
  • يُمكن استبدالها بأي بطارية 9 فولت تكون غير قابلة للشحن
  • يعمل الشاحن أيضًا بوصفه مصدر إمداد طاقة مستقل عندما تتجاوز فترة التشغيل ساعة.

تصنيف الاتحاد الأوروبي

  • يتوافق جهاز PRO OX-100 مع توجيهات الاتحاد الأوروبي

اللغات

قابل للبرمجة بأربع لغات واسعة الانتشار لتلبية احتياجات العملاء الدوليين

  • الإنجليزية
  • الألمانية
  • البرتغالية
  • الإسبانية

كيف يعمل PRO OX-100

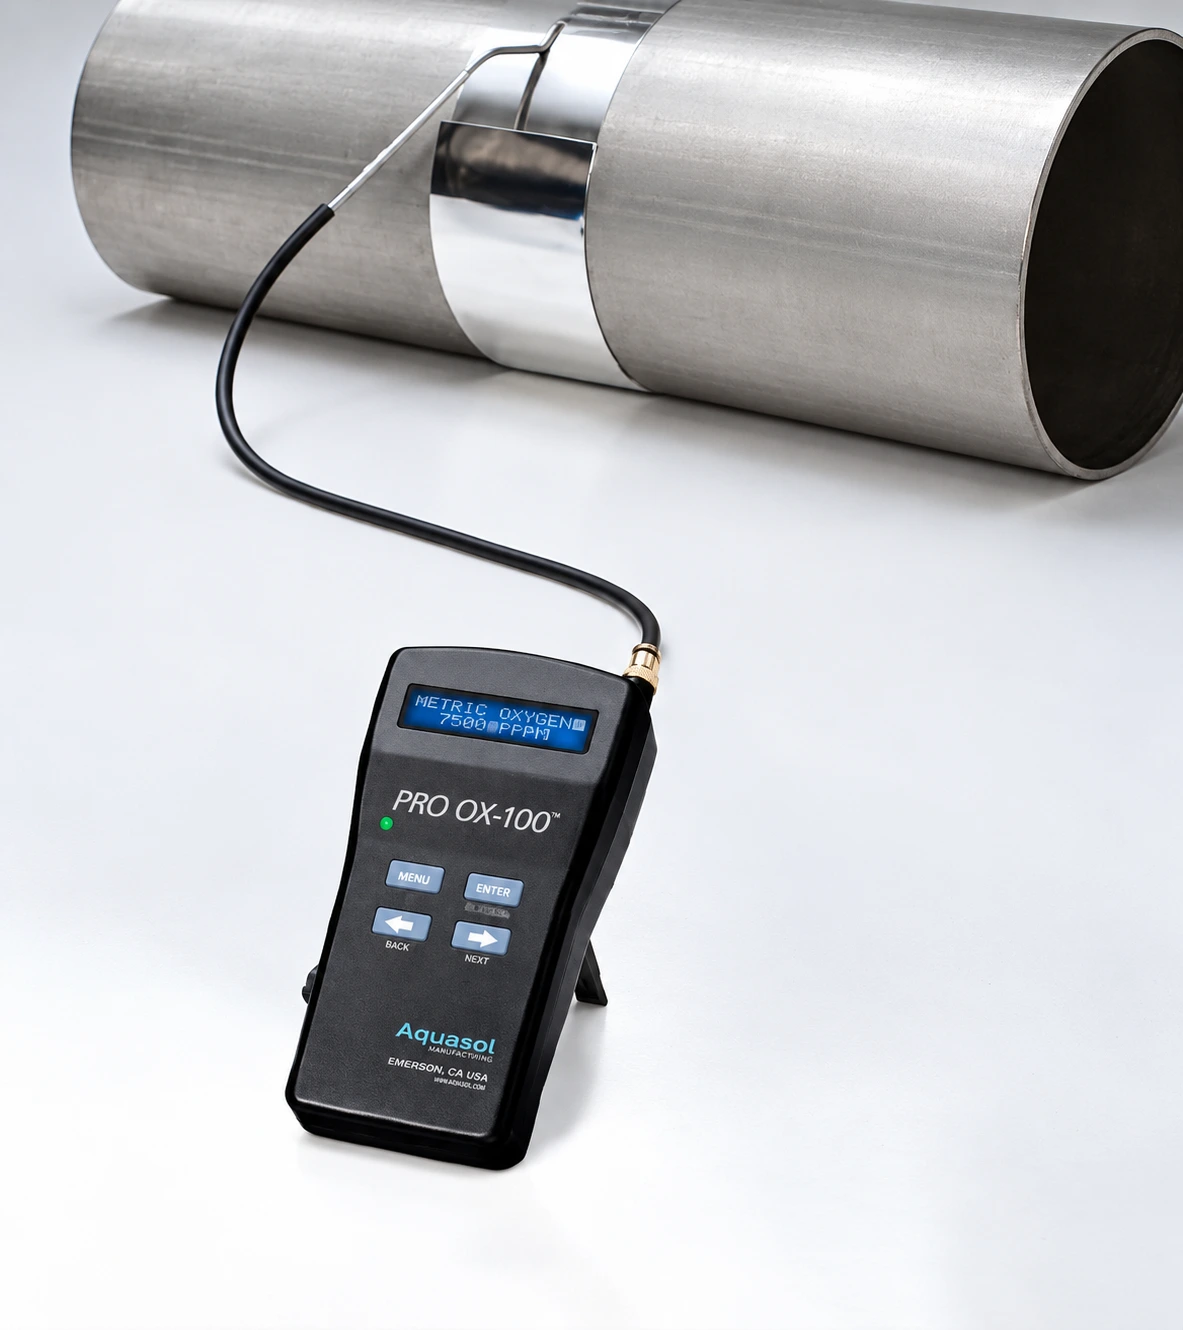
تركيب أنابيب التمديد من النيوبرين:

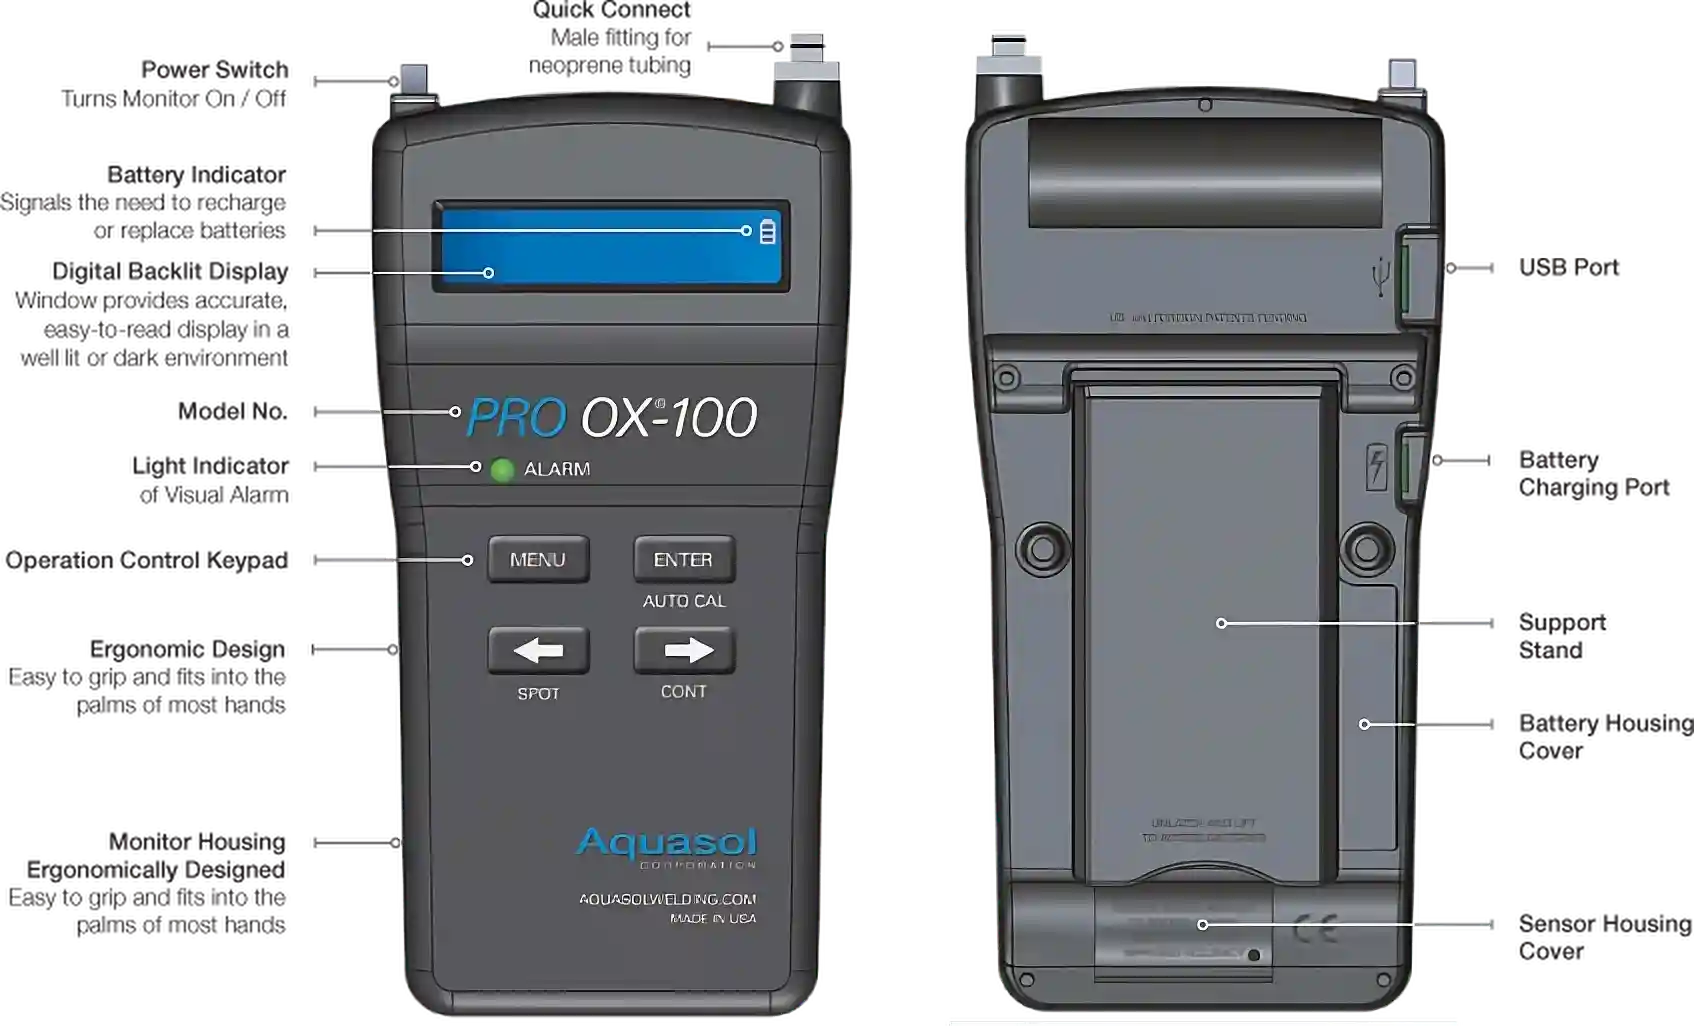
  1. ركّب أنابيب تمديد النيوبرين باستخدام وصلة تركيب أنثى بوصلة تركيب سريع “ذكر” أعلى الجانب الأيمن من الوحدة
  2. اسحب برفق لضمان وجود وصلة التركيب في موضعها
  3. أدخل المجس المصنوع من الفولاذ المقاوم للصدأ في نهاية أنبوب النيوبورين دون أي وصلة تركيب
  4. قبل أخذ مقياس الأكسجين، تأكد من تثبيت كلتا الوصلتين جيدًا

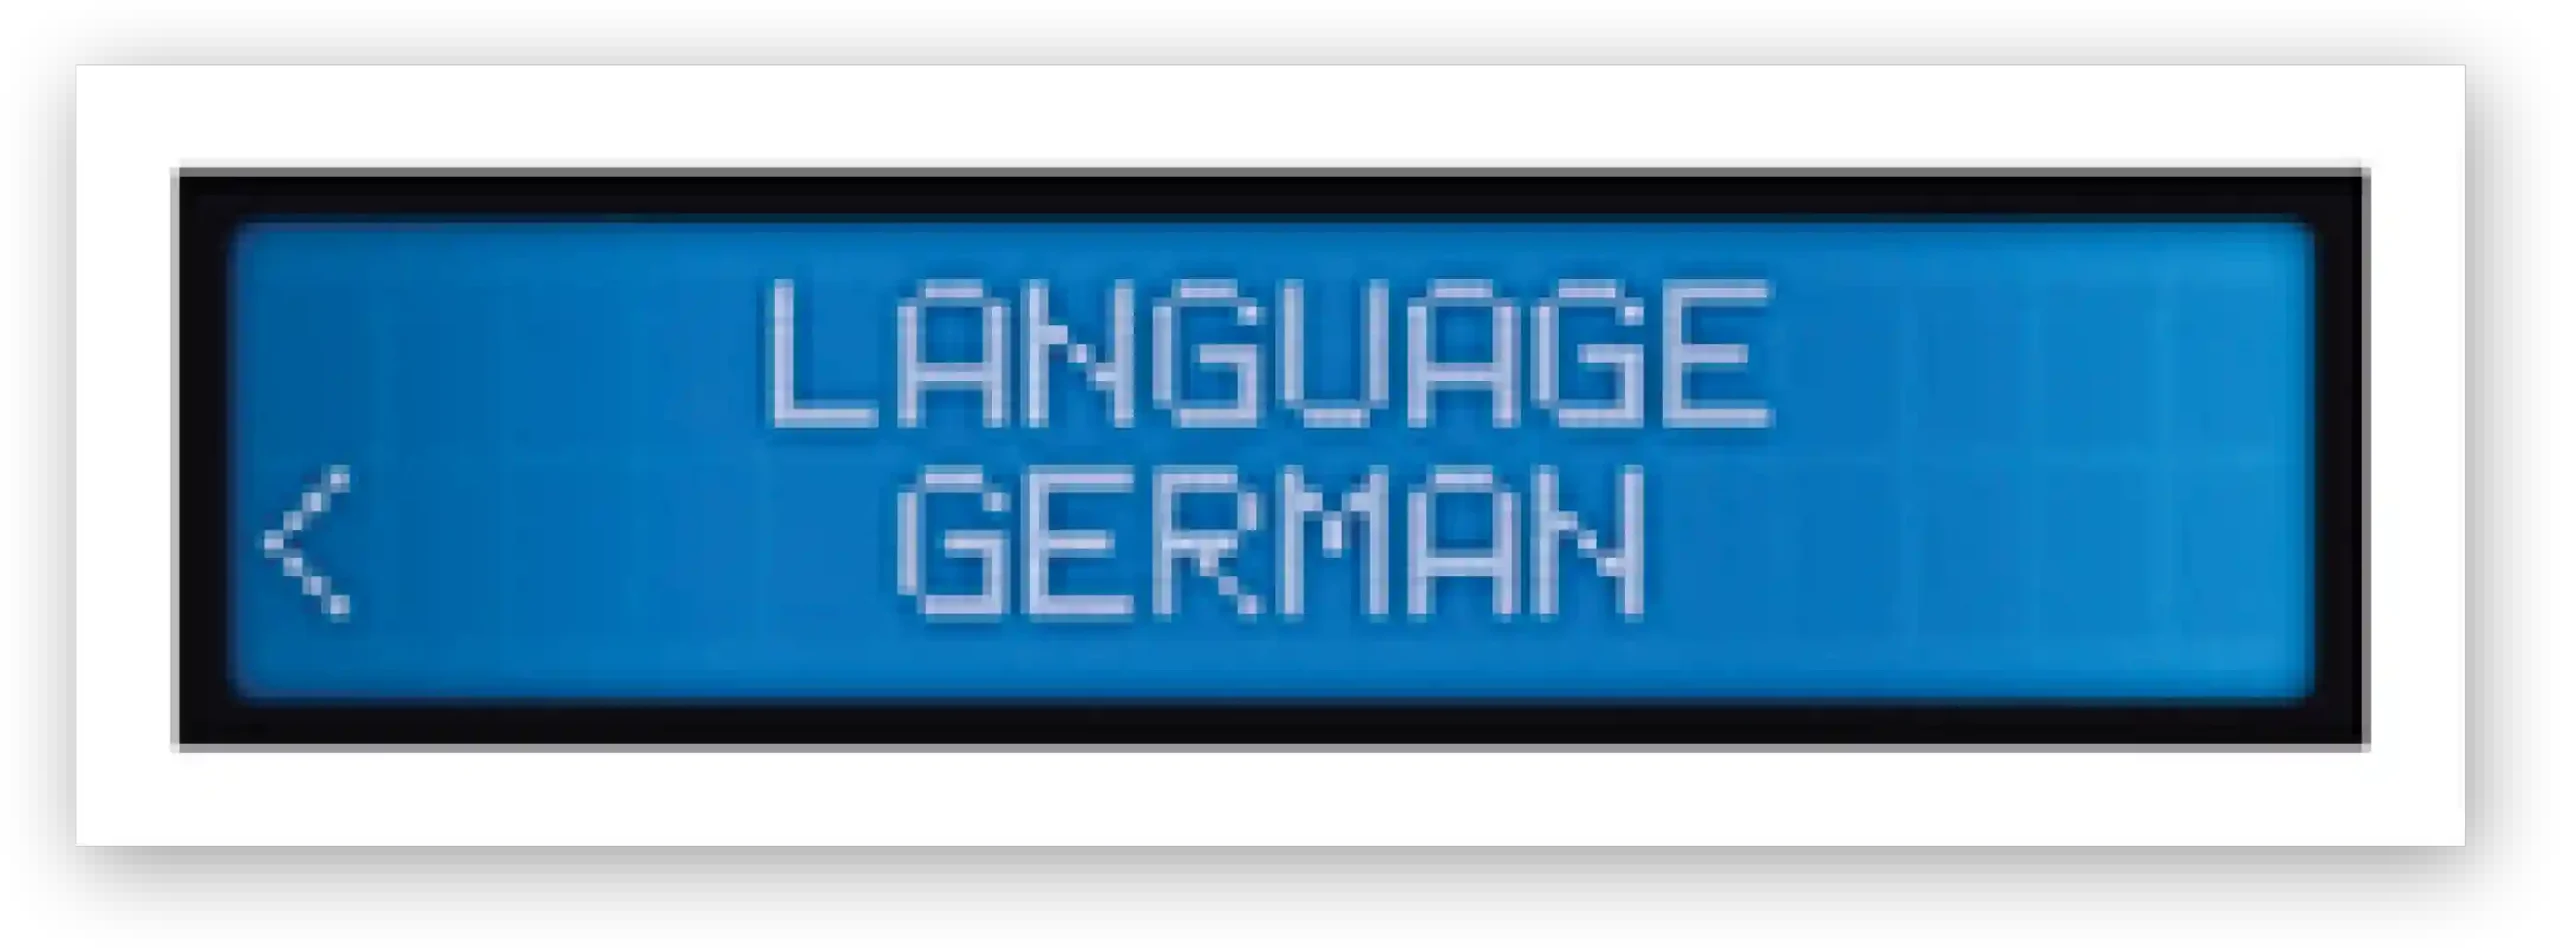
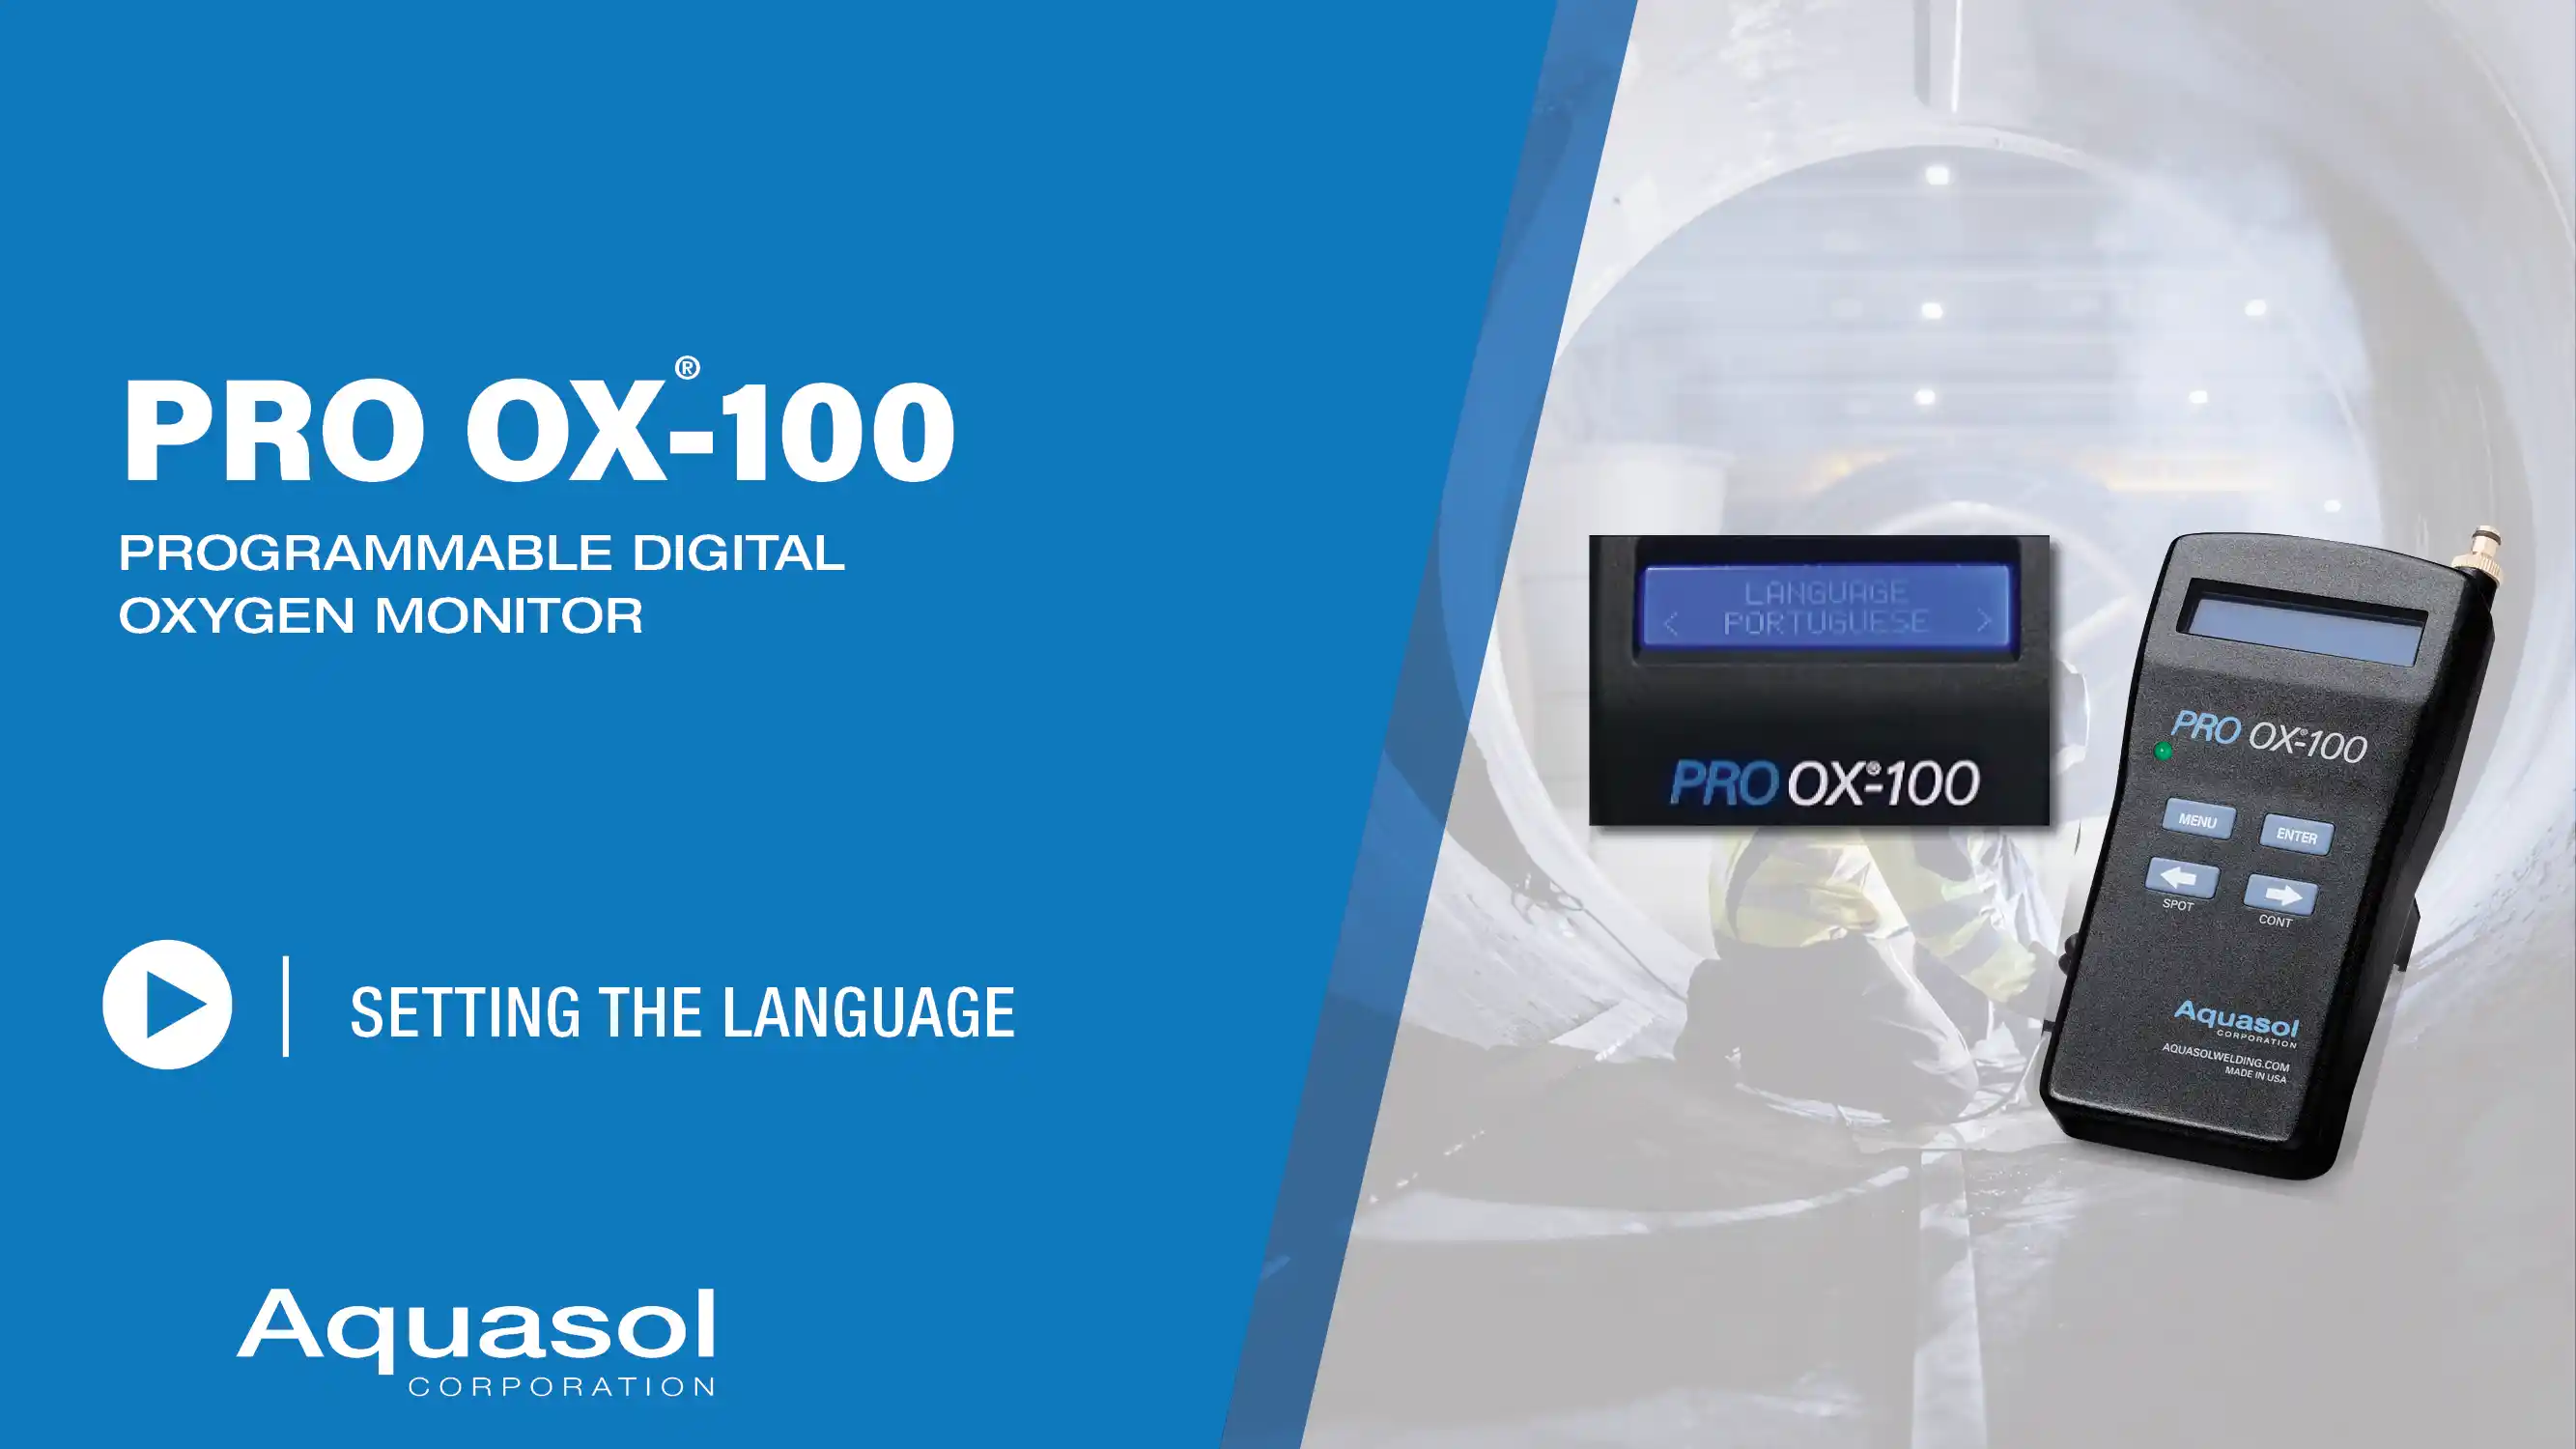
لضبط اللغات:

  1. اضغط واستمر في الضغط على زر “MENU”
  2. ثم اضغط على زر السهم “الأيمن” حتى تظهر لك “إعداد: اللغة”
  3. اضغط “ENTER” لتحديد إعداد اللغة.

  4. اختر اللغة التي ترغب فيها (ألمانية أو أسبانية أو برتغالية أو إنجليزية)
  5. اضغط على زر “ENTER” للحفظ والخروج
  6. اضغط على زر “MENU” للعودة إلى الشاشة الرئيسية.

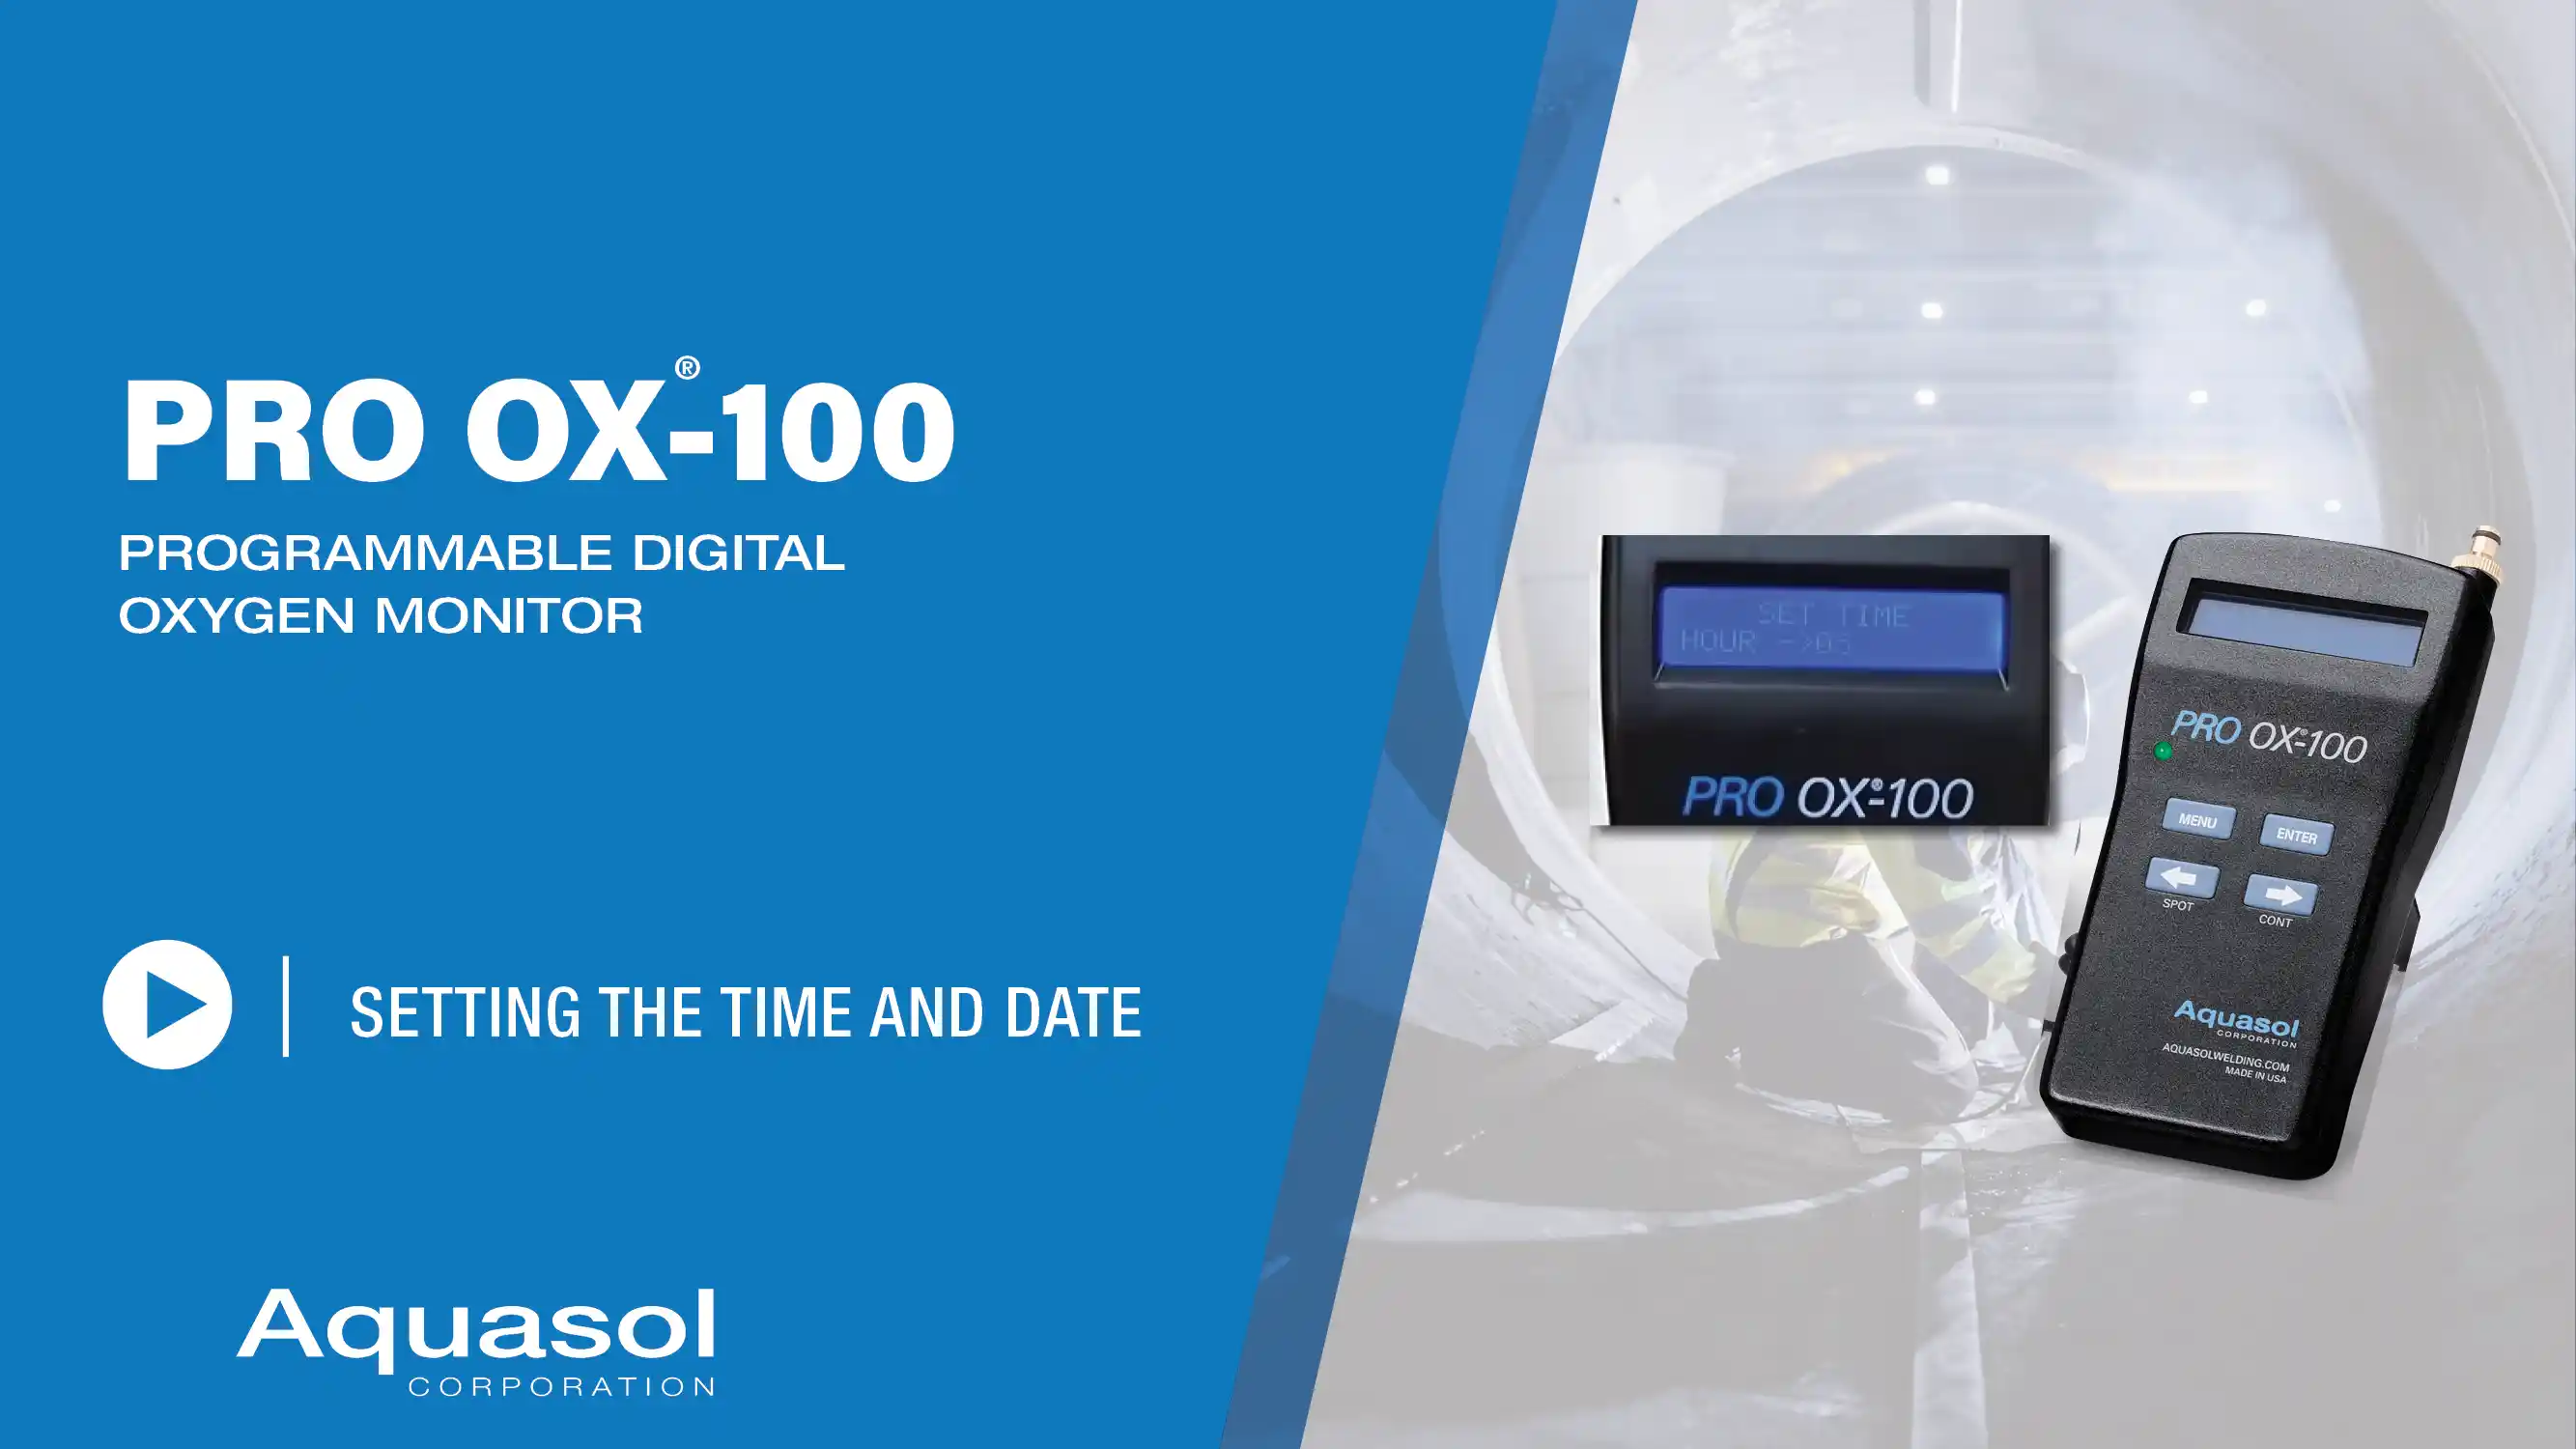
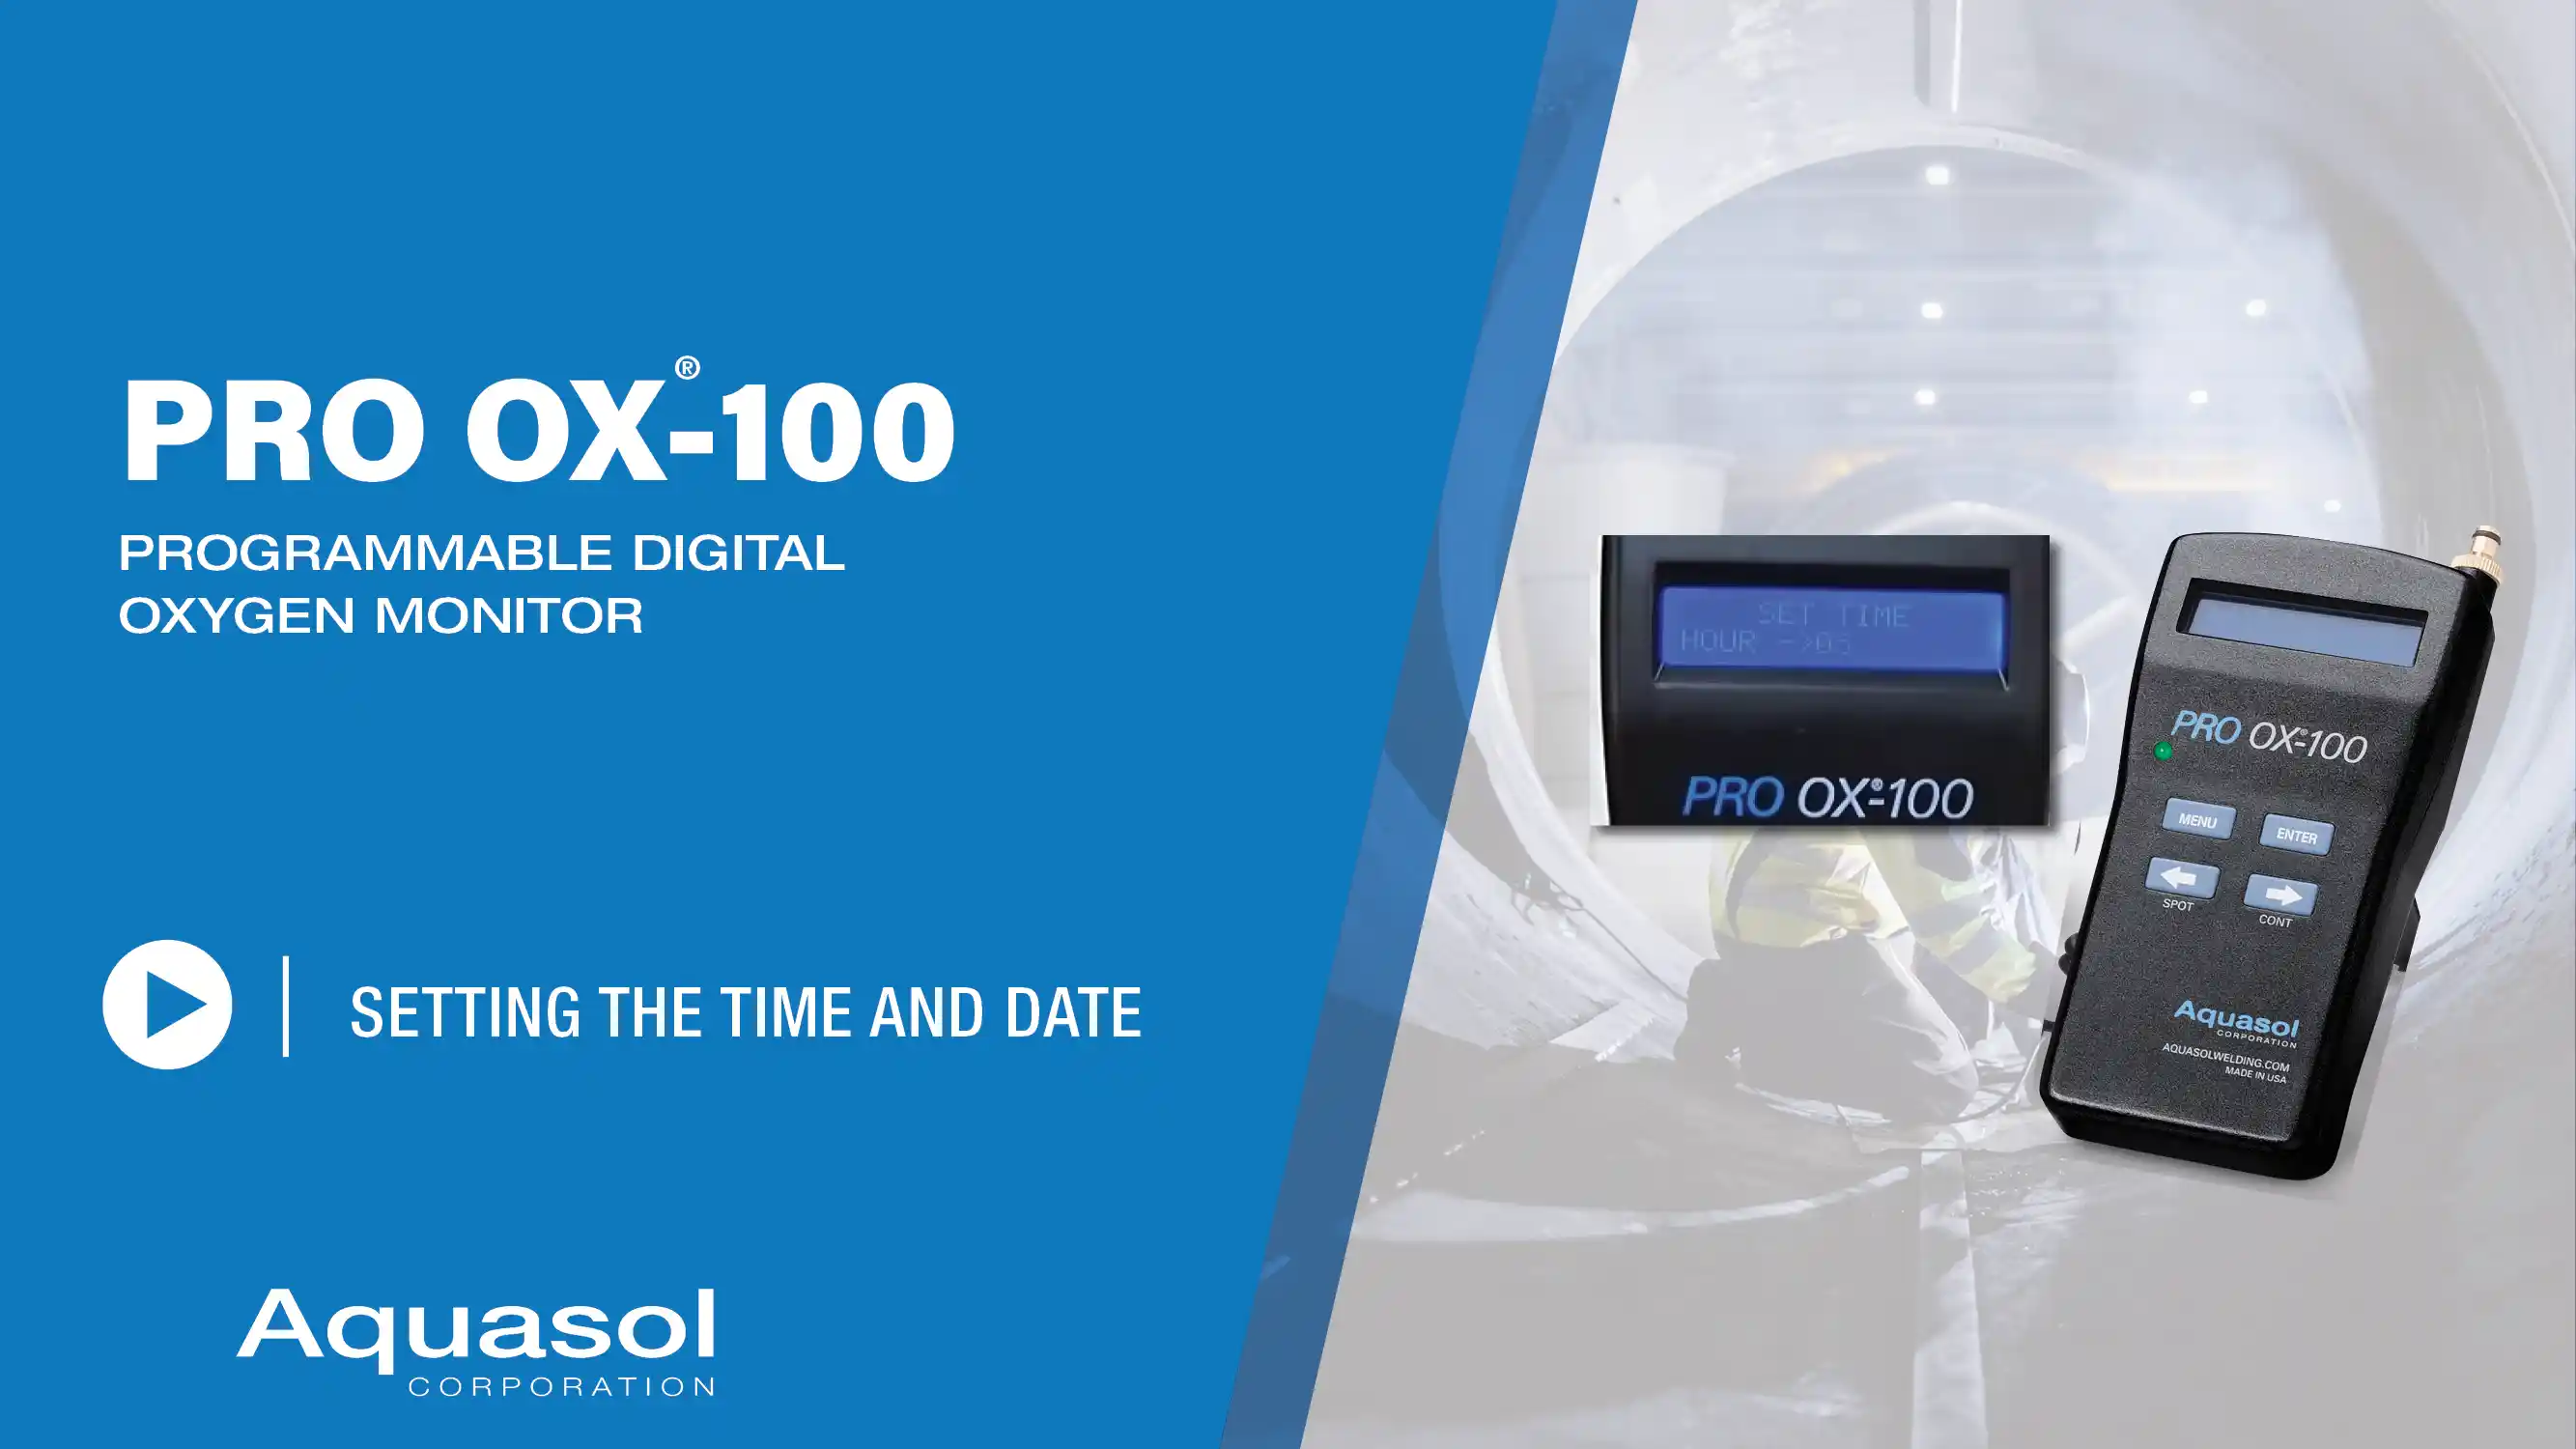
لضبط التاريخ والوقت:

  1. اضغط على الزر “Menu” لعرض قائمة “SETUP”
  2. حدد الخيار “SET DT/TM” (ضبط التاريخ/الوقت) من خلال الضغط على “ENTER”
  3. استخدم زري الأسهم “الأيمن” à و”الأيسر” ß لزيادة أو تقليل قيمة “الساعات” و”الدقائق” و”الثواني” و”الشهر” و”السنة” باستخدام زر “ENTER” لحفظ الإعدادات

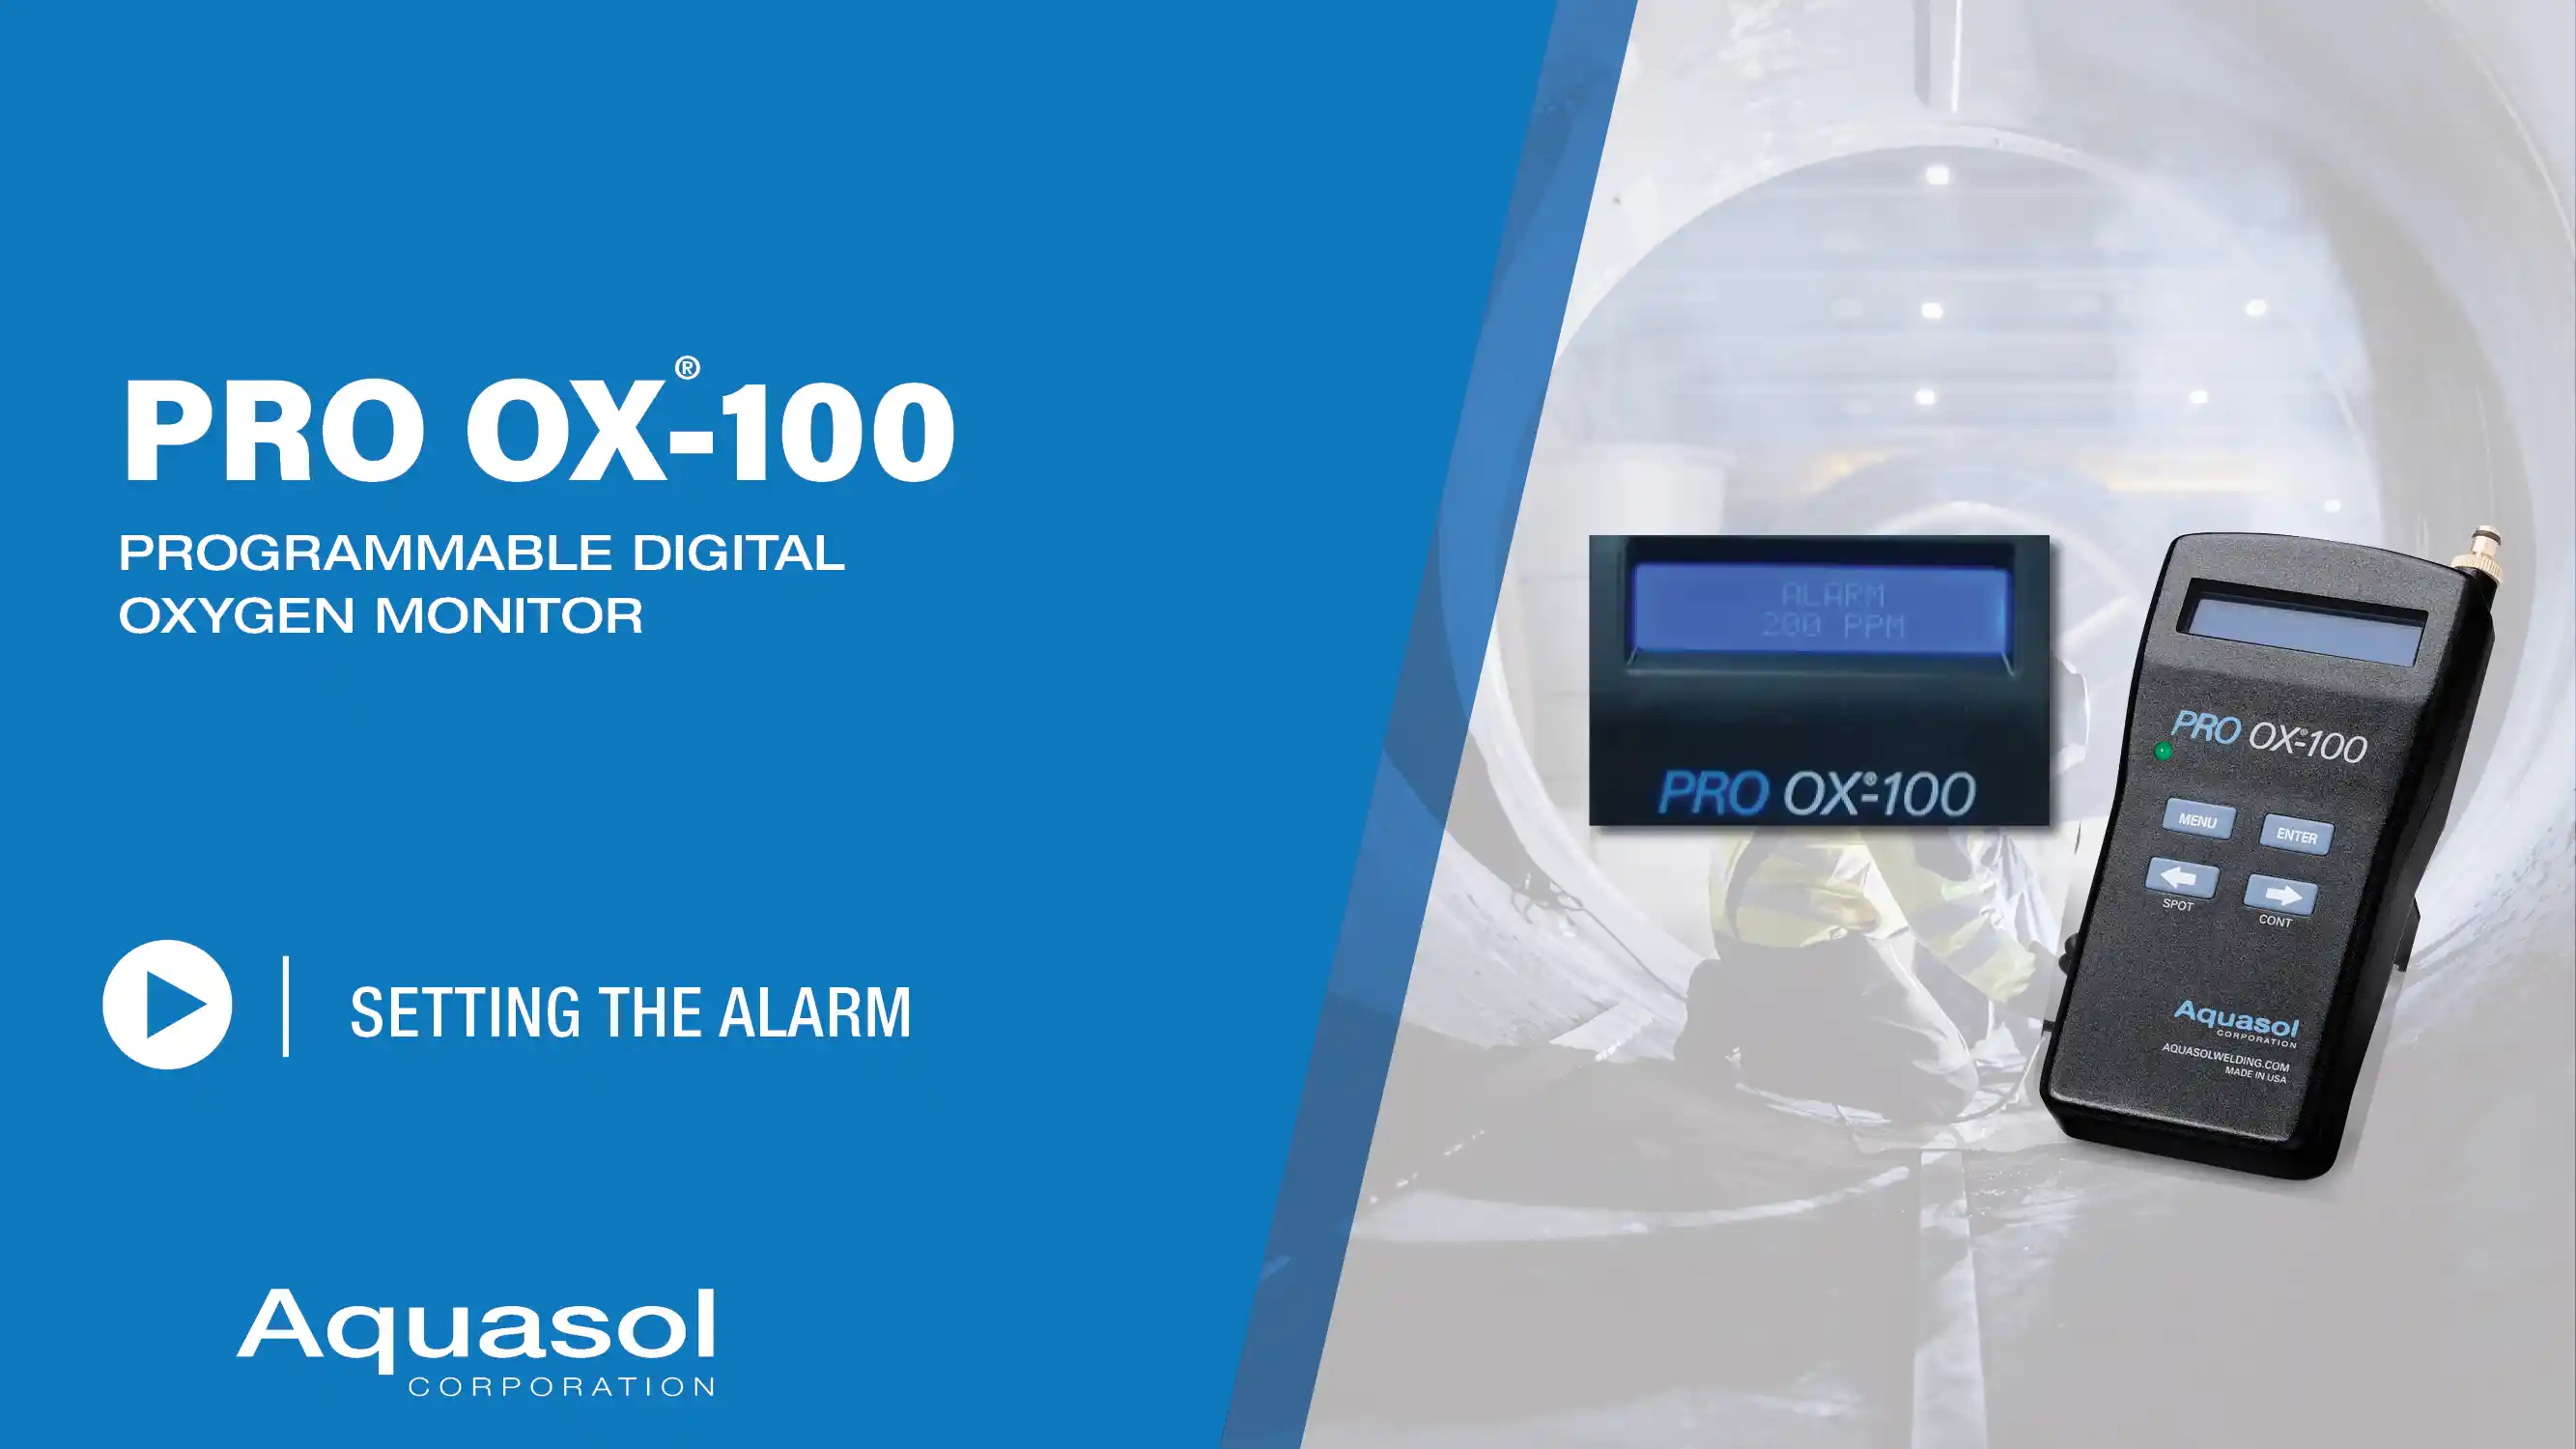
لتشغيل/إيقاف الإنذار:

  1. اضغط على الزر “Menu” واستخدم زر السهم “الأيمن” àلحين ظهور “SETUP: SET ALARM”
  2. اضغط على الزر “ENTER” لتحديد “ALARM SETUP”
  3. استخدم زري السهم “الأيمن” à و”الأيسر” ß لزيادة أو تقليل قيمة “ALARM”
  4. عندما يكون الإنذار معطلا (إعداد المصنع)، استخدم زري السهم ß “الأيمن” و”الأيسر” لعرض قيمة الجزء في المليون
  5. ستؤدي محاولة تقليل نقطة الضبط لأقل من 100 جزء في المليون إلى تعطيل الإنذار من خلال الضغط على زر السهم “الأيسر”
  6. اضغط على “ENTER” لحفظ الإعدادات والخروج

ملاحظة: الإنذار السمعي البصري مضبوط من المصنع على “الإنذار معطل”

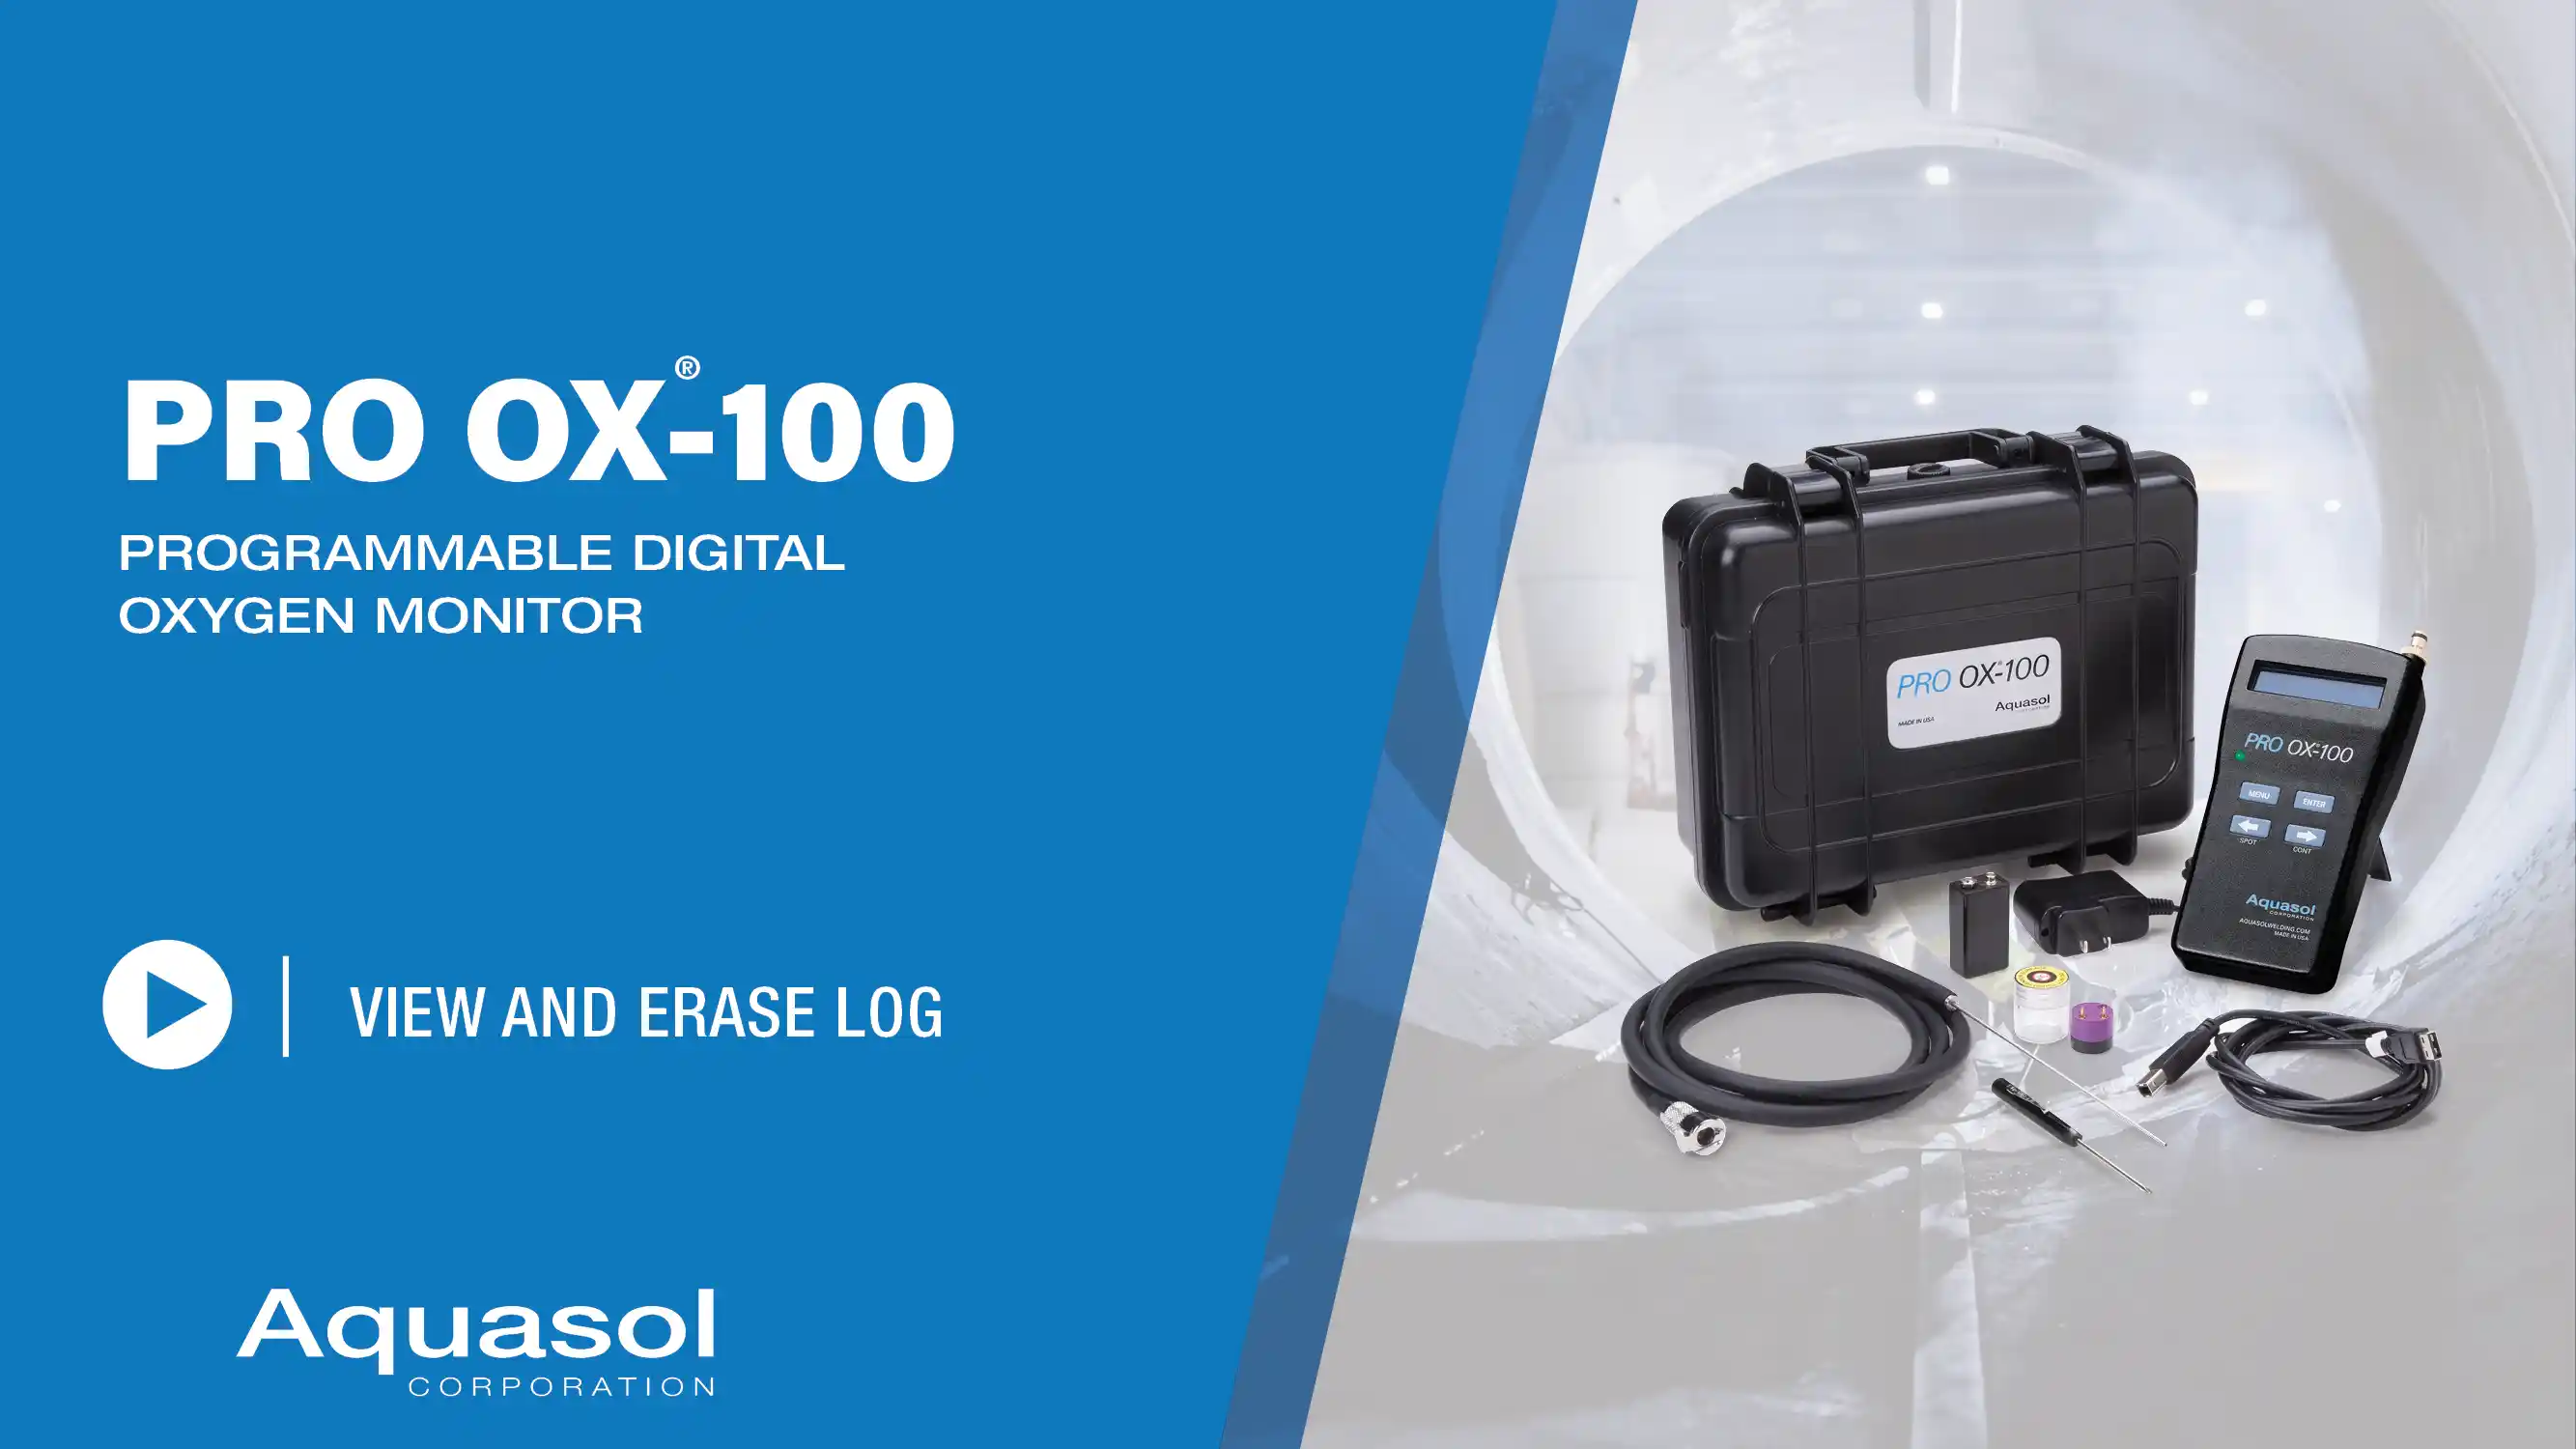
لعرض السجل:

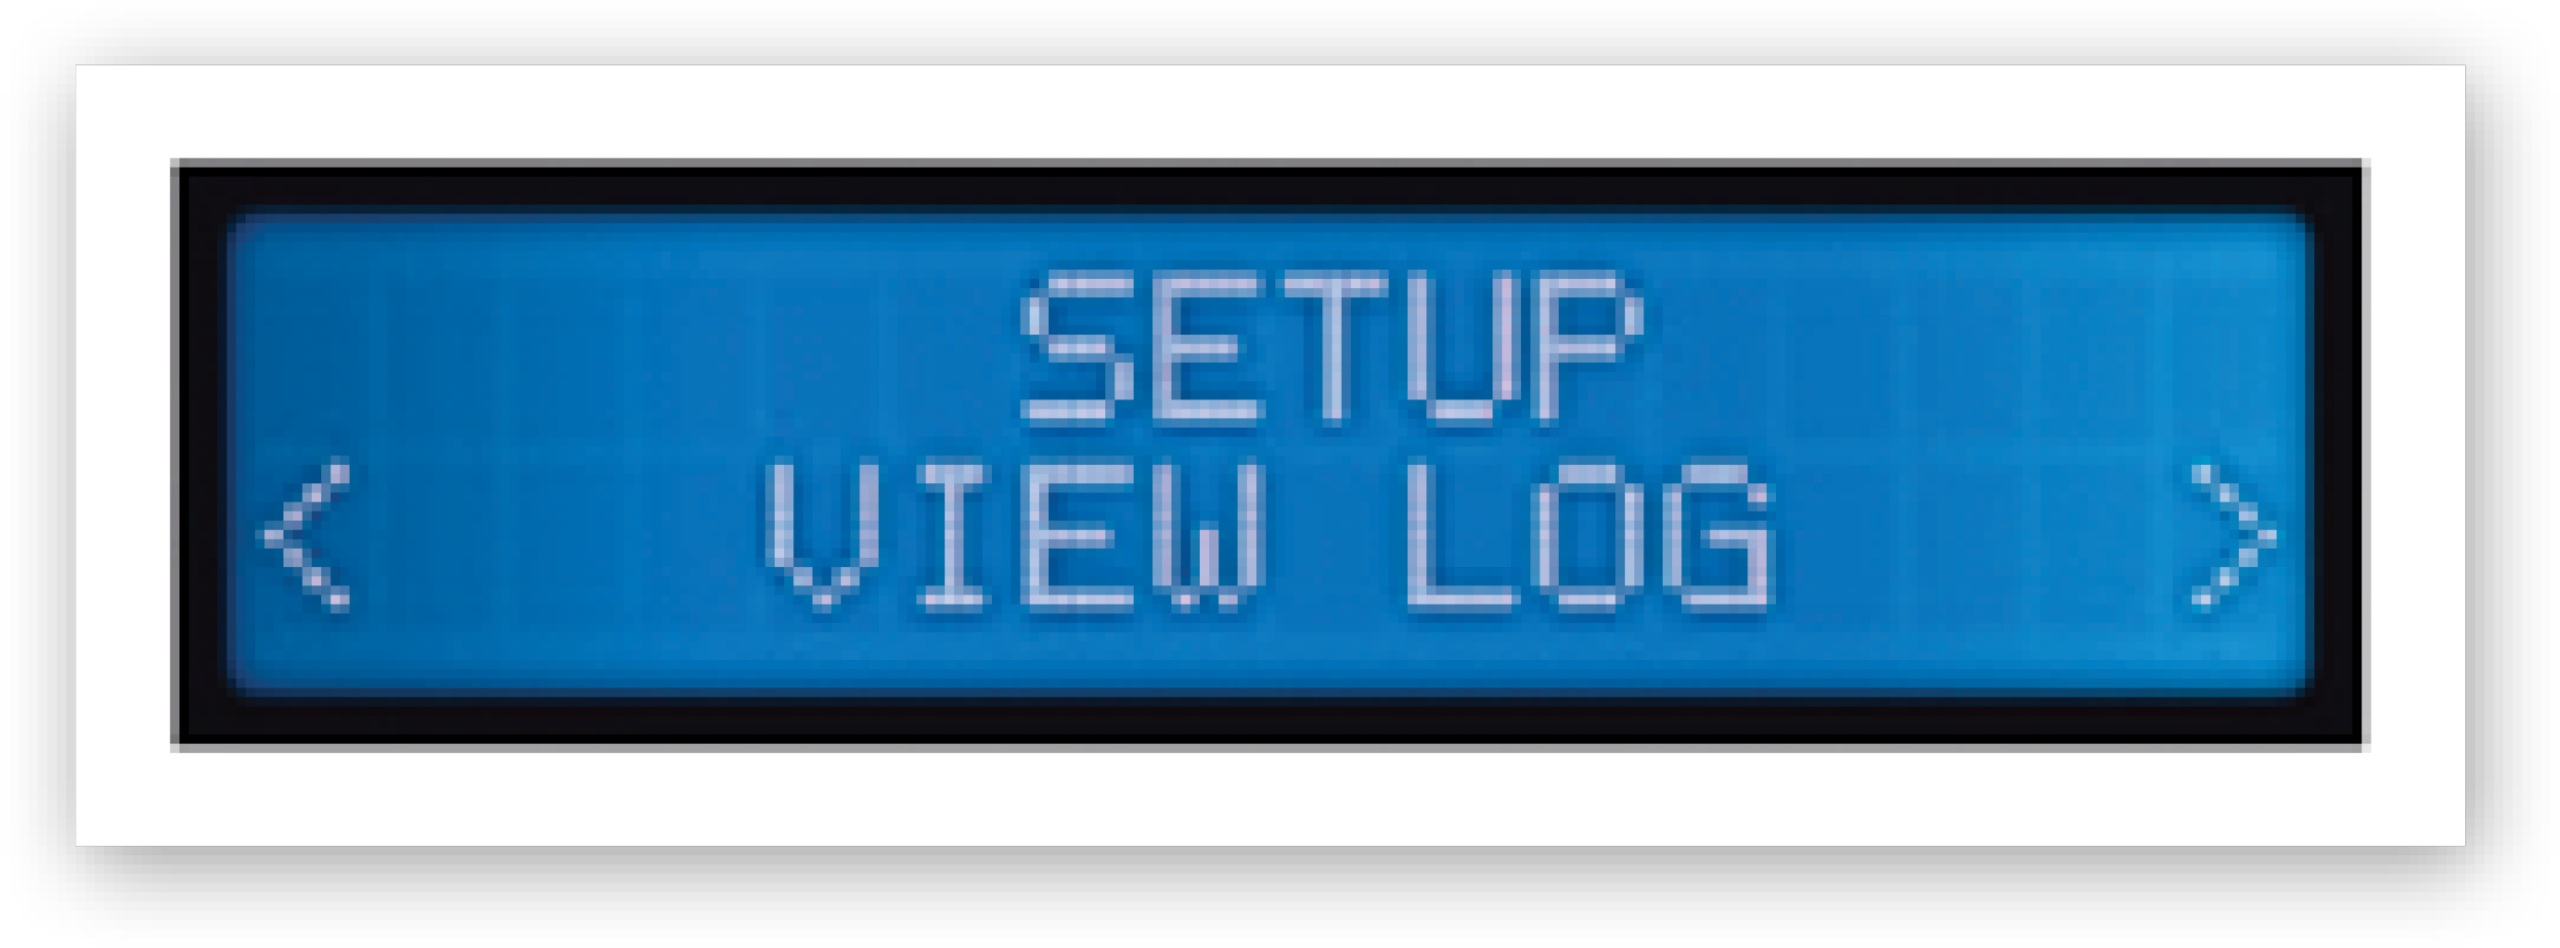
  1. اضغط على الزر “Menu” واستخدم زر السهم “الأيمن” àلحين ظهور “SETUP: VIEW LOG”
  2. اضغط على الزر “ENTER” لتحديد عارض “LOG”
  3. استخدم زري السهم à”الأيمن” ß و”الأيسر” للتنقل خلال السجل. سيظهر على الشاشة ما يصل إلى إجمالي 50 نقطة بيانات
  4. اضغط على “ENTER” لحفظ الإعدادات والخروج

لمسح السجل:

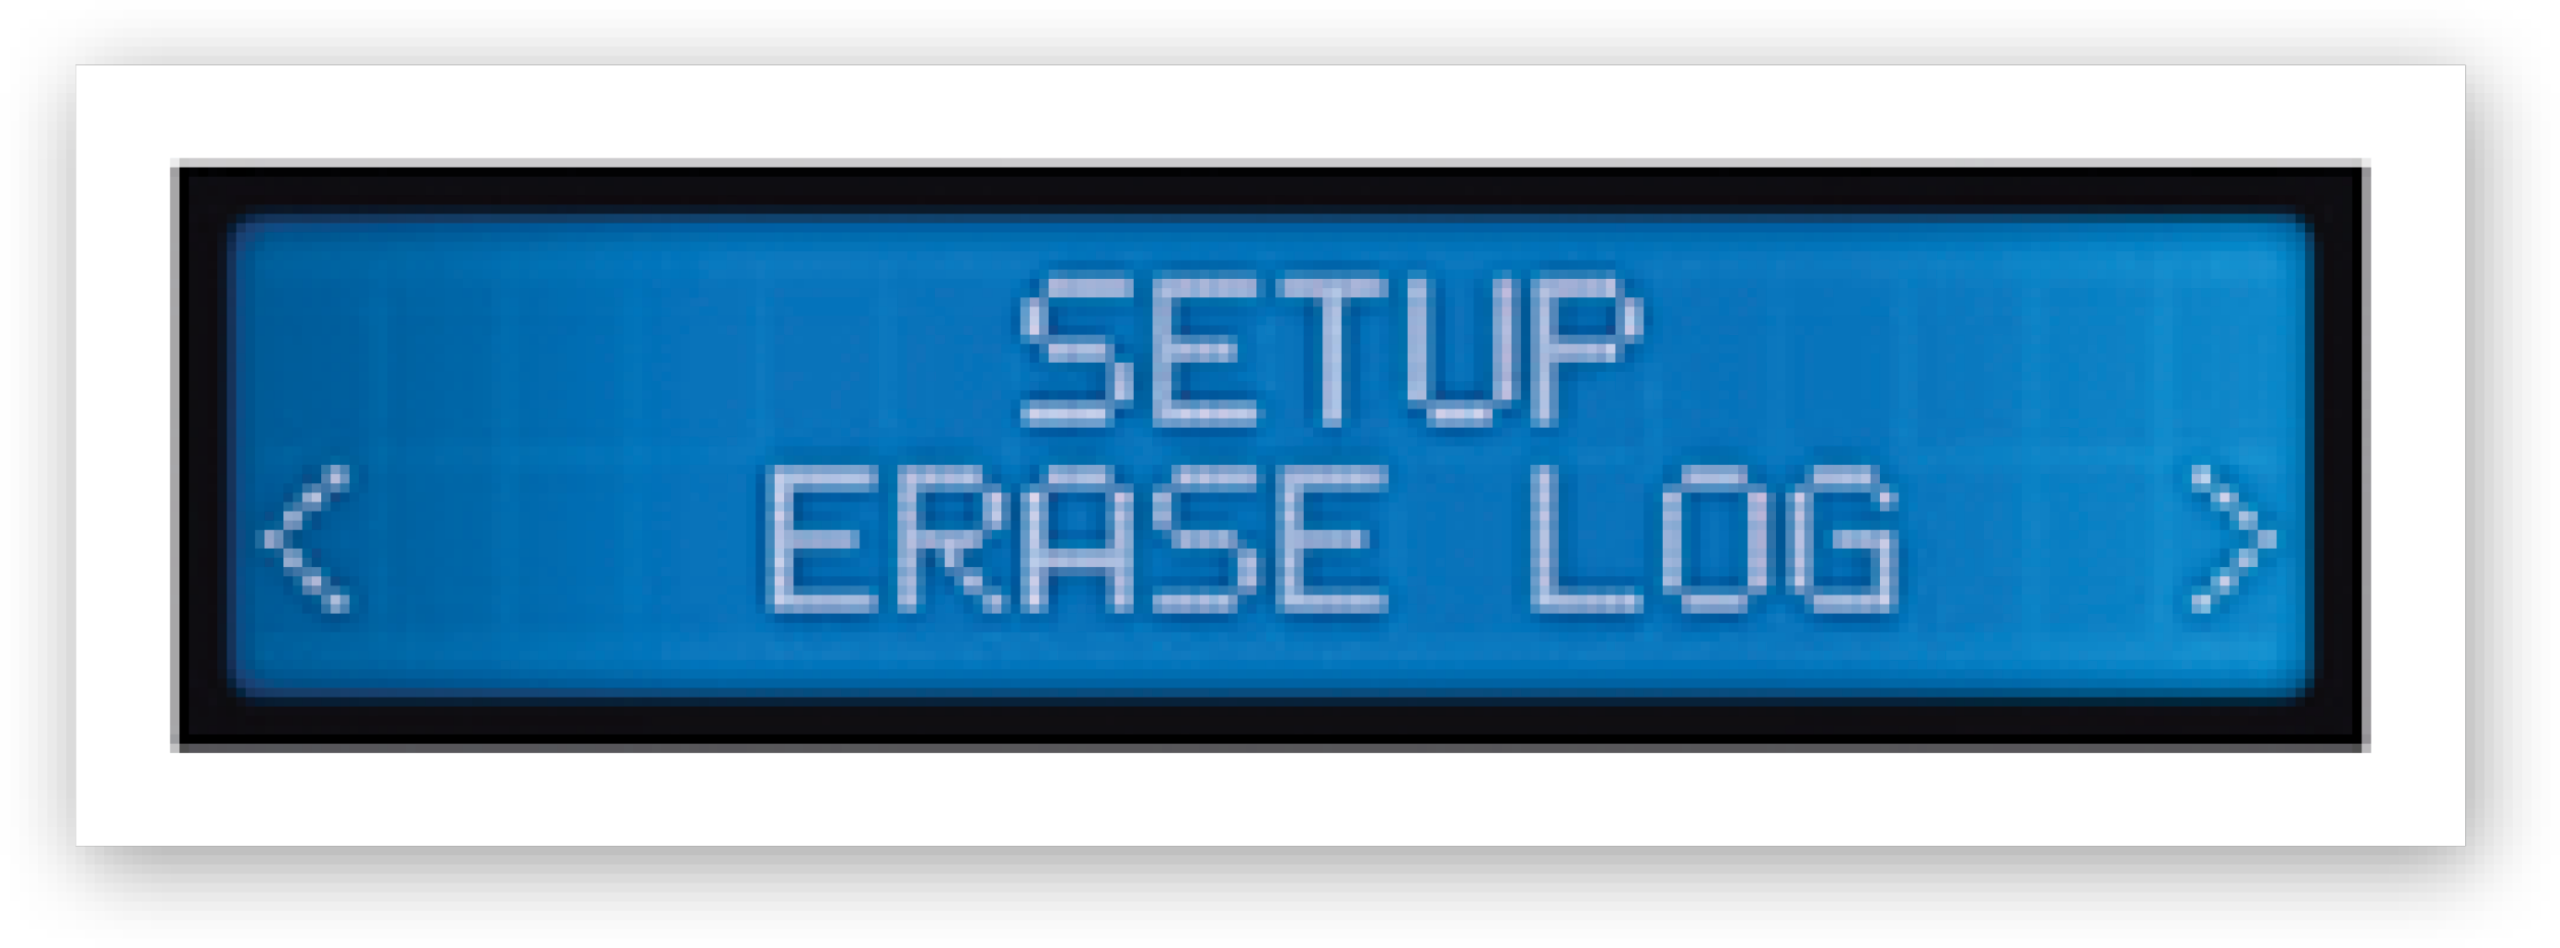
  1. اضغط على الزر “MENU” واستخدم زر السهم “الأيمن” àلحين ظهور “SETUP: ERASE LOG”
  2. اضغط على الزر “ENTER” للبدء في محو جميع نقاط البيانات في السجل
  3. بمجرد ظهور كلمة “DONE” على الشاشة، يكون قد تم مسح جميع نقاط البيانات من السجل
  4. اضغط على “ENTER” لحفظ الإعدادات والخروج

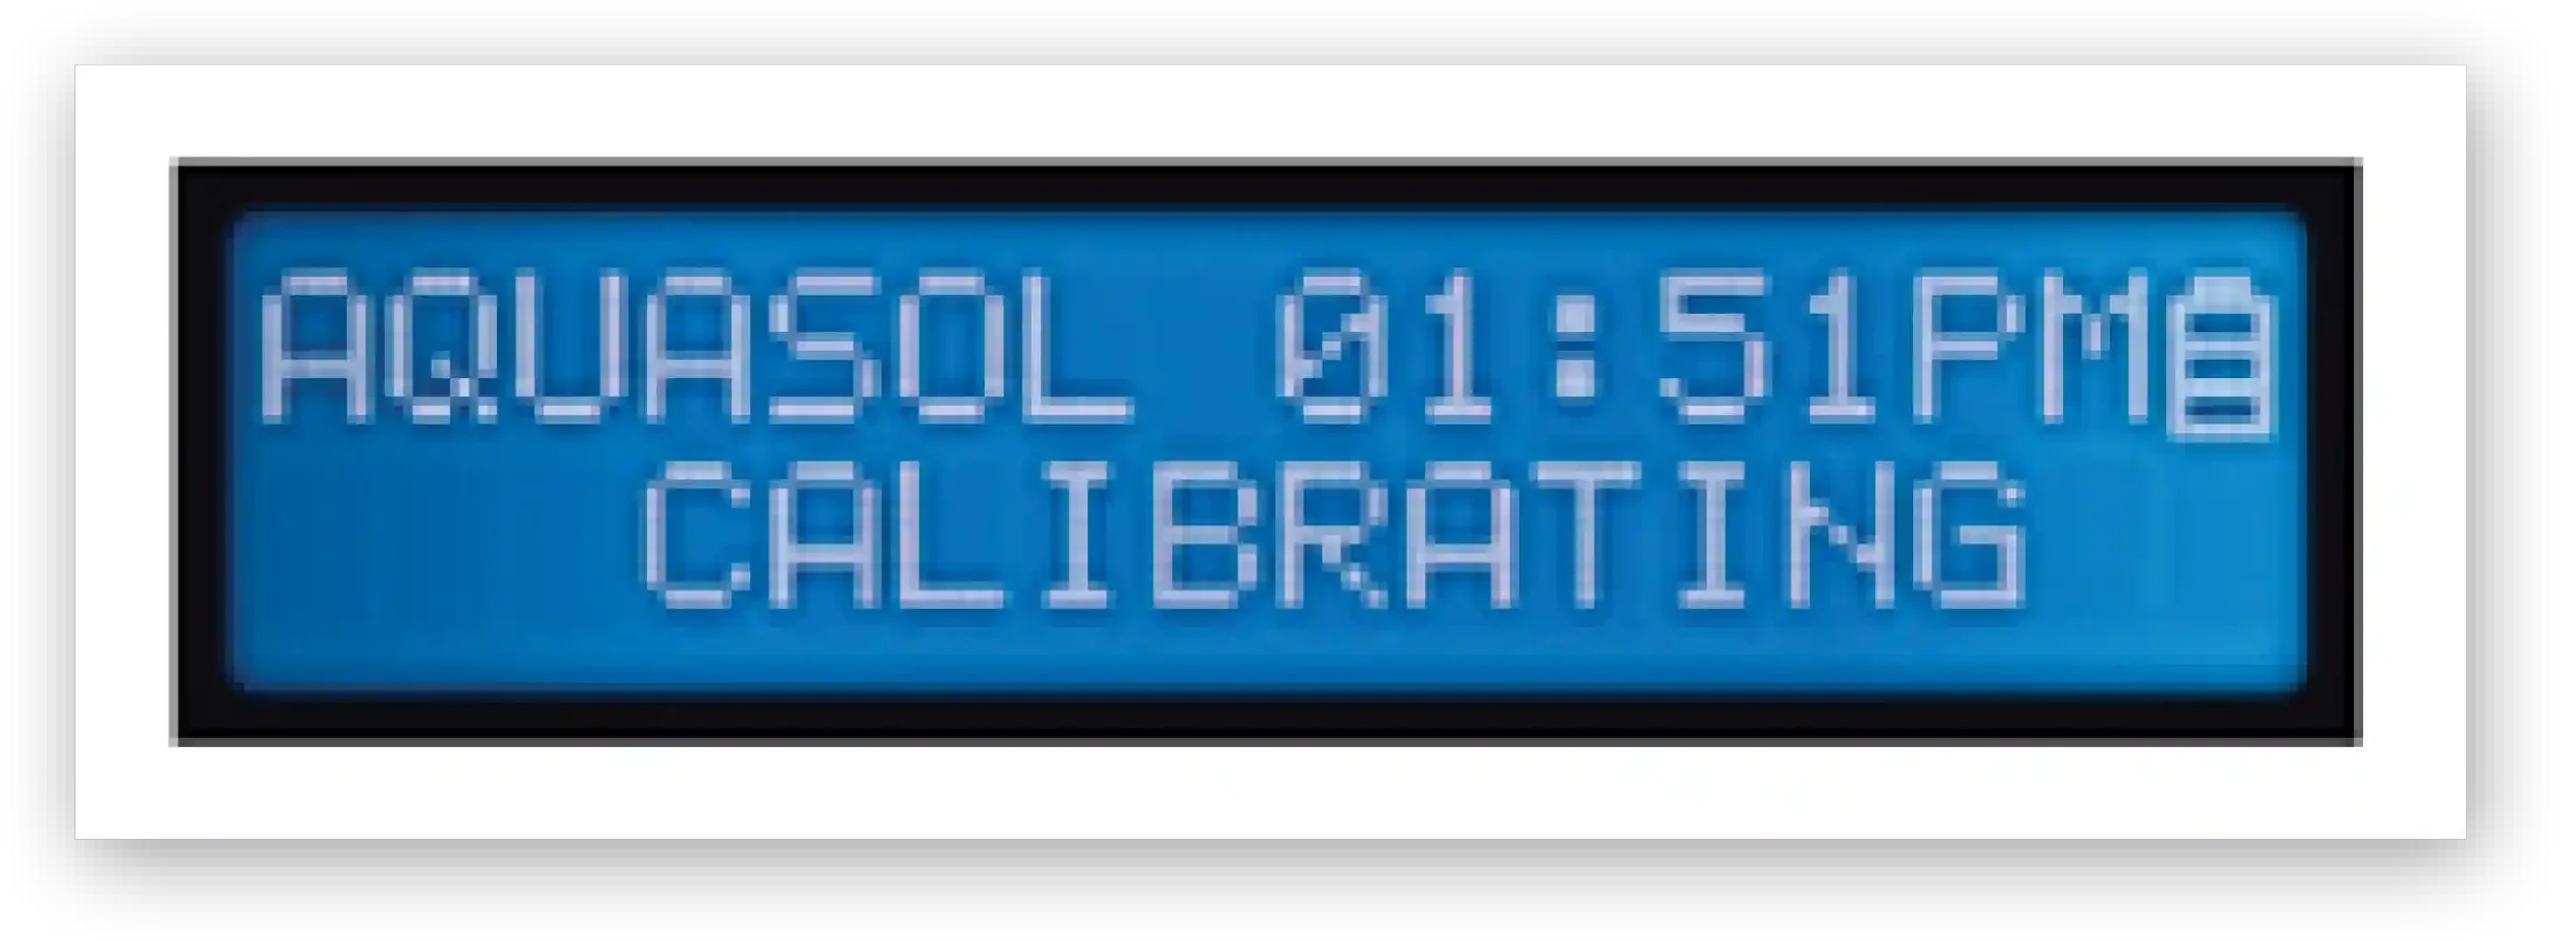
معايرة جهاز PRO OX-100:

طراز المعايرة ثنائية النقطة:

  • جميع أجهزة مراقبة الأكسجين Pro OX-100 مُعايرة ومُعتمدة من المصنع
  • لا يلزم إجراء المعايرة ثنائية النقطة إلا عند استبدال المستشعر
  • تتضمن خطوتين باستخدام نقطة عالية «CAL HI» ونقطة منخفضة «CAL LO»
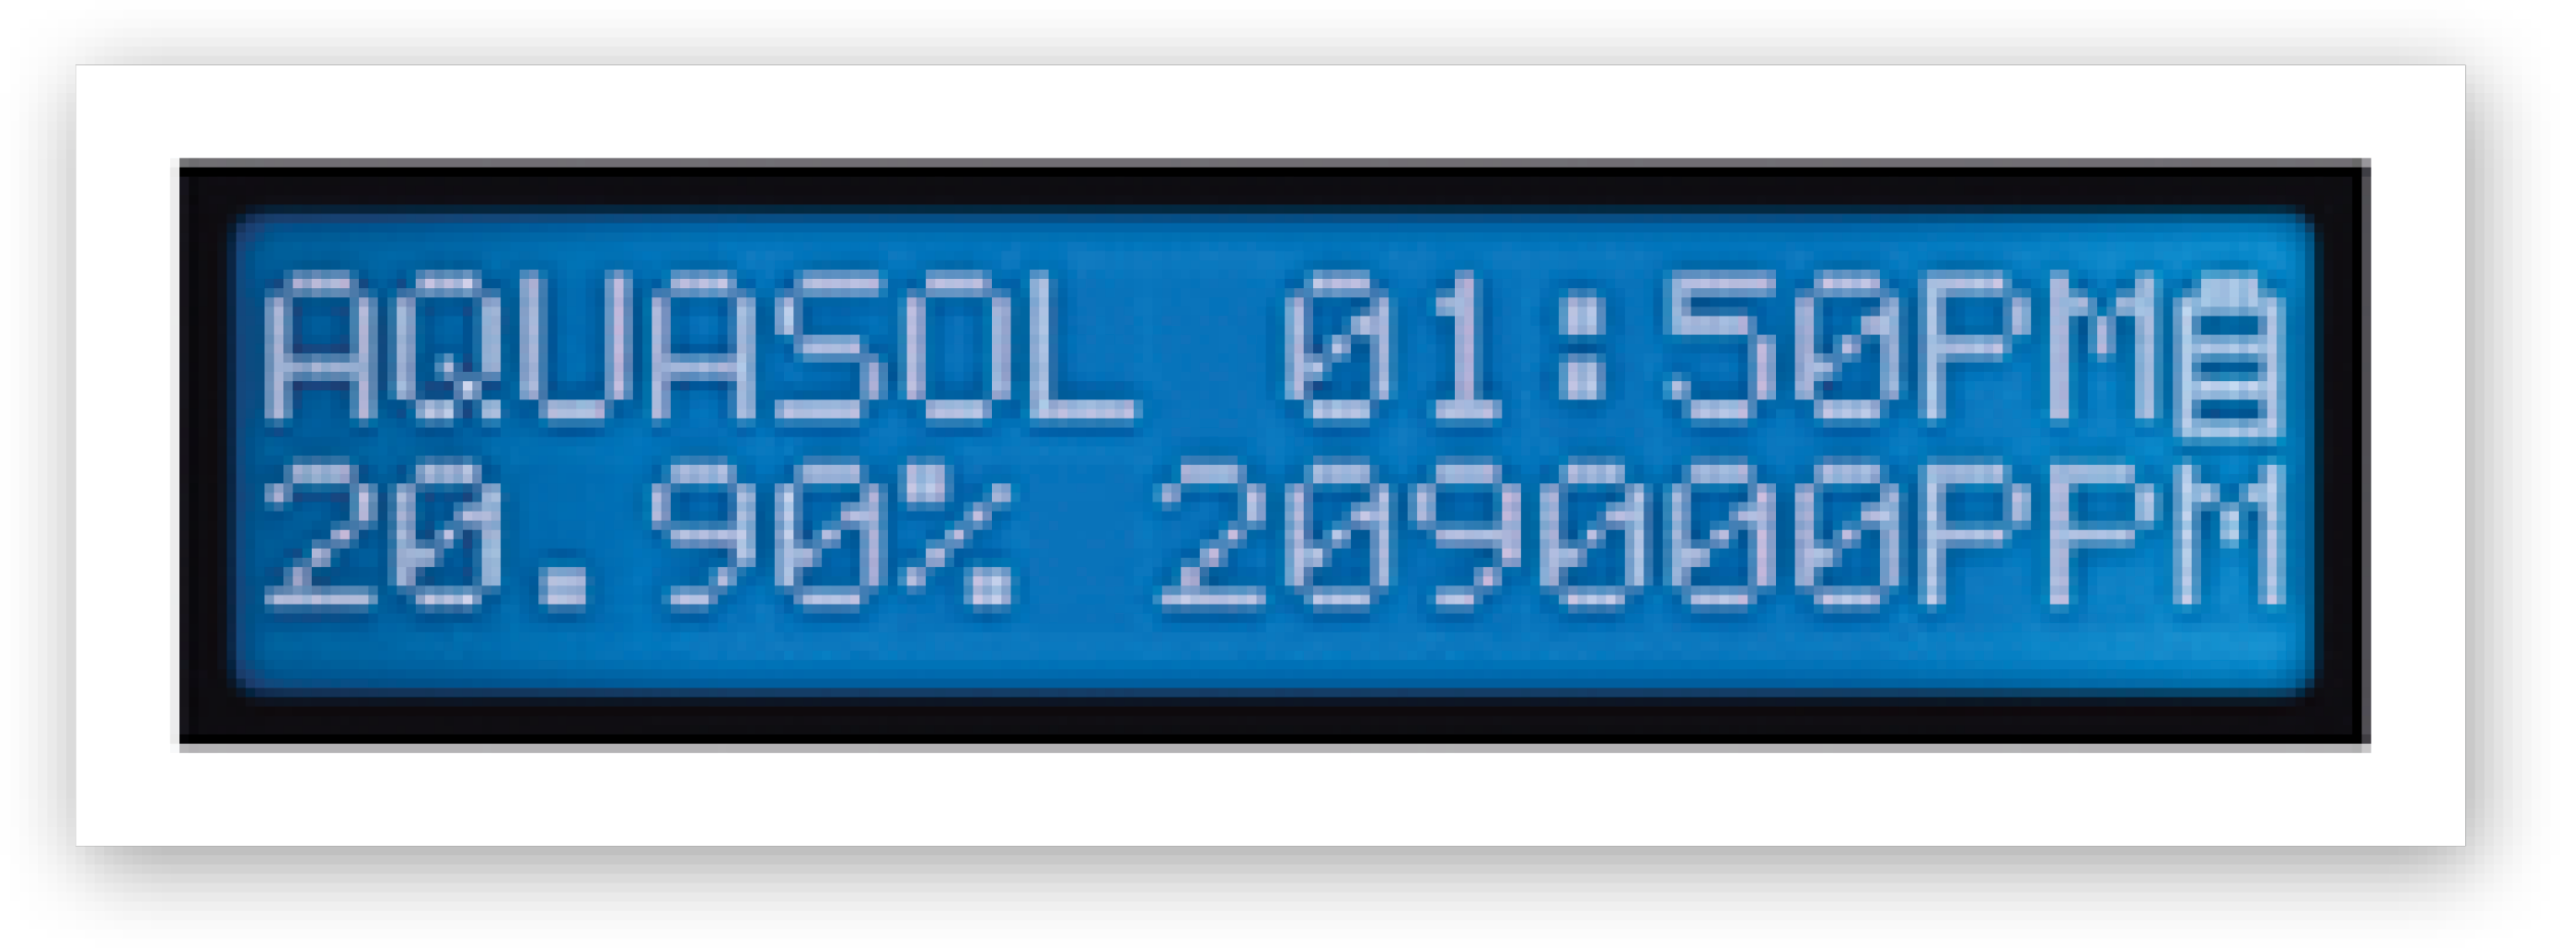
  • تقيس «CAL HI» الهواء المُحيط بهدف الوصول إلى 20.9% أكسجين
  • تستخدم «CAL LO» الأرجون بنقاء 99.999% بهدف الوصول إلى >100 جزء في المليون من الأكسجين
  • تستغرق كل نقطة في عملية المعايرة حوالي 14 دقيقة
  1. اضغط على الزر “MENU” واستخدم زر السهم “الأيمن” لحين ظهور “SETUP: CAL HI”
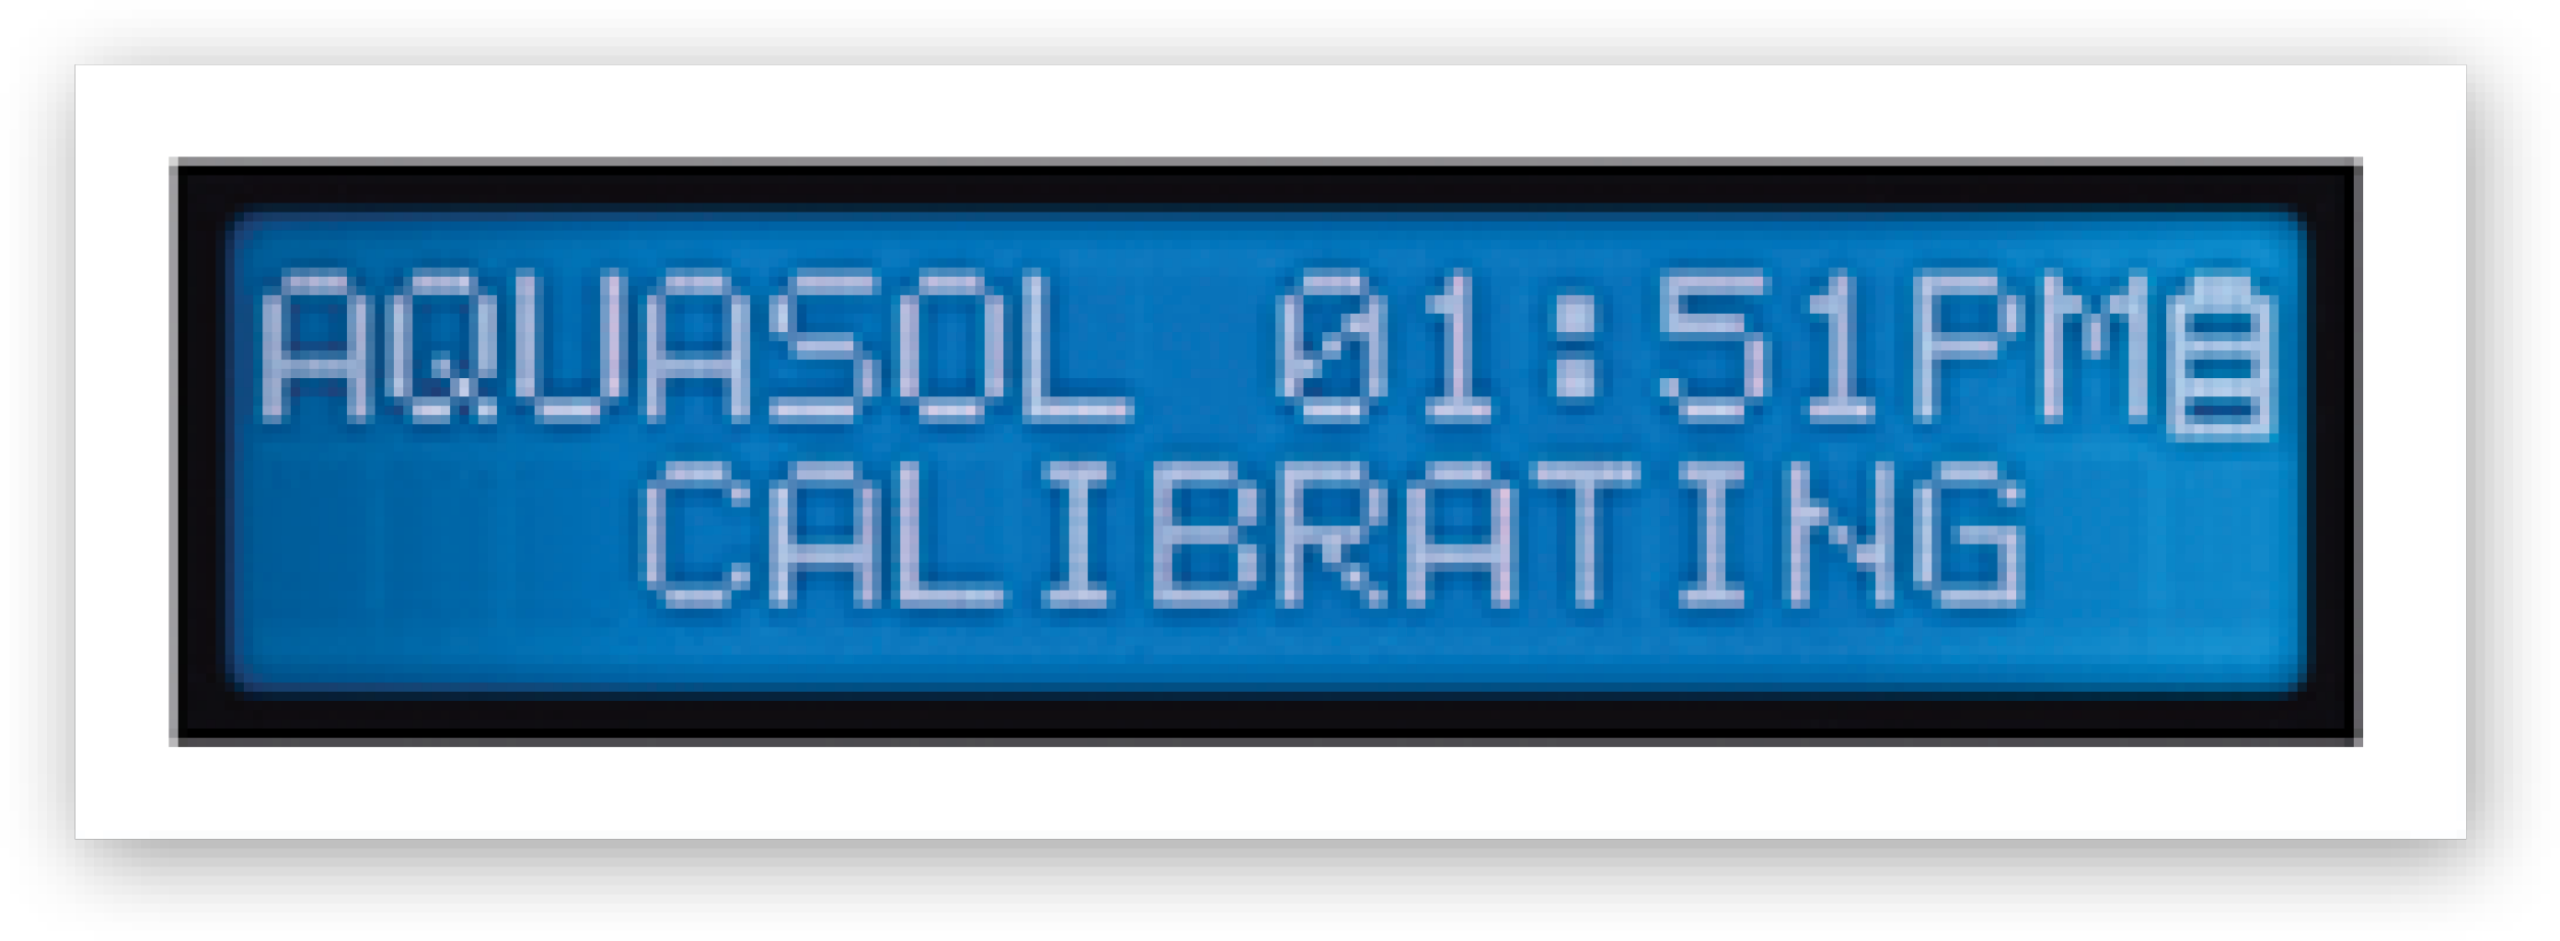
  2. اضغط على “ENTER” للتأكيد ثم اضغط مرة أخرى لبدء المعايرة
  3. ستتوقف المضخة تلقائيًا عند الانتهاء. أعد تشغيل الجهاز للخروج
  4. أدخل مجس أخذ العينات في خط الأرجون مع ضبط معدل التدفق على 20 CFH
  5. اضغط على الزر “MENU” واستخدم زر السهم “الأيمن” لحين ظهور “SETUP: CAL LO”
  6. اضغط على “ENTER” للتأكيد ثم اضغط مرة أخرى لبدء المعايرة

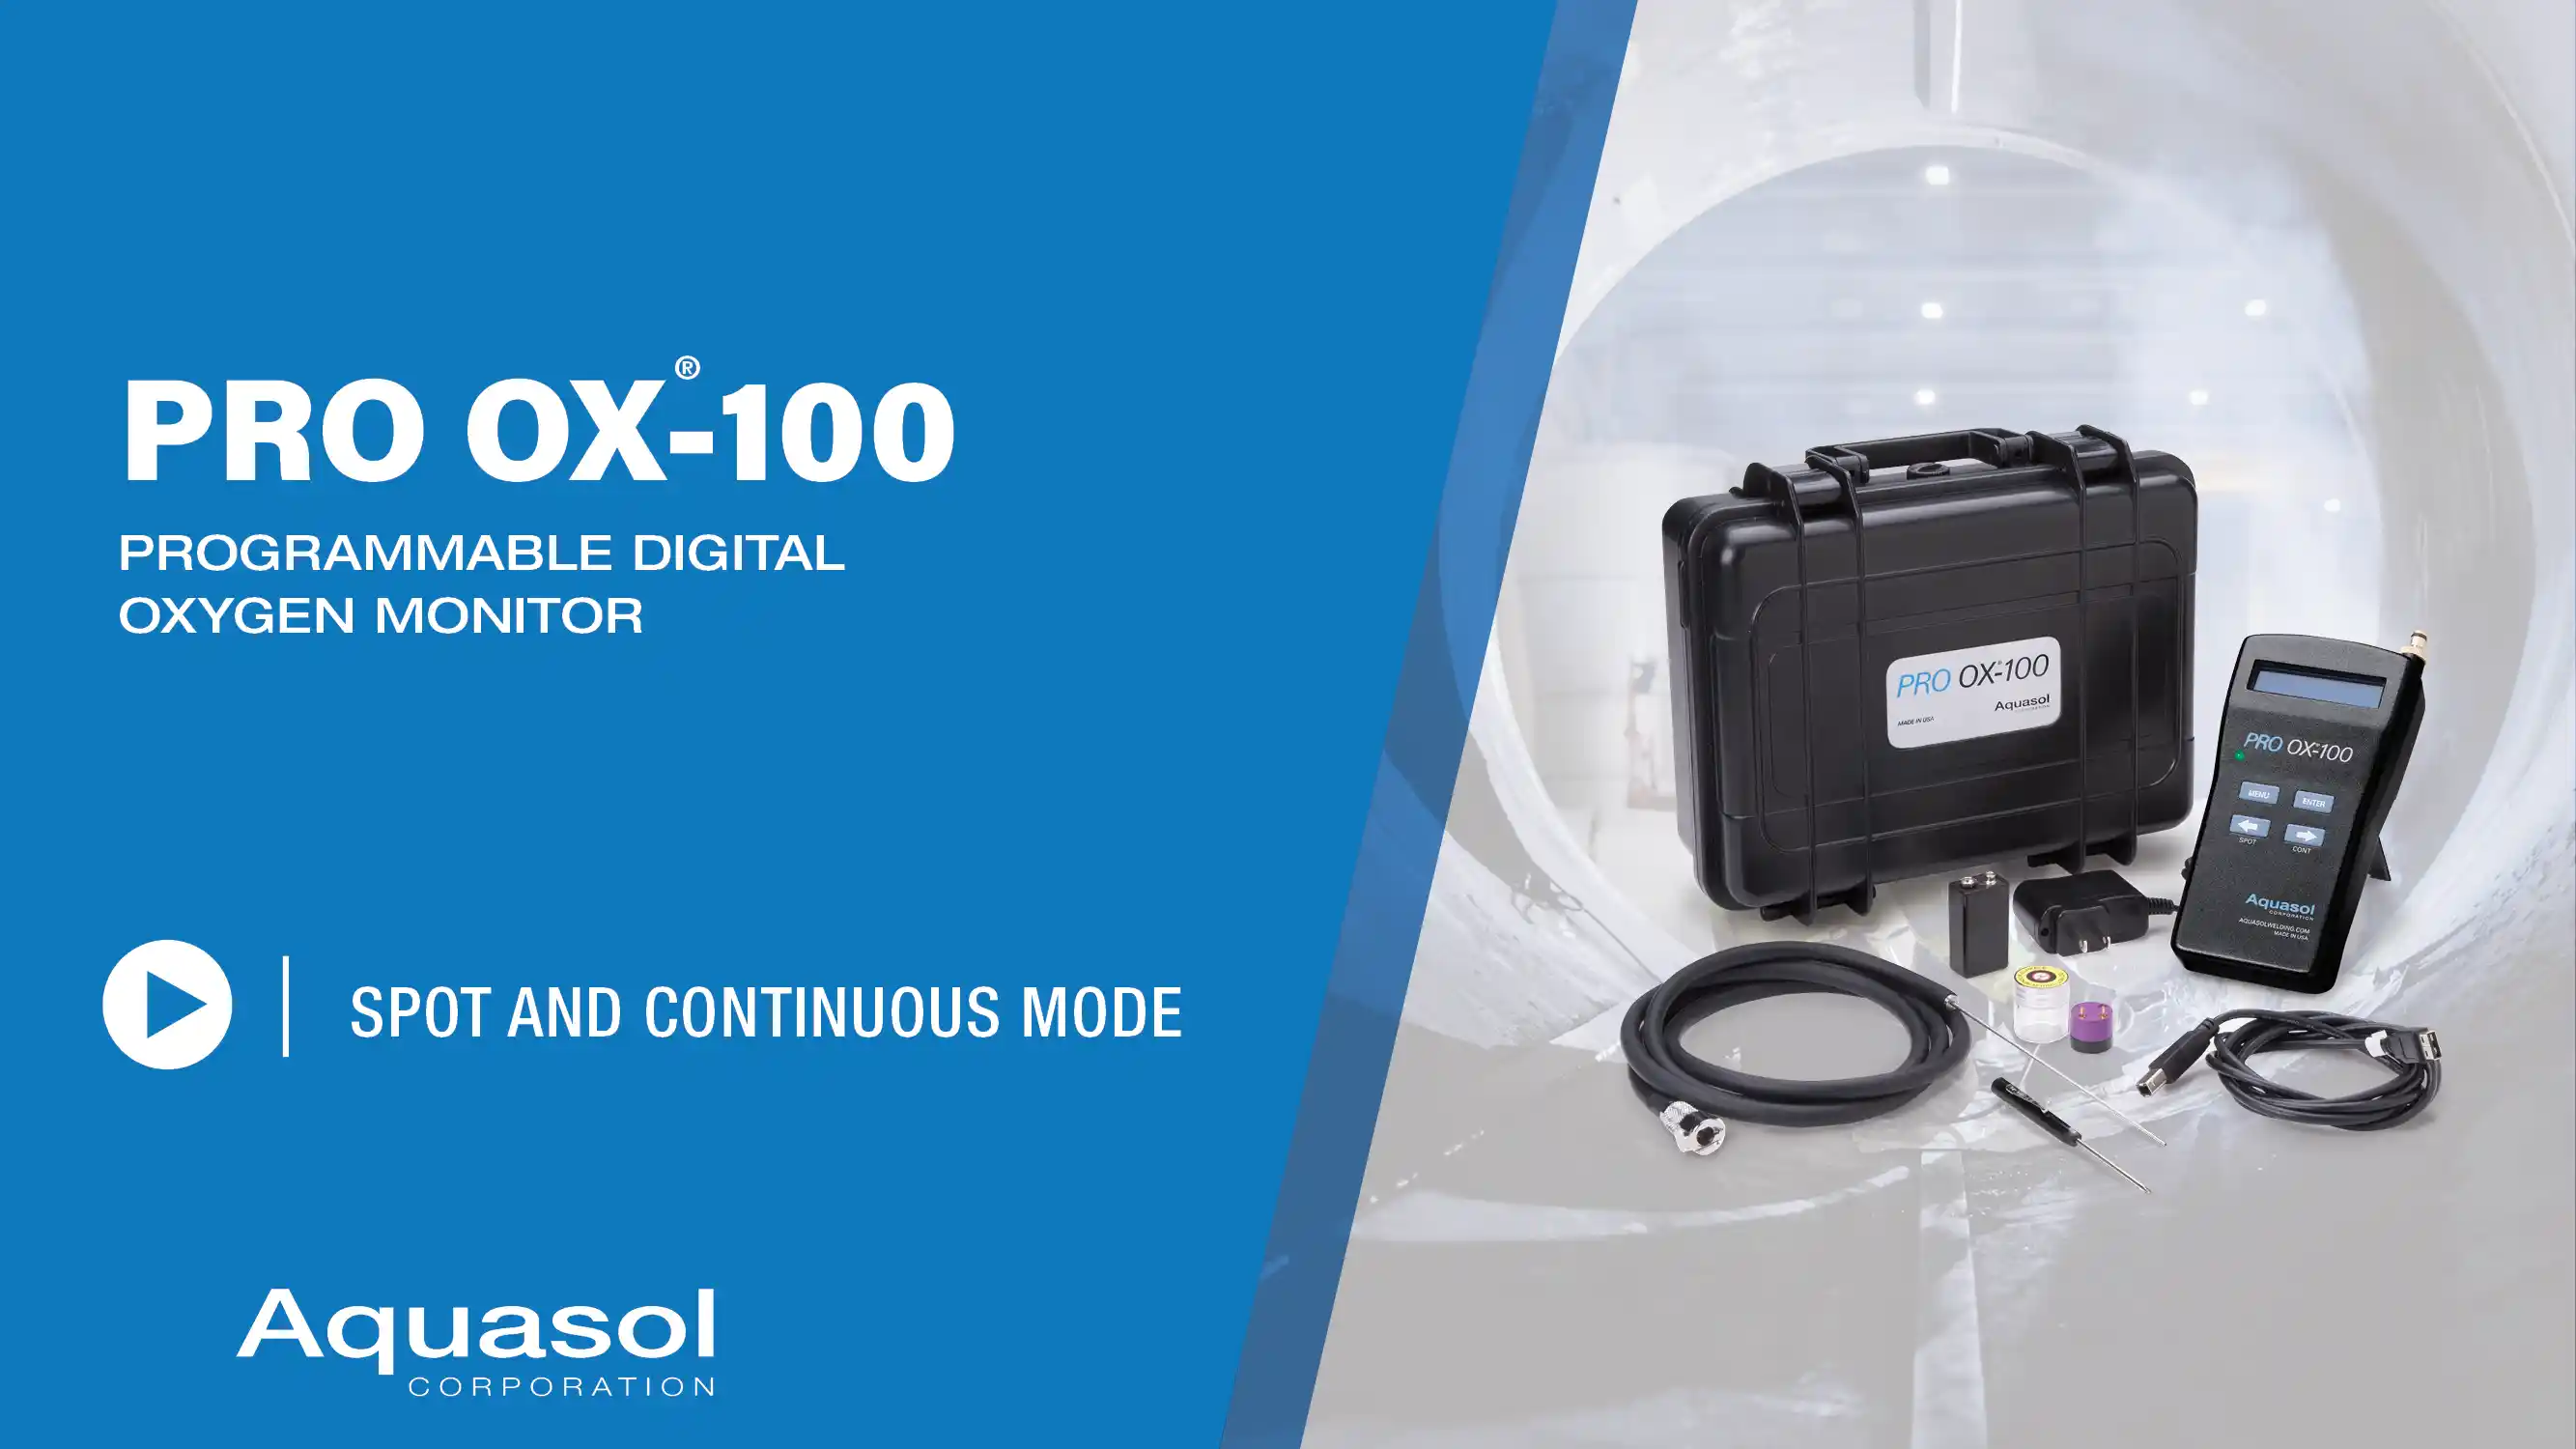
وضع القراءة المُركزة:

  1. عند وجود وحدة PRO OX-100 في الشاشة الرئيسية، اضغط على الزر “SPOT” وستبدأ الوحدة بعد ذلك في التشغيل.
  2. بمجرد الانتهاء من قراءة Spot، سيعرض الجهاز قيمة النسبة المئوية للأكسجين
  3. اضغط على زر السهم “الأيسر” ß للعودة إلى الشاشة الرئيسية

وضع القراءة المتواصلة:

  1. عند وجود وحدة PRO OX-100 في الشاشة الرئيسية، اضغط على الزر “CONT”
  2. ستقوم الوحدة بشكلٍ متواصل أثناء التشغيل بتحديث آخر مستويات الأكسجين
  3. للخروج من وضع “متواصل”، اضغط على الزر “CONT” بعد ظهور قراءة الشاشة

الأنواع والأحجام

رقم البند الوصف الأبعاد الوزن
الحجم الإنجليزي (بوصة) الحجم المتري (مم) الحجم الإنجليزي الحجم المتري
P-OX KIT جهاز مراقبة الأكسجين من طراز PRO OX-100 ومجموعة ملحقات 11 x 9 x 4 279 x 227 x 102 4.00 lb 182 g
P-OX KIT Euro جهاز مراقبة الأكسجين من طراز PRO OX-100 ومجموعة ملحقات مزود بها شاحن أوروبي 11 x 9 x 4 279 x 227 x 102 4.00 lb 182 g
P-OX Sensor مستشعر أكسجين PRO OX-100 1 x 1 21 x 20 0.03 lb 16 g
P-OX Batt بطارية هيدريد النيكل والمعدن 9 فولت PRO OX-100 2 x 1 x 1 48 x 26 x 17 0.12 lb 54 g
P-OX Charger/US شاحن بطارية هيدريد النيكل والمعدن بجهد 12 فولت PRO OX-100 مزود بقابس أمريكي النوع 3 x 2 x 1 8 x 60 x 25 0.10 lb 59 g
P-OX Charger/EU شاحن بطارية هيدريد النيكل والمعدن 12 فولت PRO OX-100 مزود بقابس أوروبي النوع 3 x 2 x 1 8 x 60 x 25 0.10 lb 59 g
P-OX USB كبل USB لجهاز PRO OX-100 (72 بوصة أو 1.8 م) 4 x 4 x 1 102 x 102 x 25 0.11 lb 50 g

FAQs

Self Calibrating Model:
Calibration can be performed on a weekly basis. There are no other specific recommendations regarding maintenance besides general care of the unit such as cleaning, proper storage, etc.
Point Calibration Model:
1. As the unit undergoes 2-point calibration, it is not necessary to recalibrate unless the SENSOR needs replacement. A CAL ERR will indicate a need for replacement.
2. Replace sensor and follow instructions in section 2.1.7 of the manual pages 19-21.
Periodic Calibration Interval
Self Calibrating Model:
If a unit is used very frequently (daily)it should be calibrated once a week. If it is not used frequently, it should be calibrated once every three weeks.
2 نموذج معايرة نقطتين:
As the unit undergoes 2 point calibration, it is not necessary to recalibrate unless the SENSOR needs replacement. A CAL ERR will indicate a need for replacement.”

Every oxygen monitor is shipped with a Calibration Certificate.

The Pro OX-100 is battery operated, but can also be operated through a standalone power supply. For specifications on use, refer to section 2.1.1 of the manual. With a full-charge, the battery can supply continuous power for up to two (2) hours.

When using The Pro OX-100 Oxygen Monitor for LESS than two (2)continuous hours, ensure a fully charged battery is installed into the battery housing. Then turn the power switch to the ON position. Continue to use the monitor until operation is complete or the battery indicator displays the “lowbattery indicator”. When using The Pro OX®-100 Oxygen Monitor for MORE than two (2)continuous hours be sure to turn the power switch to the OFF position. If the battery is installed, remove it from the housing. Then connect the standalone power supply/charger cable to the port. After this step, connect the power supply/charger plug into the nearest working outlet (110Vfor US type/220V for EU type). Then simply turn the power switch to the ON position. The Pro OX-100 is capable of operating indefinitely with a standalone power supply.
CAUTION: ALWAYS REMOVE THE BATTERY IF USING THE MONITOR FOR MORE THAN 2 CONTINUOUS HOURS. FAILURE TO DO SO CAN OVERHEAT THE BATTERY AND SERIOUSLY DAMAGE THE PRODUCT AS WELL AS VOID THE WARRANTY.”
The PRO OX-100 can operate in temperatures as low as 0°C (32°F) and as high as 50°C (122°F).

The sensor has a lifespan of approximately one year under normal operating conditions (see manual for operating temperature, proper storage guidelines, etc.).

Sensors are available for purchase. Each sensor has a one-year warranty. It is not recommended to keep stock of extra sensors. Sensors are readily available to ship and are lightweight. Contact orderdesk@aquasolcorporation.com for further information

If there is an issue starting the pump when pressing the SPOT or CONT button, the pump may be damaged. Contact customer service for an RGA authorization.

If there is no display when the toggle switch is in the ON position, either the battery is drained or the LCD is damaged.

If the battery is drained, simply recharge the battery or use the standalone power supply. Refer to section 1.2.2B of the PRO OX-100 manual for instructions.

If the screen does not light up, replace the battery.

If the LCD is damaged, the unit must be sent to Aquasol Corporation for repair. Contact customer service for an RGA authorization.

If strange symbols appear on the screen when the toggle switch is in the ON position, the display is damaged.

The unit must be repaired. Contact customer service for an RGA authorization.

The keypad is damaged if the keys do not correspond with what is on the display. The unit must be sent to Aquasol Corporation for repair. Contact customer service for an RGA authorization.

To test the PRO OX-100 audiovisual alarm, follow the guidelines below:

  1. Go to alarm setting and set the alarm to 100 ppm. Save and Exit.
  2. Pull the sensor out from the sensor housing.
  3. Press ‘CONT’ and wait until the screen shows “BELOW 100 PPM”. The alarm should go off (both light and sound).

If user is unable to set the alarm, the program could be corrupted. Contact customer service for an RGA authorization.

If the alarm does not sound or flash, the alarm is either disabled or damaged. In order to fix this, refer to the manual Section 2.1.3. and follow the instructions. If the issue still persists, the unit must be sent to Aquasol Corporation for repair. Contact customer service for an RGA authorization.

Self Calibrating Model:
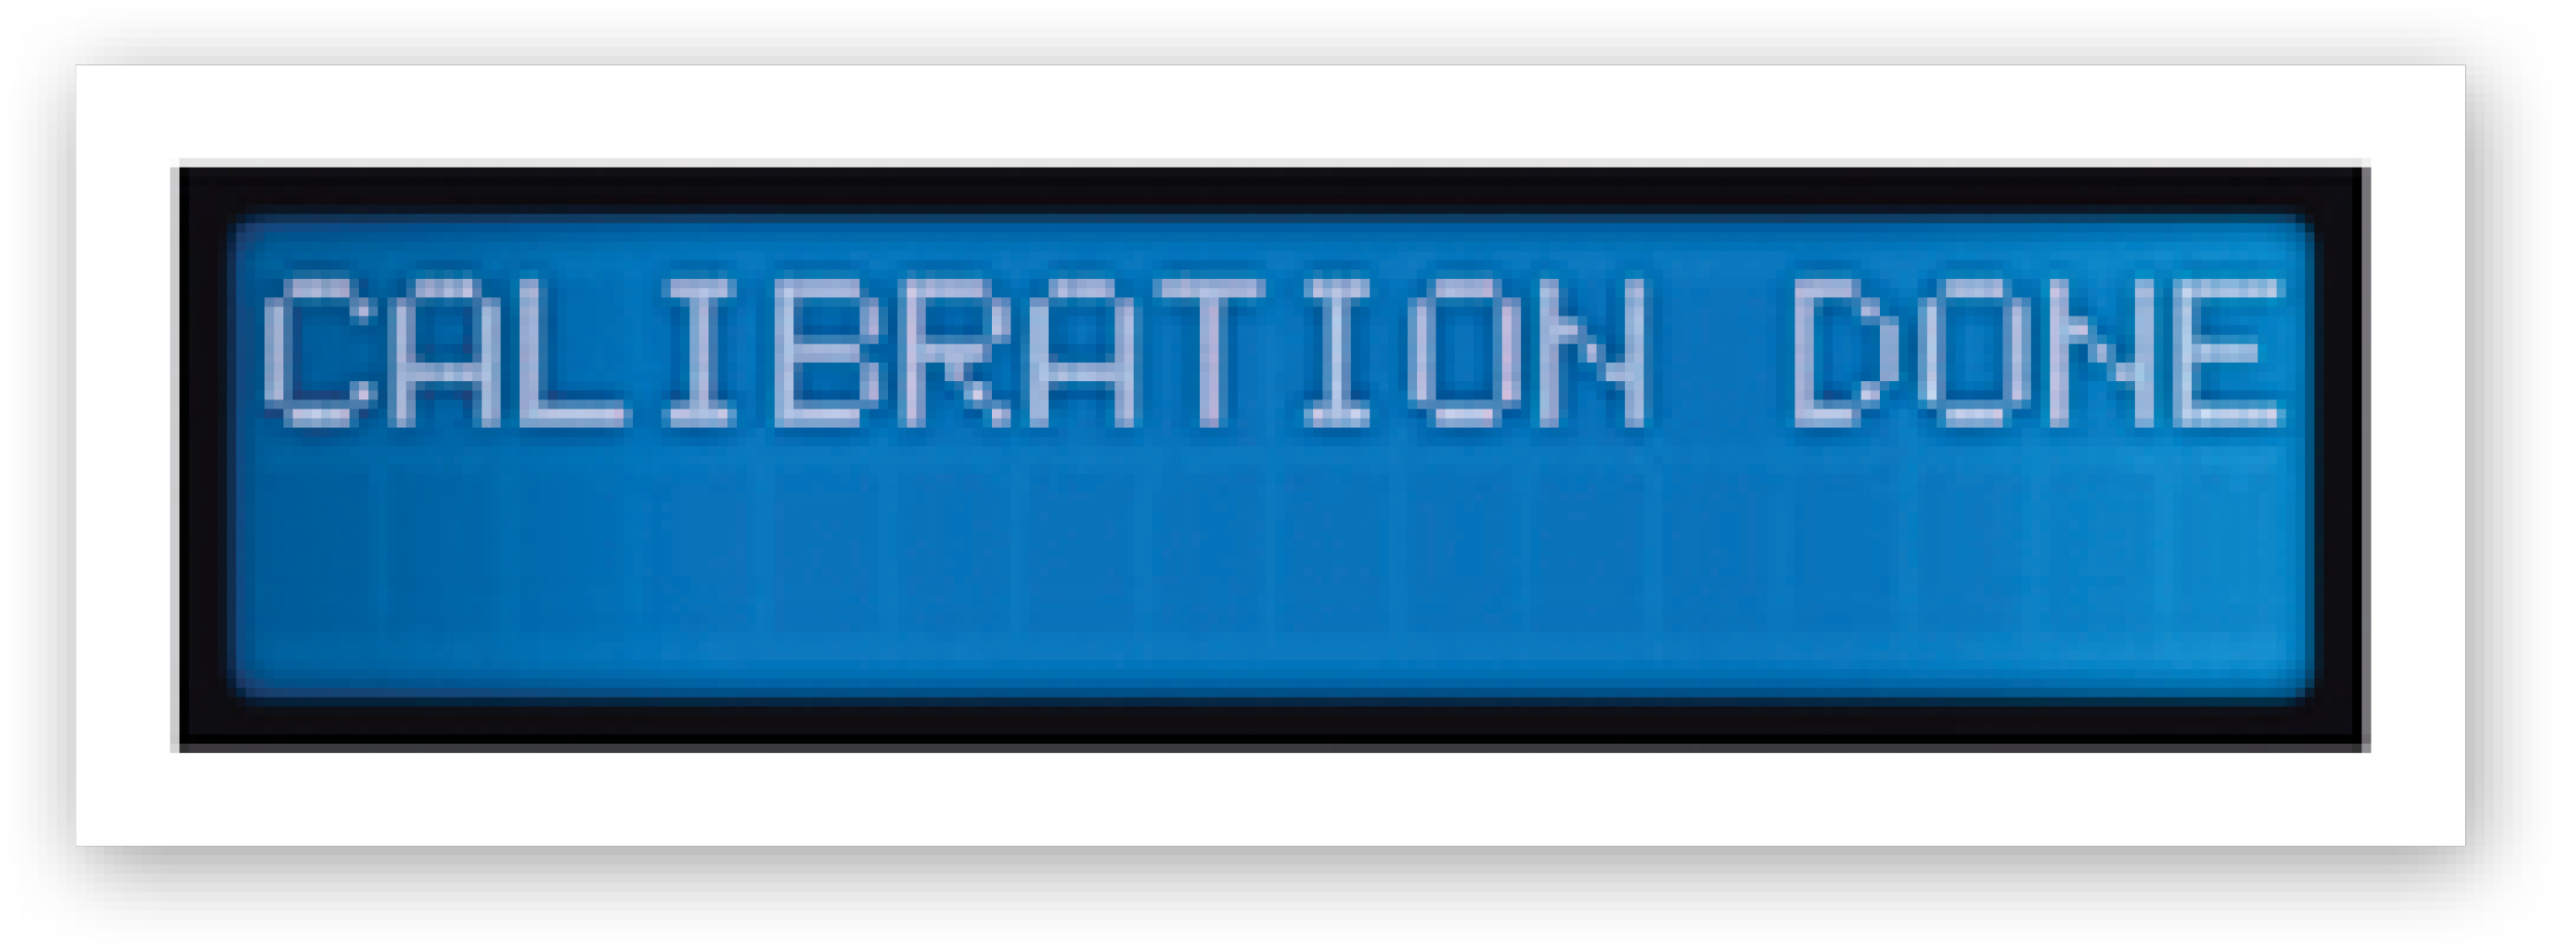
Ensure the sensor is plugged into the sockets properly. After running for 30 seconds, if calibration is successful, the screen will display “CALIBRATION DONE”.

Self Calibrating & 2 Point Calibration Models:
If CAL ERR is displayed, sensor must be replaced. Call Aquasol customer service.

High-frequency may be an issue with monitors receiving readings around specific welding machines. To test for this, place a piece of metal foil/sheet metal between the monitor and the machine, to protect it from interfering with the circuit board. If the monitor reading is normal, high-frequency equipment is interfering.

Any new 9V rechargeable battery can be substituted in the PRO-OX 100. The specification for the 9V battery is NiMH 280mAh. Additionally, any ordinary (non-chargeable) battery may be used as well.

The PRO OX-100 logs data that can be transferred to a computer via USB cable. Conversion software enables easy capture and export of 50 data points to Microsoft® Excel and Plain text format. Data is recorded in 15 second intervals in CONTINUOUS mode or as needed in SPOT mode.

In order to obtain the data logging software required for the Pro OX®-100, go to aquasolwelding.com, click on the products drop down menu and select “PRO OX-100”. Then click on the provided link, Download “Software and Driver” zip file, complete the form including unit serial number and other required information. Within 24 hours you will receive an email with software attachments for 32 and 64 bit machines.
Self Calibrating Model:
Calibration can be performed on a weekly basis. There are no other specific recommendations regarding maintenance besides general care of the unit such as cleaning, proper storage, etc.

Point Calibration Model:
1. As the unit undergoes 2 point calibration, it is not necessary to recalibrate unless the SENSOR needs replacement. A CAL ERR will indicate a need for replacement.
2. Replace sensor and follow instructions in section 2.1.7 of the manual pages 19-21.

Self Calibrating Model:
If a unit is used very frequently (daily) it should be calibrated once a week. If it is not used frequently, it should be calibrated once every three weeks.

2 Point Calibration Model:
As the unit undergoes 2 point calibration, it is not necessary to recalibrate unless the SENSOR needs replacement. A CAL ERR will indicate a need for replacement.

Every oxygen monitor is shipped with a Calibration Certificate.

The Pro OX-100 is battery operated, but can also be operated through a standalone power supply. For specifications on use, refer to section 2.1.1 of the manual. With a full-charge, the battery can supply continuous power for up to two (2) hours.

When using The Pro OX-100 Oxygen Monitor for LESS than two (2) continuous hours, ensure a fully charged battery is installed into the battery housing. Then turn the power switch to the ON position. Continue to use the monitor until operation is complete or the battery indicator displays the “low battery indicator”.

When using The Pro OX®-100 Oxygen Monitor for MORE than two (2) continuous hours be sure to turn the power switch to the OFF position. If the battery is installed, remove it from the housing. Then connect the standalone power supply/charger cable to the port. After this step, connect the power supply/charger plug into the nearest working outlet (110V for US type/220V for EU type). Then simply turn the power switch to the ON position. The Pro OX-100 is capable of operating indefinitely with a standalone power supply.

CAUTION: ALWAYS REMOVE THE BATTERY IF USING THE MONITOR FOR MORE THAN 2 CONTINUOUS HOURS. FAILURE TO DO SO CAN OVERHEAT THE BATTERY AND SERIOUSLY DAMAGE THE PRODUCT AS WELL AS VOID THE WARRANTY.

The PRO OX-100 can operate in temperatures as low as 0°C (32°F) and as high as 50°C (122°F).

The sensor has a lifespan of approximately one year under normal operating conditions (see manual for operating temperature, proper storage guidelines, etc.).

Sensors are available for purchase. Each sensor has a one-year warranty. It is not recommended to keep stock of extra sensors. Sensors are readily available to ship and are lightweight.

If there is an issue starting the pump when pressing the SPOT or CONT button, the pump may be damaged. Contact customer service for an RGA authorization.

If there is no display when the toggle switch is in the ON position, either the battery is drained or the LCD is damaged.

If the battery is drained, simply recharge the battery or use the standalone power supply. Refer to section 1.2.2B of the PRO OX-100 manual for instructions.

If the screen does not light up, replace the battery.

If the LCD is damaged, the unit must be sent to Aquasol Corporation for repair. Contact customer service for an RGA authorization.

If strange symbols appear on the screen when the toggle switch is in the ON position, the display is damaged.

The unit must be repaired. Contact customer service for an RGA authorization.

The keypad is damaged if the keys do not correspond with what is on the display. The unit must be sent to Aquasol Corporation for repair. Contact customer service for an RGA authorization.

To test the PRO OX-100 audiovisual alarm, follow the guidelines below:

  1. Go to alarm setting and set the alarm to 100 ppm. Save and Exit.
  2. Pull the sensor out from the sensor housing.
  3. Press ‘CONT’ and wait until the screen shows “BELOW 100 PPM”. The alarm should go off (both light and sound).

If user is unable to set the alarm, the program could be corrupted. Contact customer service for an RGA authorization.

مشاهدة الفيديو

Play Pause
Previous track Backward 10s Play Pause Forward 10s Next track Unmute Mute
/
Settings Playback Accessibility
Announcements
Keyboard Animations
Quality
Enter PiP Exit PiP Enter Fullscreen Exit Fullscreen Toggle Playlist

PRO OX-100

1 / 7 videos
  • Digital Oxygen Monitor for TIG Welding (Overview)
    Digital Oxygen Monitor for TIG Welding (Overview)
    0:03:30
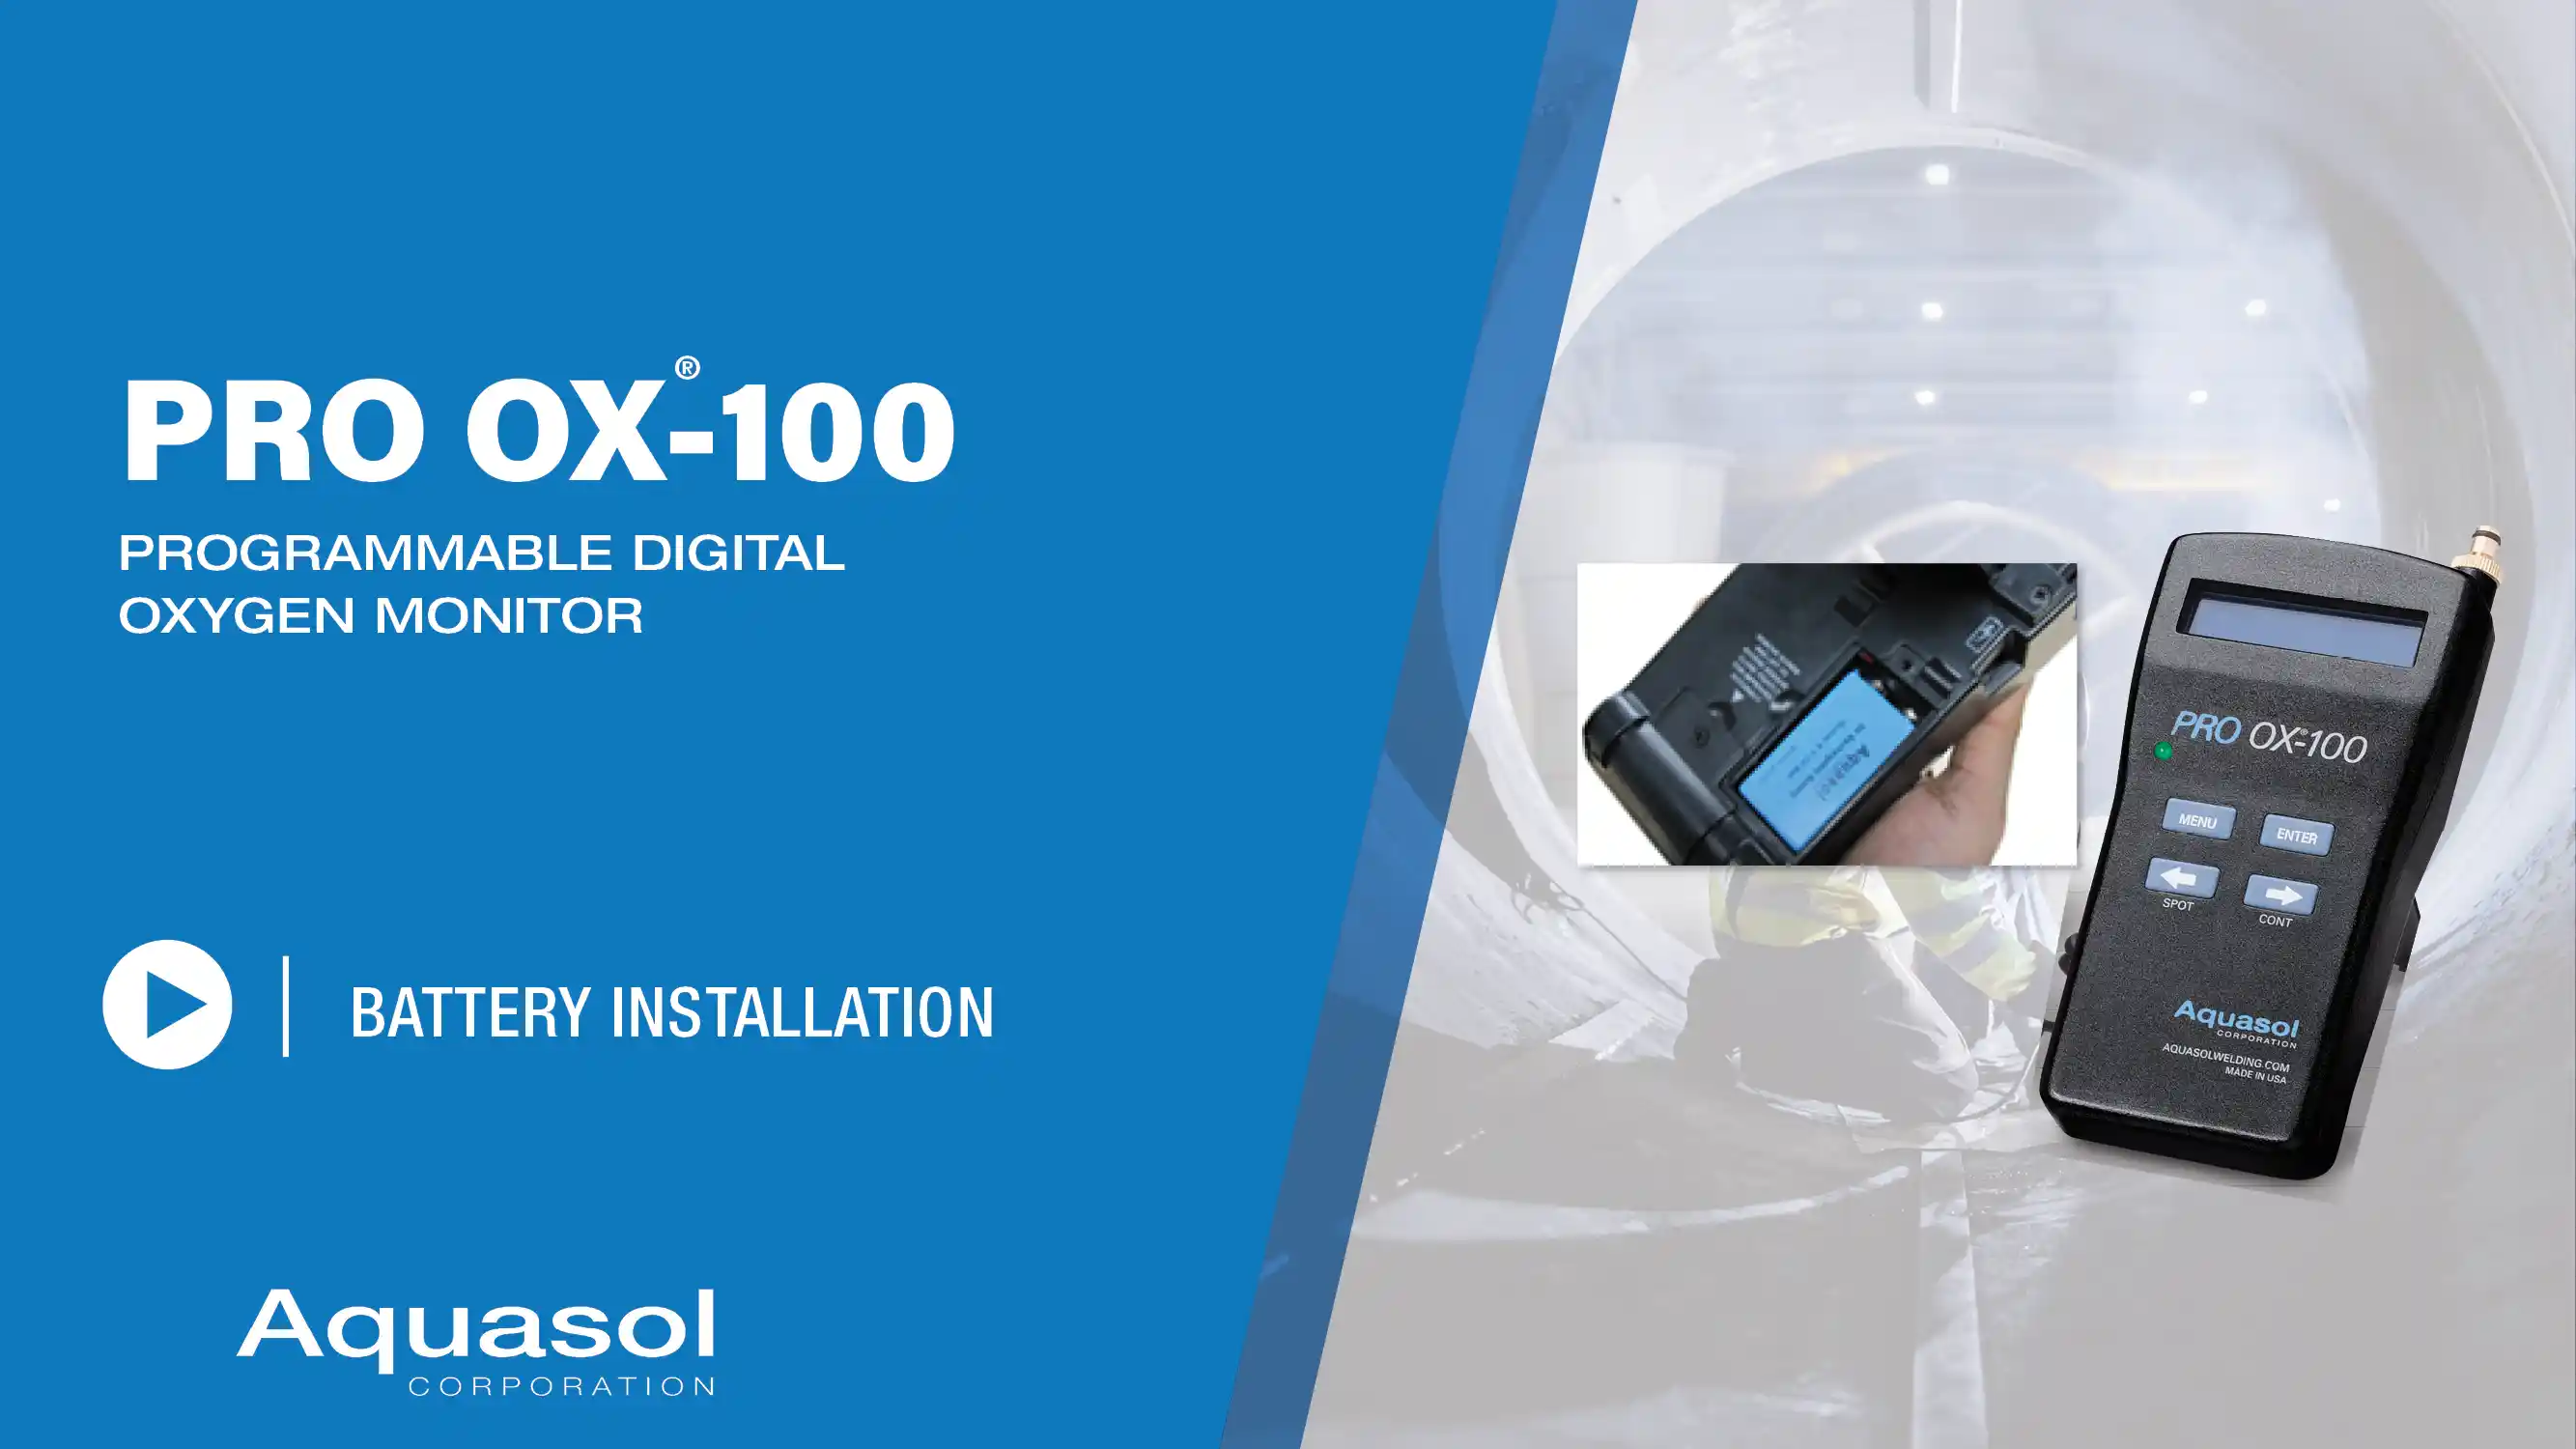
  • Digital Oxygen Sensor (Pro OX100) — Battery Installation
    Digital Oxygen Sensor (Pro OX100) — Battery Installation
    0:01:44
  • Oxygen Purge Monitor (Pro OX100) — Setting the Alarm
    Oxygen Purge Monitor (Pro OX100) — Setting the Alarm
    0:00:56
  • Oxygen Analyzer for TIG Welding (Pro OX100) — Setting the Language
    Oxygen Analyzer for TIG Welding (Pro OX100) — Setting the Language
    0:00:41
  • Oxygen Purge Monitor for Welding (Pro OX100) — Setting the Time and Date
    Oxygen Purge Monitor for Welding (Pro OX100) — Setting the Time and Date
    0:00:52
  • Portable Oxygen Monitor for Welding (Pro OX100) — Spot and Continuous Mode
    Portable Oxygen Monitor for Welding (Pro OX100) — Spot and Continuous Mode
    0:01:46
  • Handheld Oxygen Monitor (Pro OX100) — View and Erase Log
    Handheld Oxygen Monitor (Pro OX100) — View and Erase Log
    0:00:51